
General Settings
Configure your store's basic information and settings.
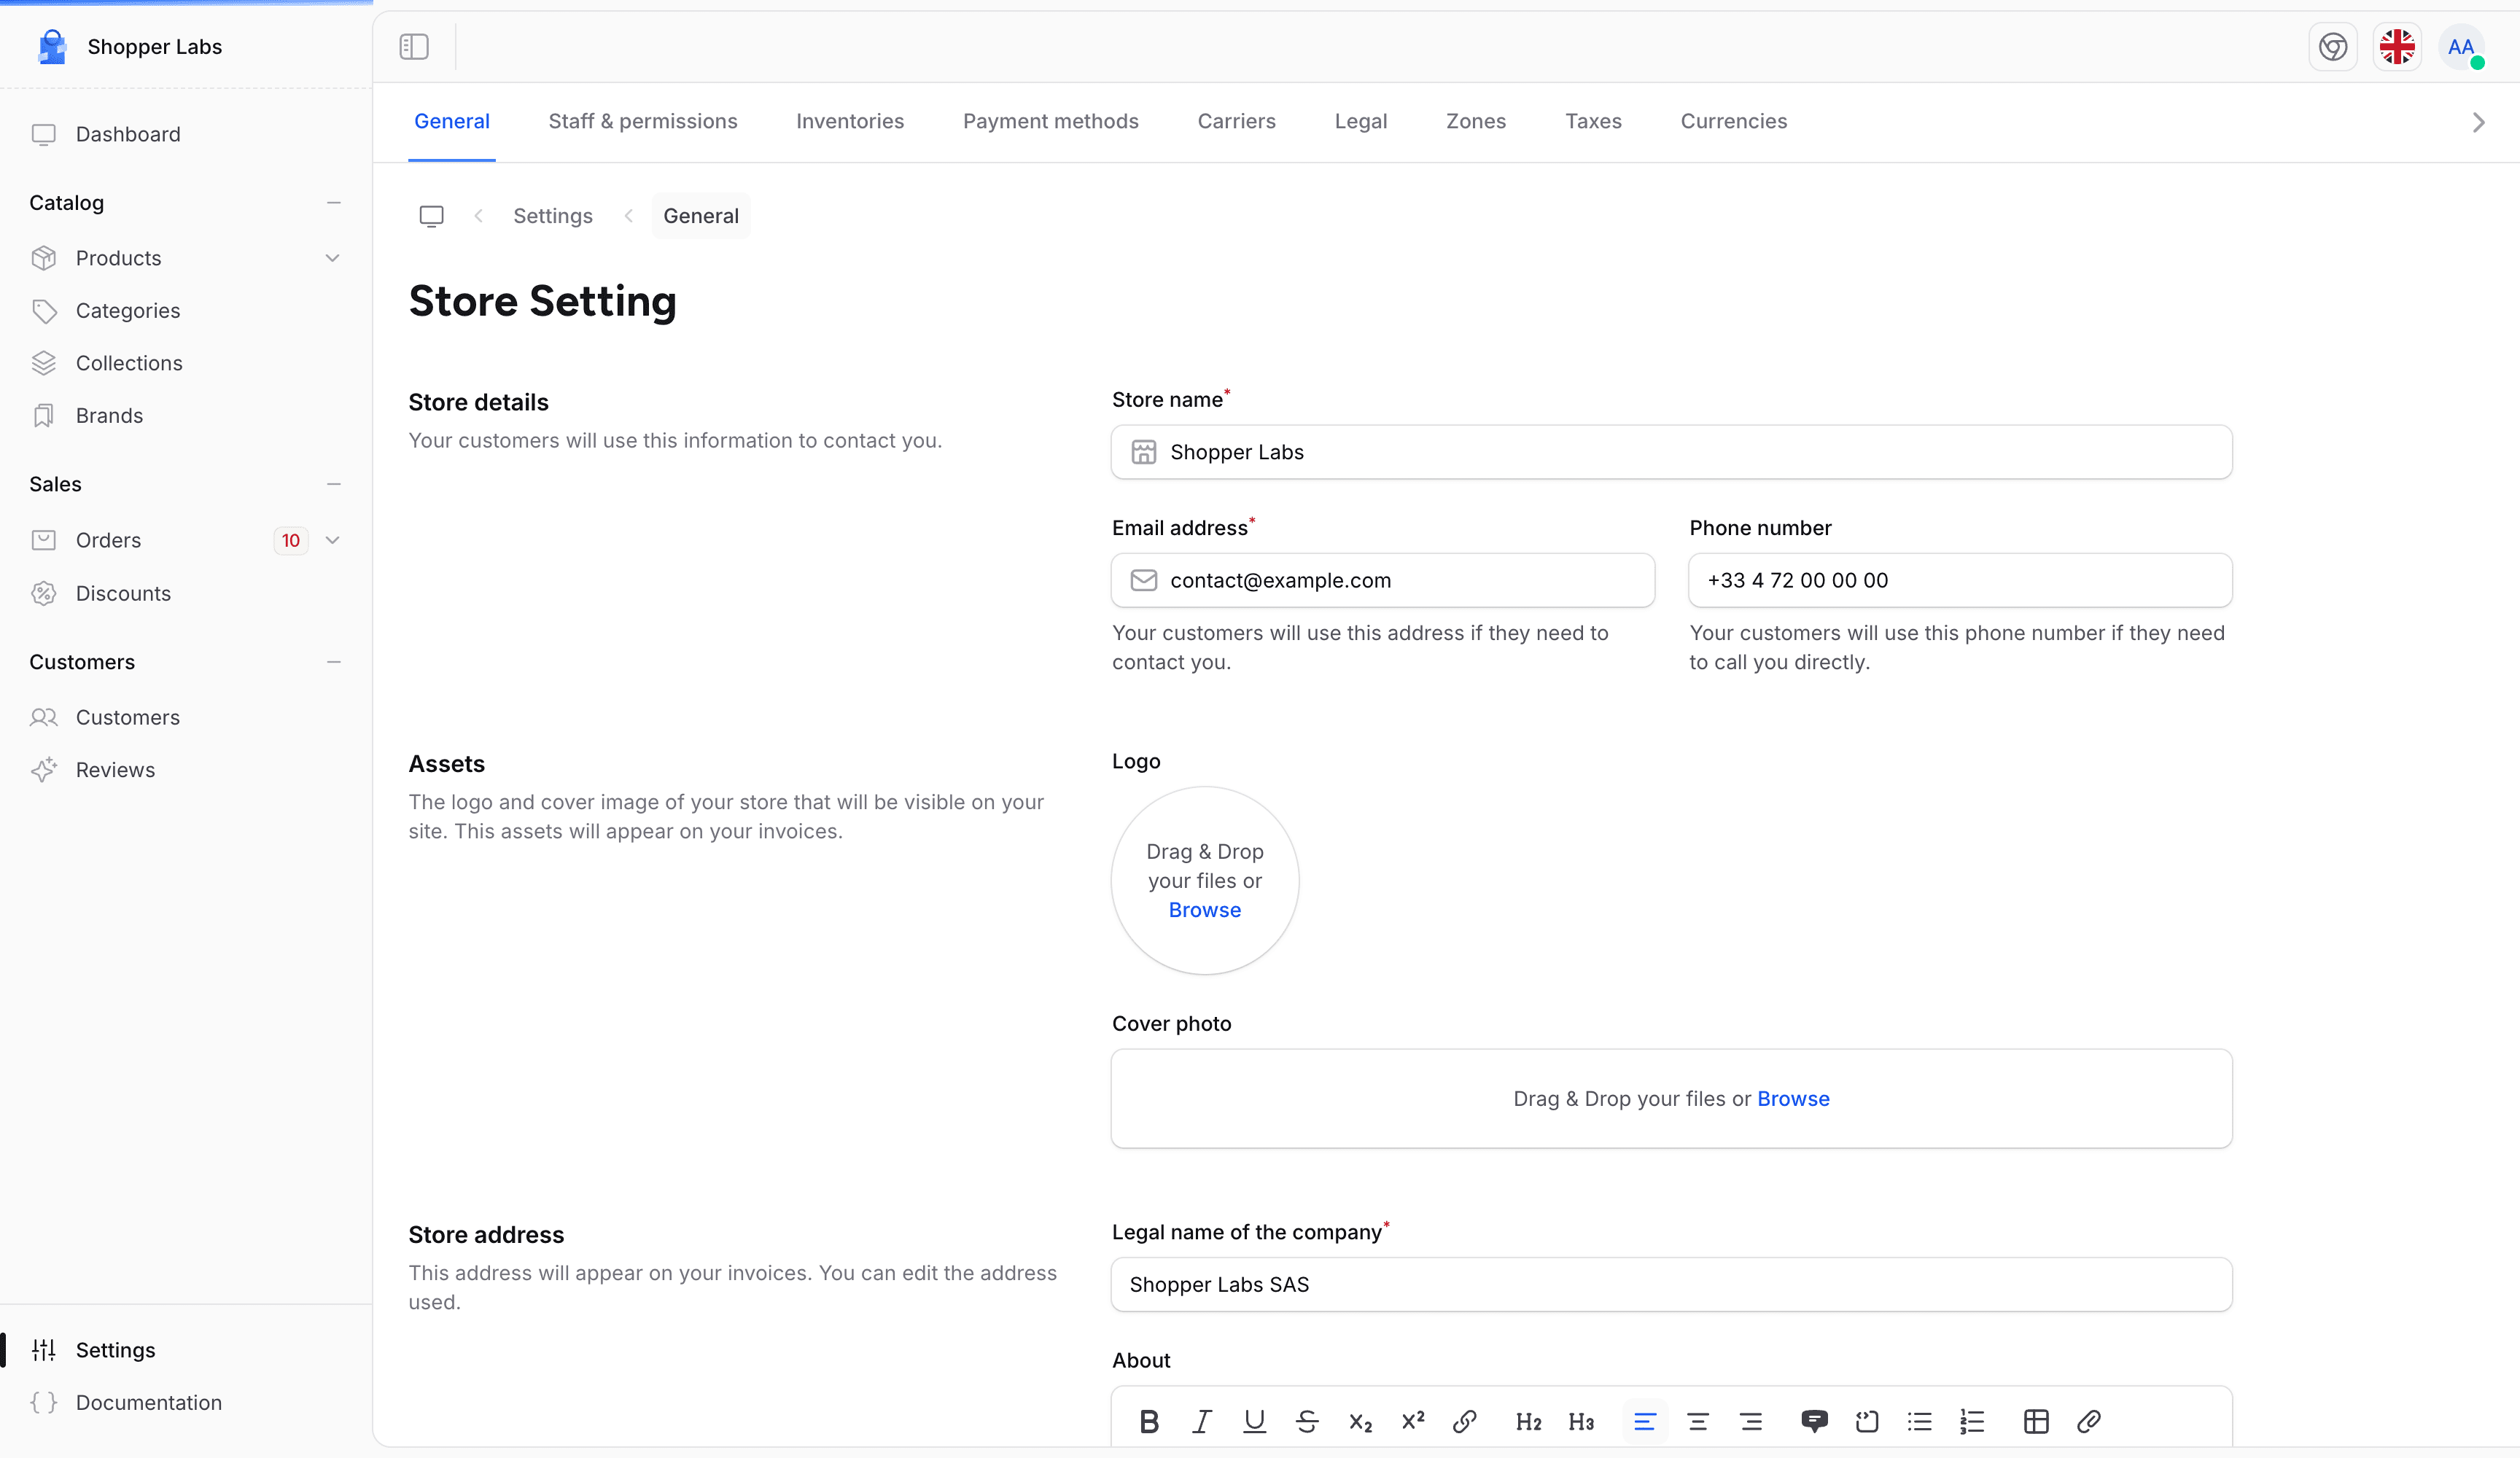
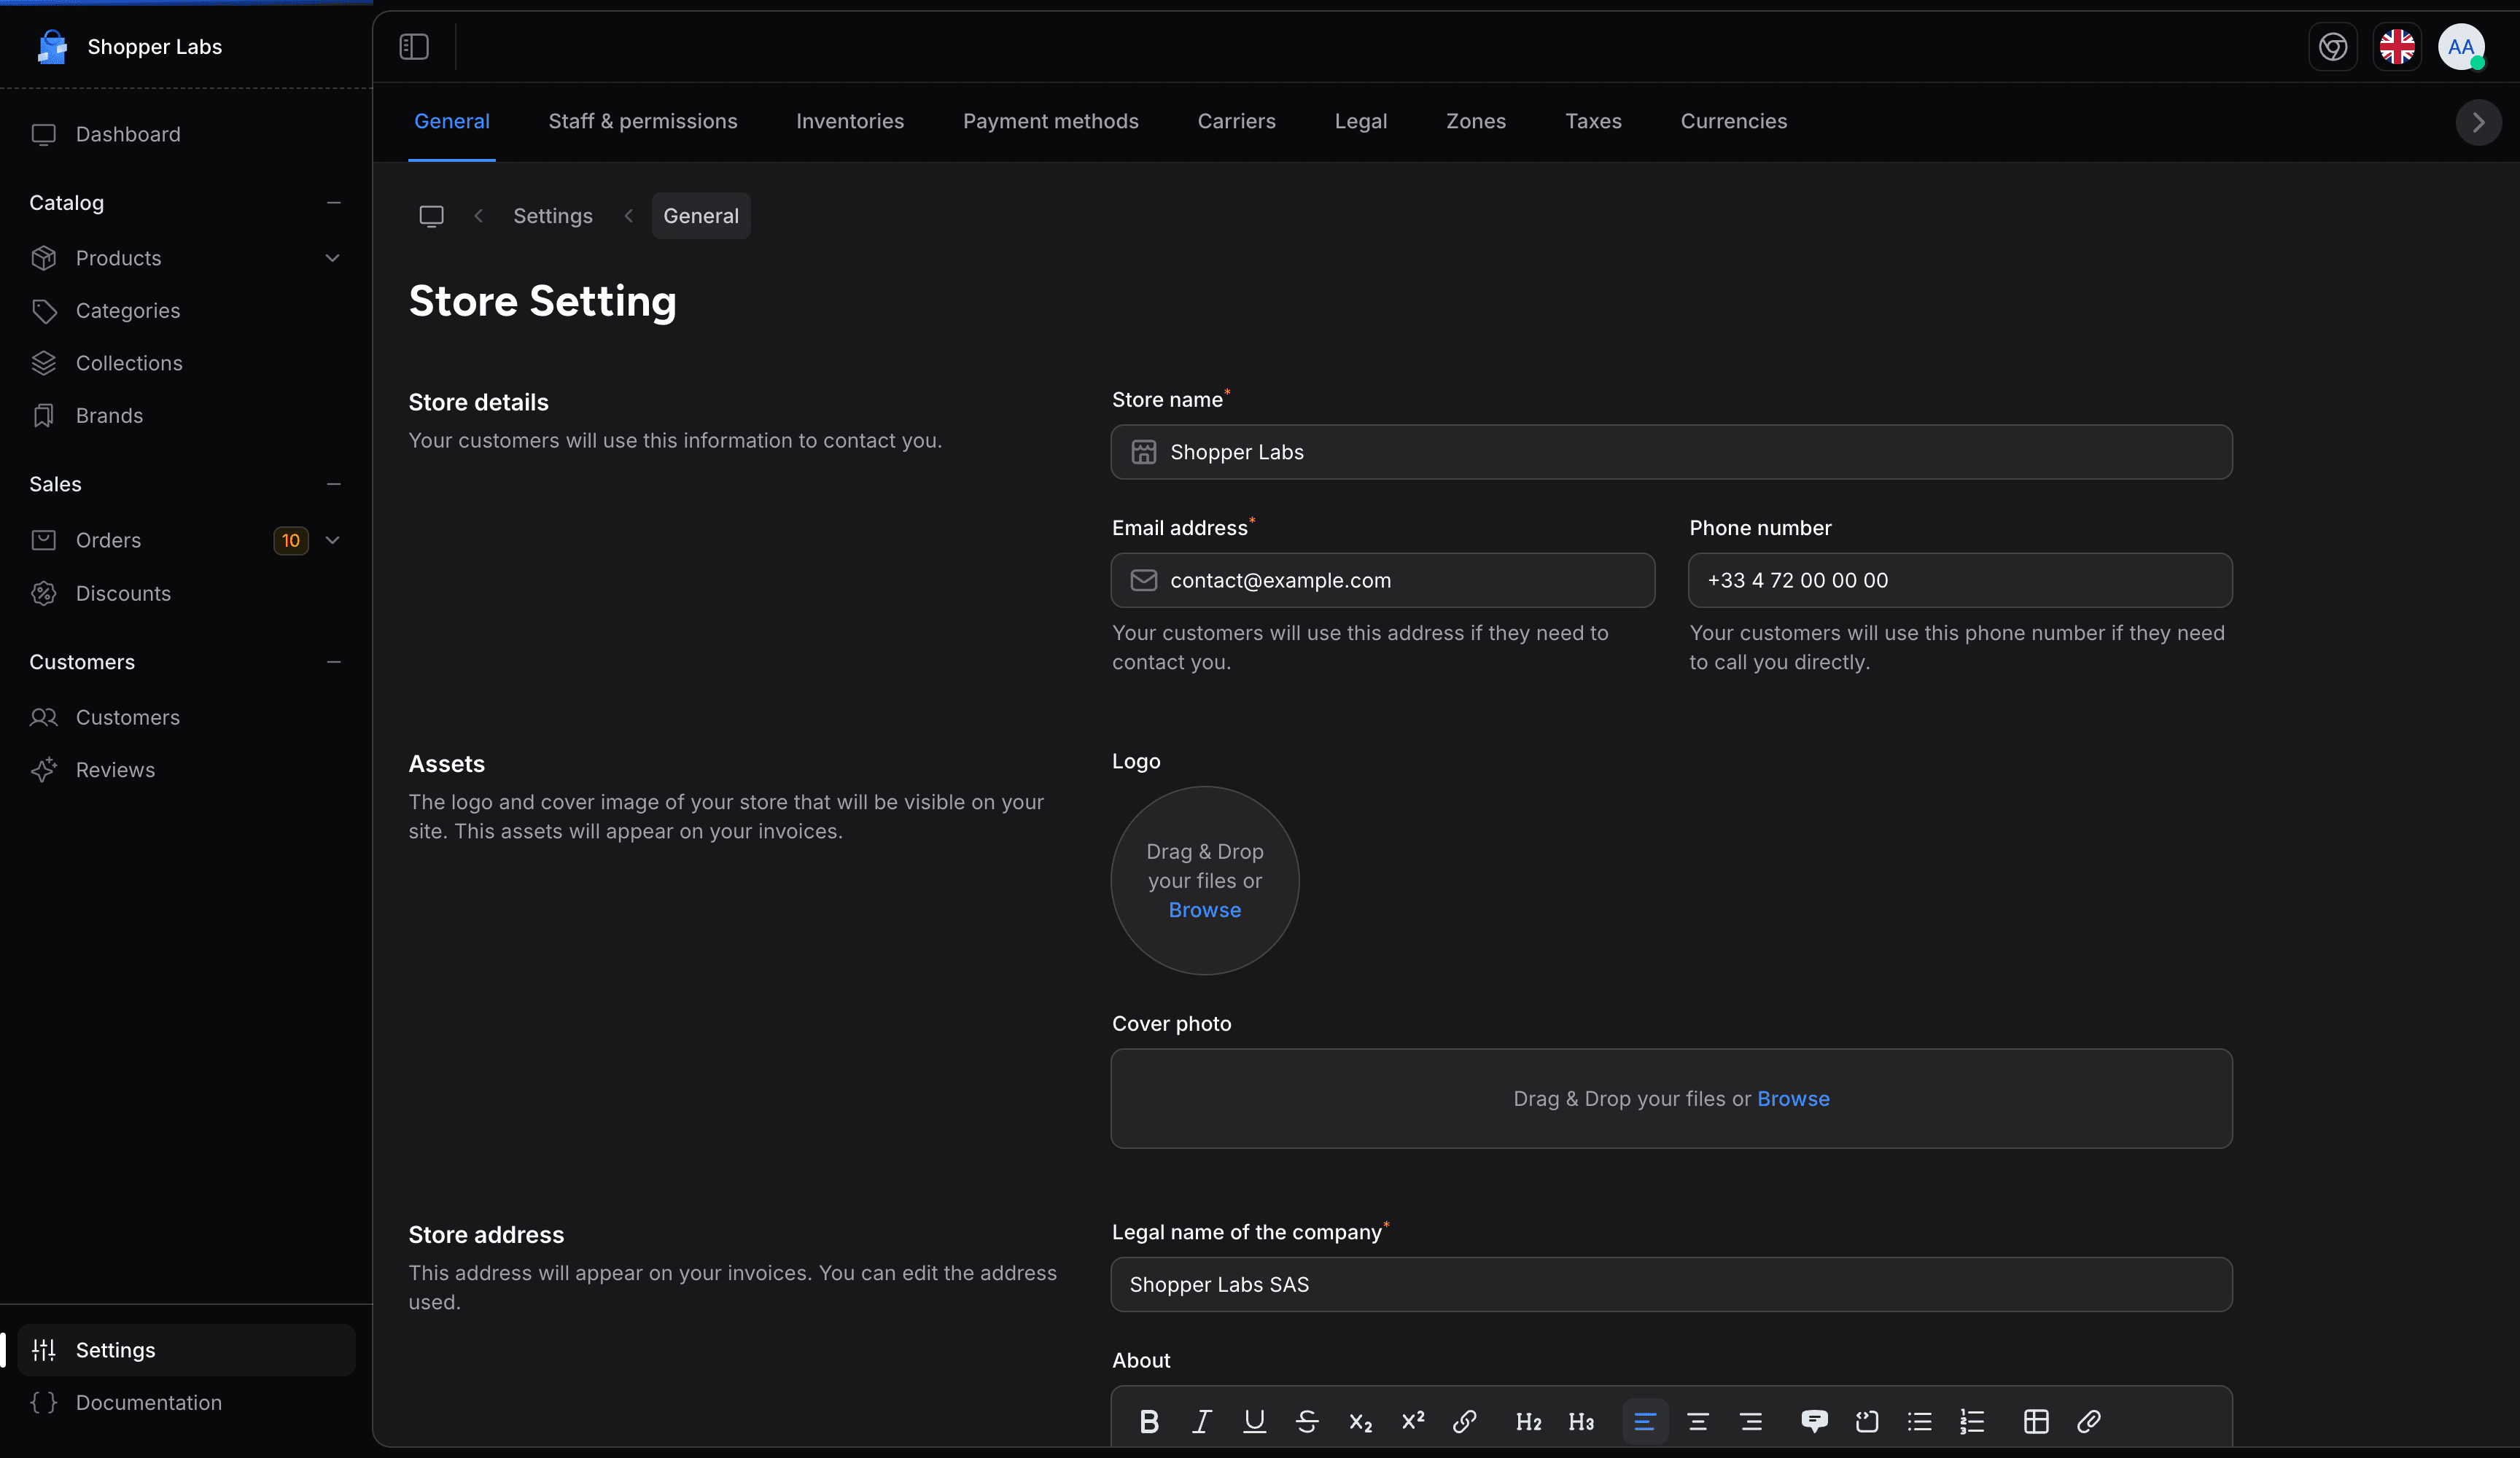
The General Settings page allows you to configure your store's basic information. This is one of the first things you should set up when starting with Shopper.
Accessing General Settings
- Click on Settings in the sidebar
- Select General from the settings menu
The page opens with the title Store Setting.
Store Information
Store Details
Configure the basic information about your store:
| Field | Description |
|---|---|
| Store name | The name of your store as it will appear to customers (required) |
| Email address | The main contact email for your store, used by customers who need to reach you (required) |
| Phone number | Contact phone number for customers who want to call you (optional) |
Assets
| Field | Description |
|---|---|
| Logo | Your store logo, available to your storefront. JPEG, PNG, WebP or AVIF, up to 1 MB |
| Cover photo | A cover image for your store. Same formats and size limit as the logo |
Store Address
Set your store's legal name and physical address. This information may be used for:
- Invoice generation
- Shipping calculations
- Legal compliance
| Field | Description |
|---|---|
| Legal name of the company | The registered name of your business (required) |
| About | A description of your store, written in a rich text editor (optional) |
| Street Address | Street and number (required) |
| City | City (required) |
| Postal / Zip code | Postal code (required) |
| State | State, region or province (optional) |
| Country | Country, picked from a searchable list (optional) |
Store Currency
| Field | Description |
|---|---|
| Currencies | The currencies your products are sold in. Pick at least one. Only the currencies enabled on the Currencies settings page are listed |
| Default currency | The main currency displayed on your store, chosen among the currencies selected above (required) |
Social Links
Add the full URL of your Facebook, Instagram and Twitter pages so customers can find your official accounts. Each field is optional.
Store Initialization
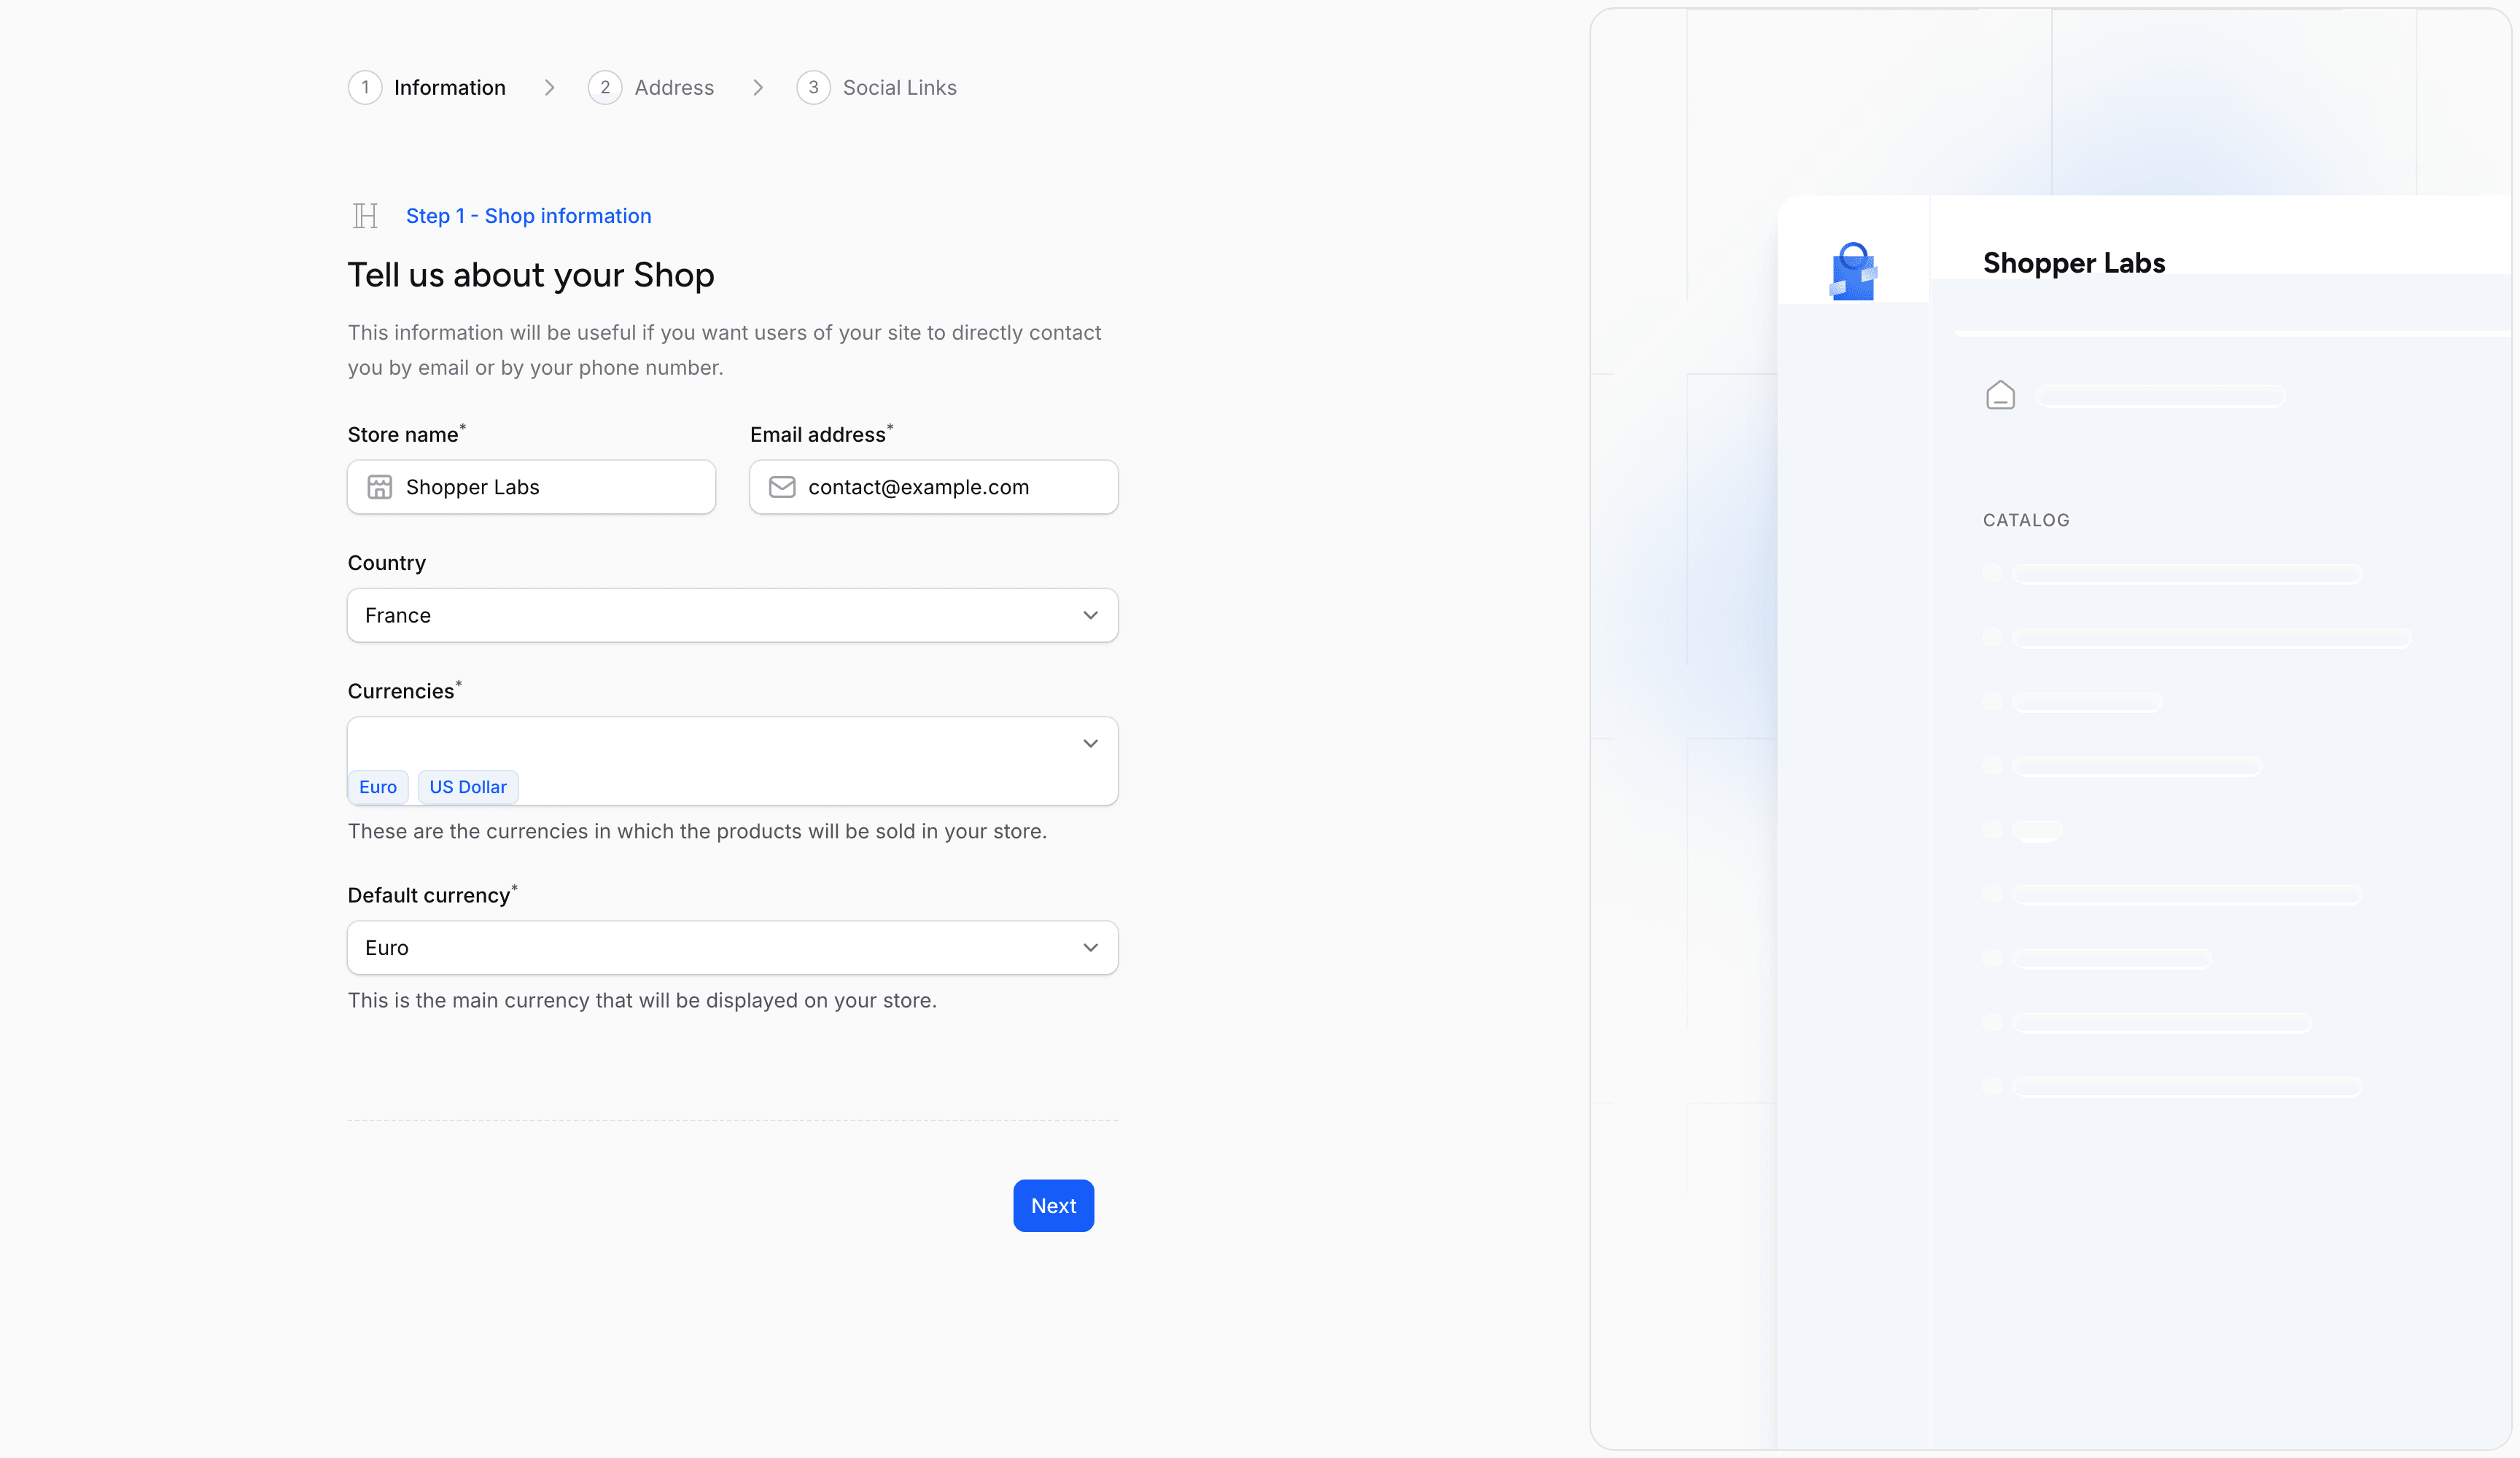
When you first set up Shopper, you'll go through an initialization wizard that helps you configure the essential settings.
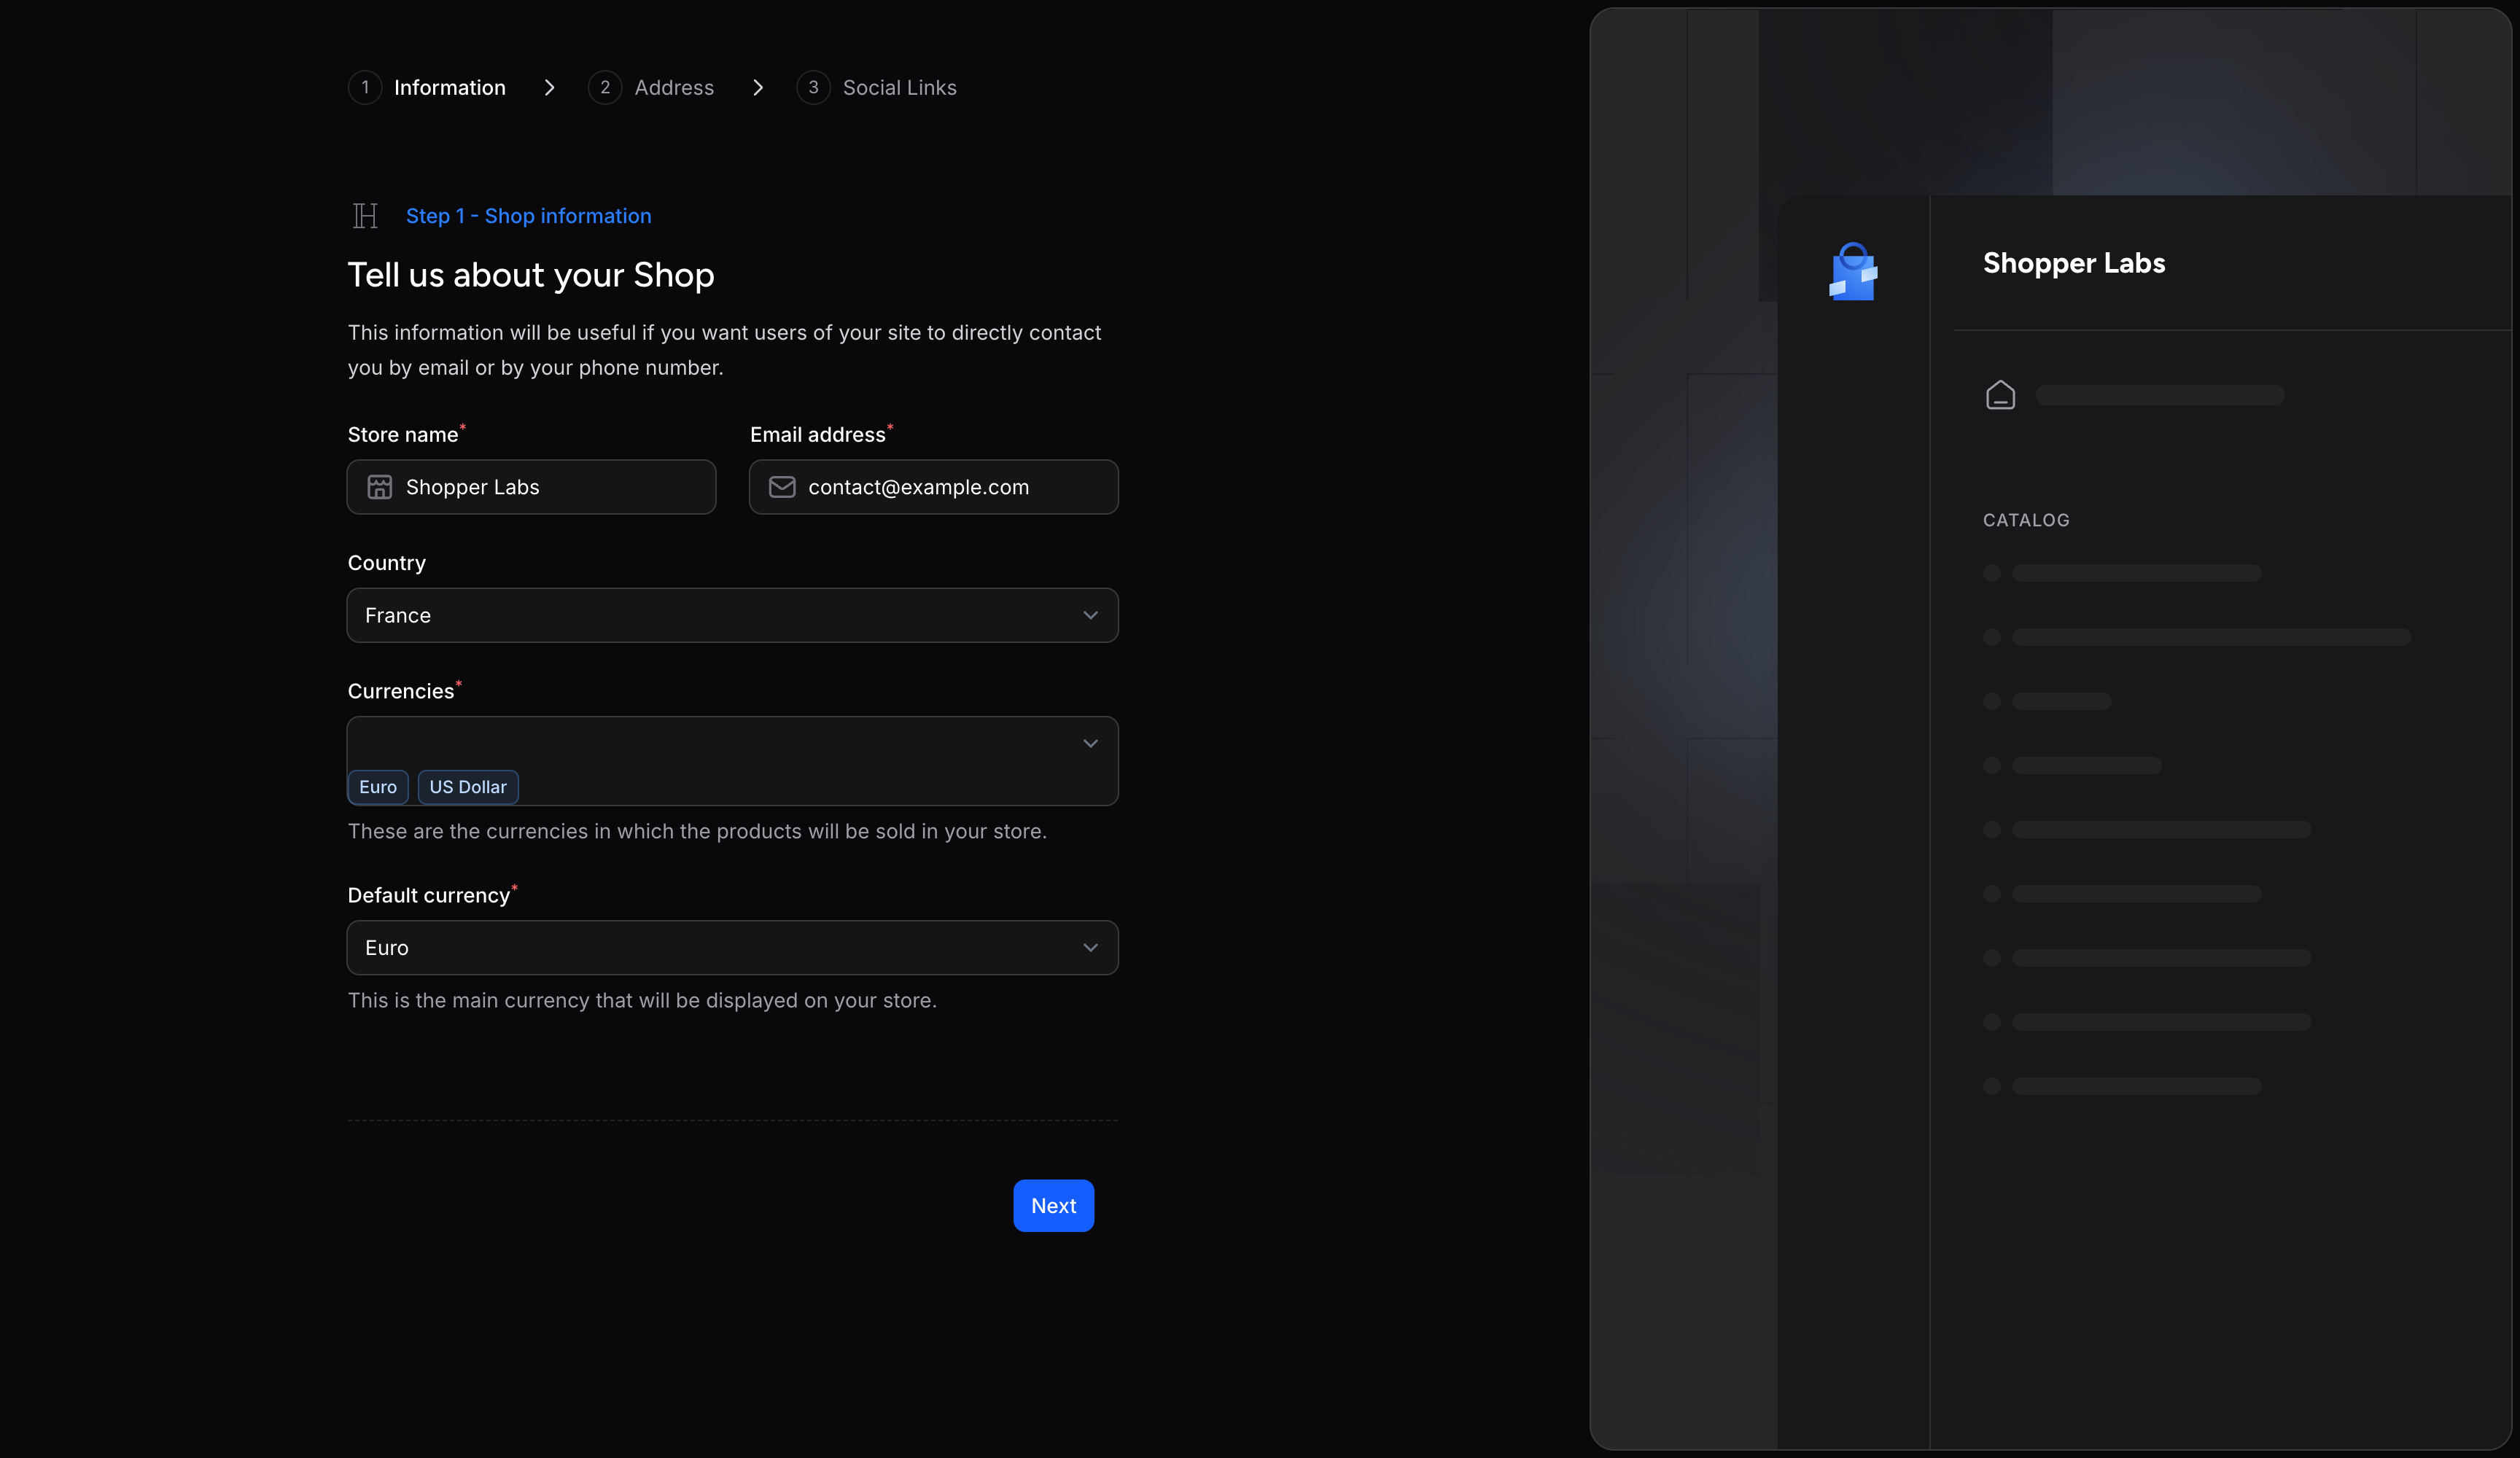
Step 1 - Store Information
The Information tab, titled Step 1 - Shop information on screen. Fill in the Store name and Email address, then the Country (optional), the Currencies your store sells in and the Default currency, and click Next.
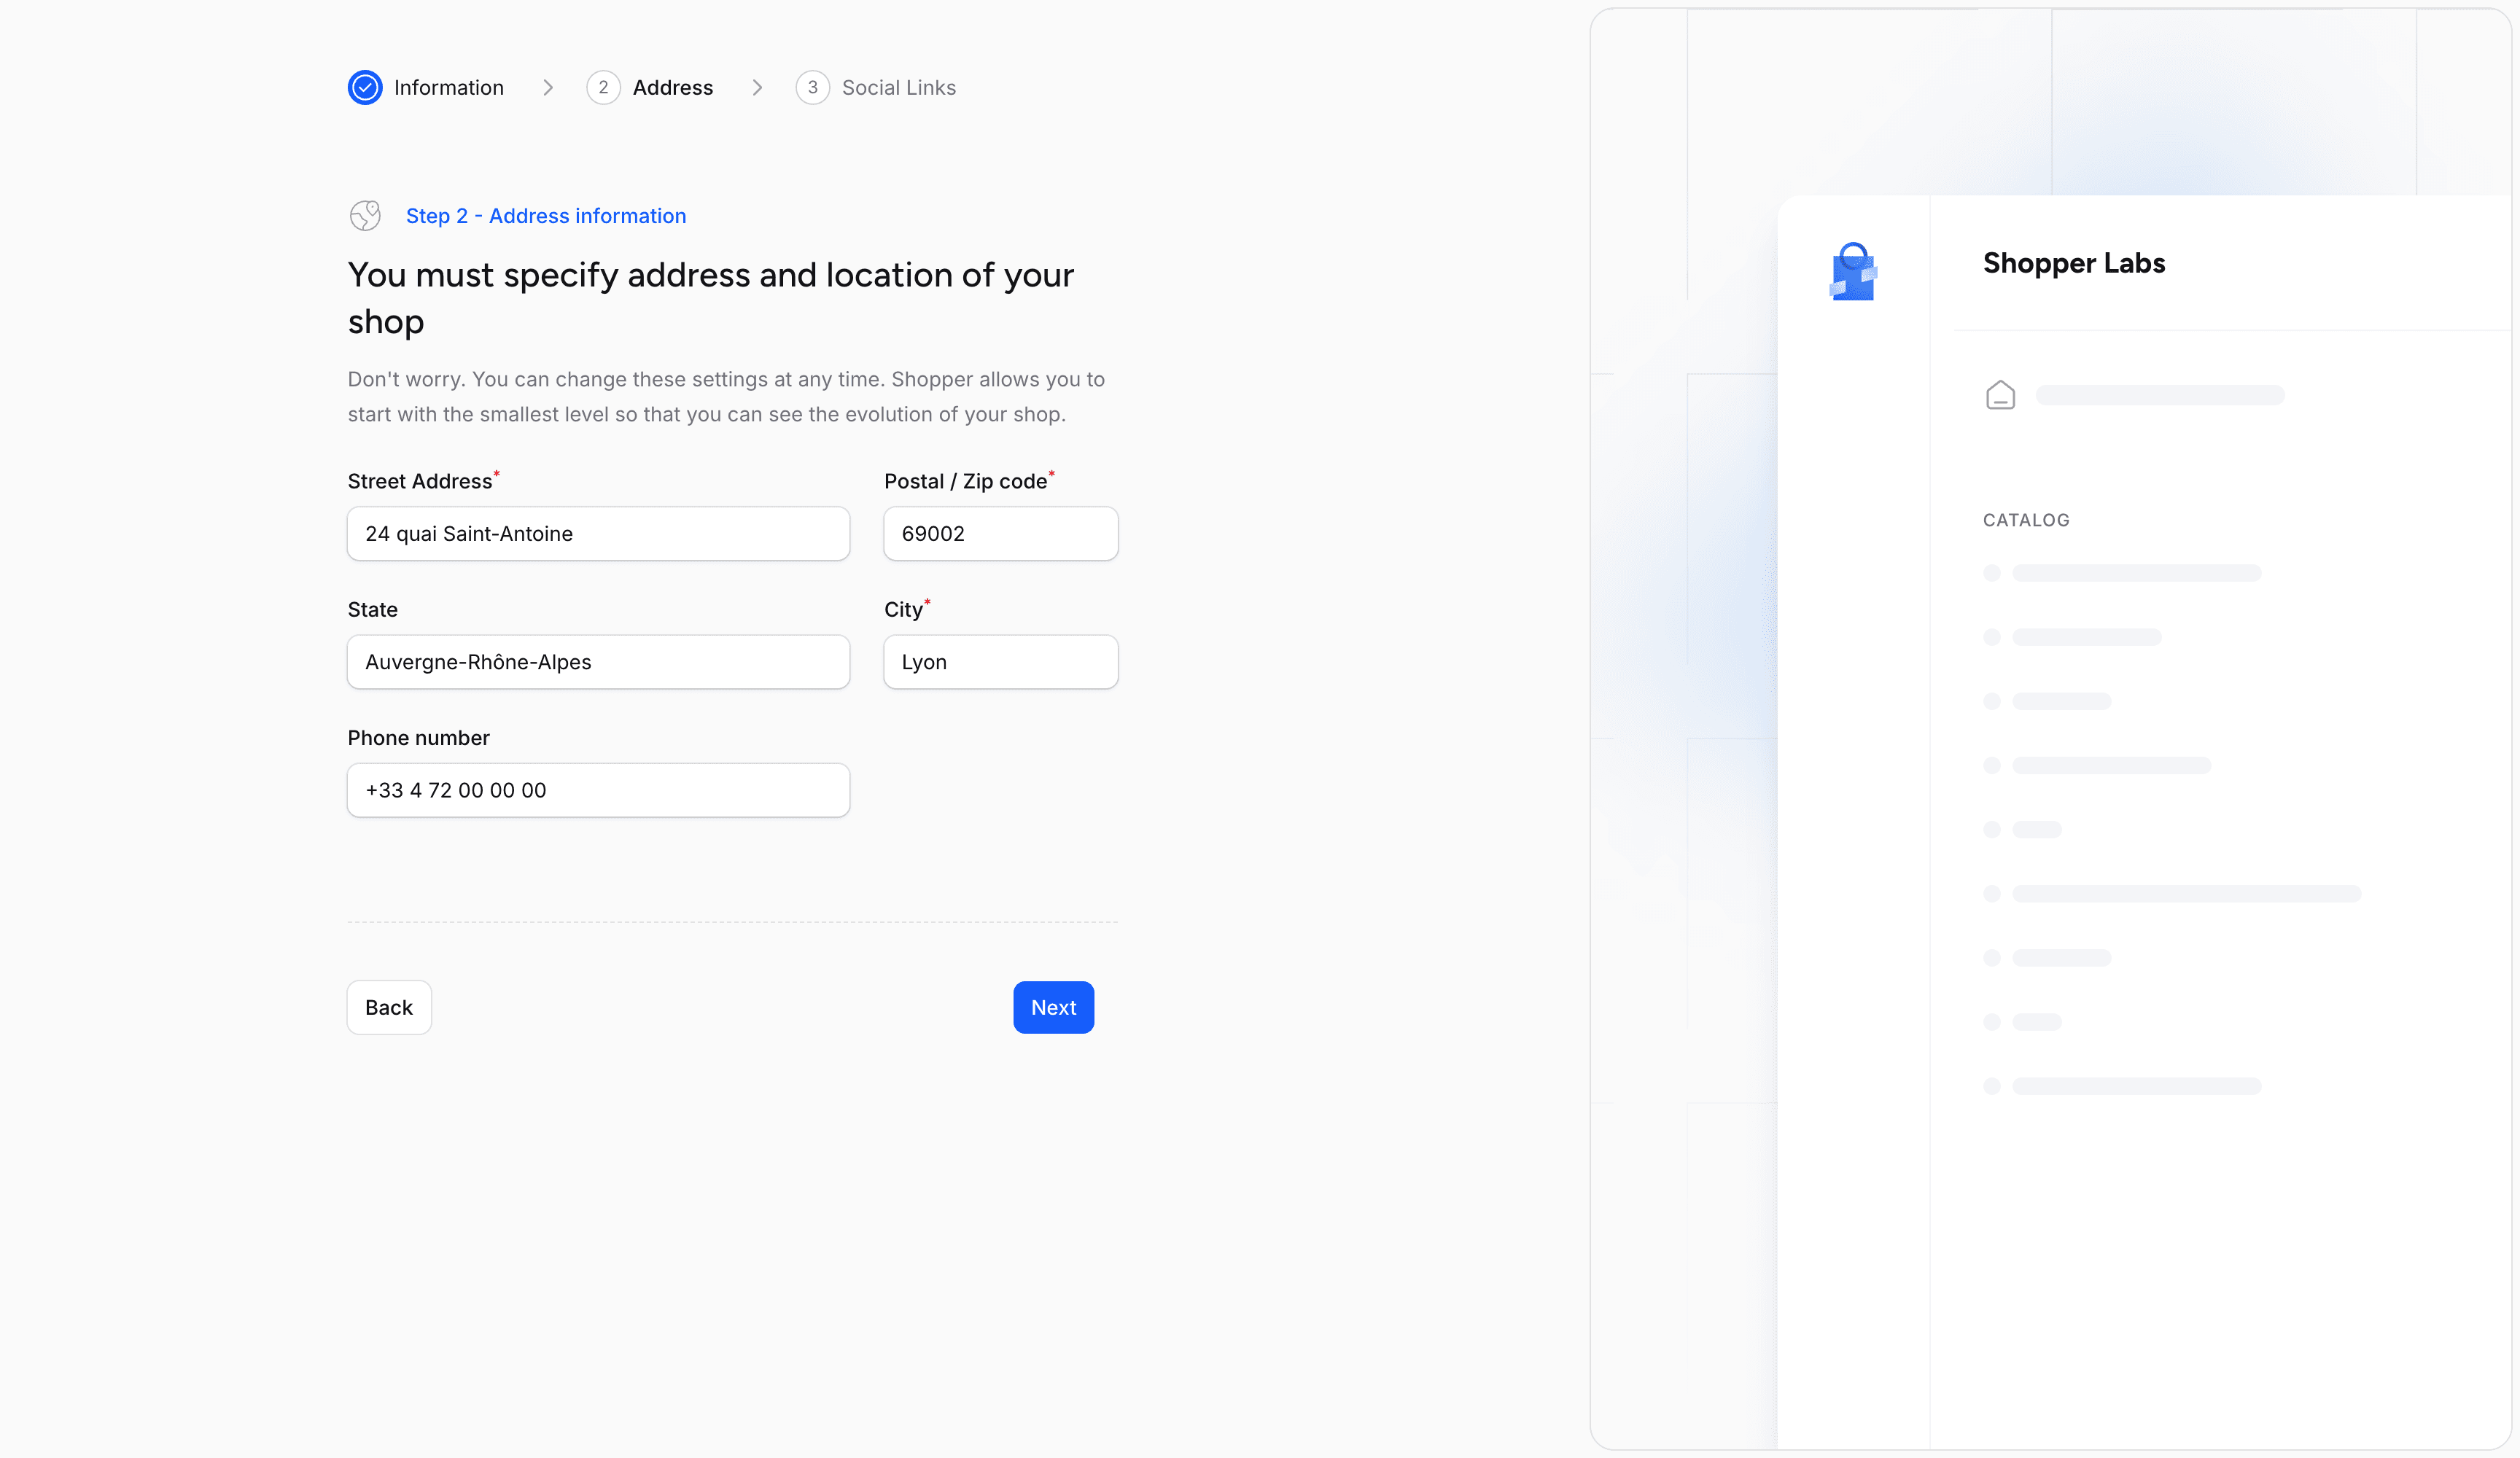
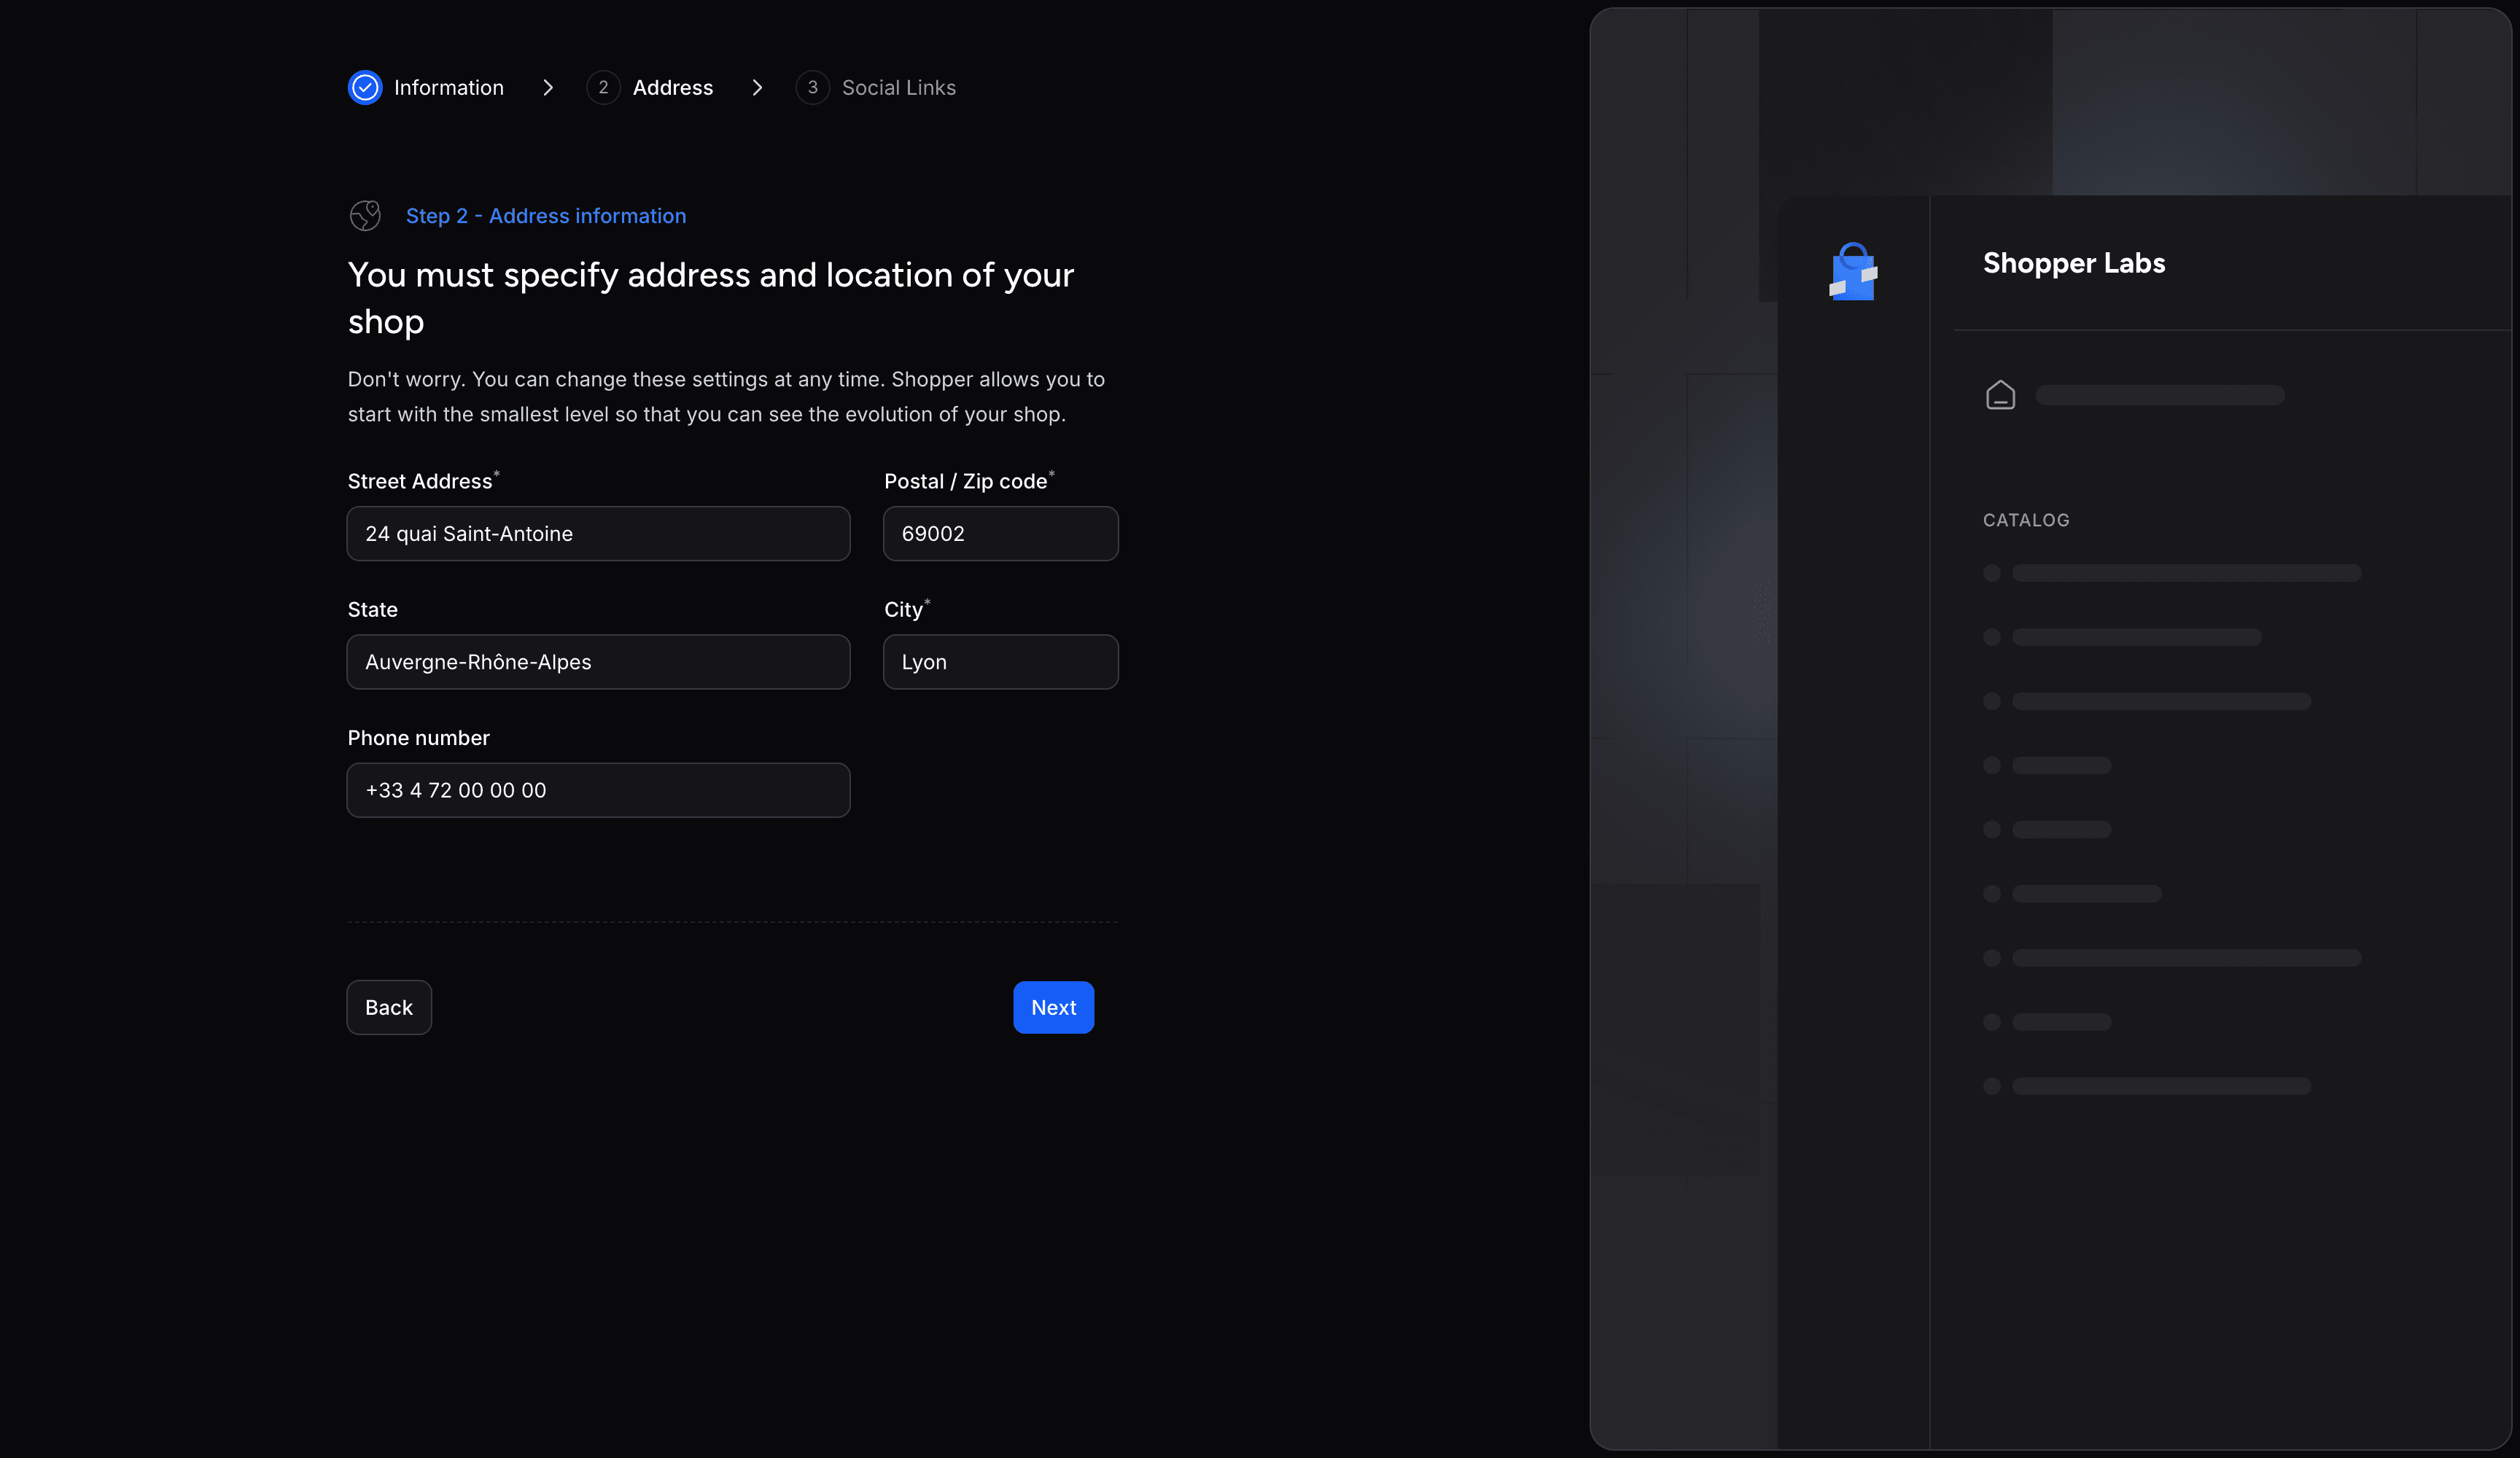
Step 2 - Address Setup
The Address tab, titled Step 2 - Address information on screen. Fill in the Street Address, Postal / Zip code and City, and optionally the State and Phone number, then click Next. This address also becomes your default inventory location.
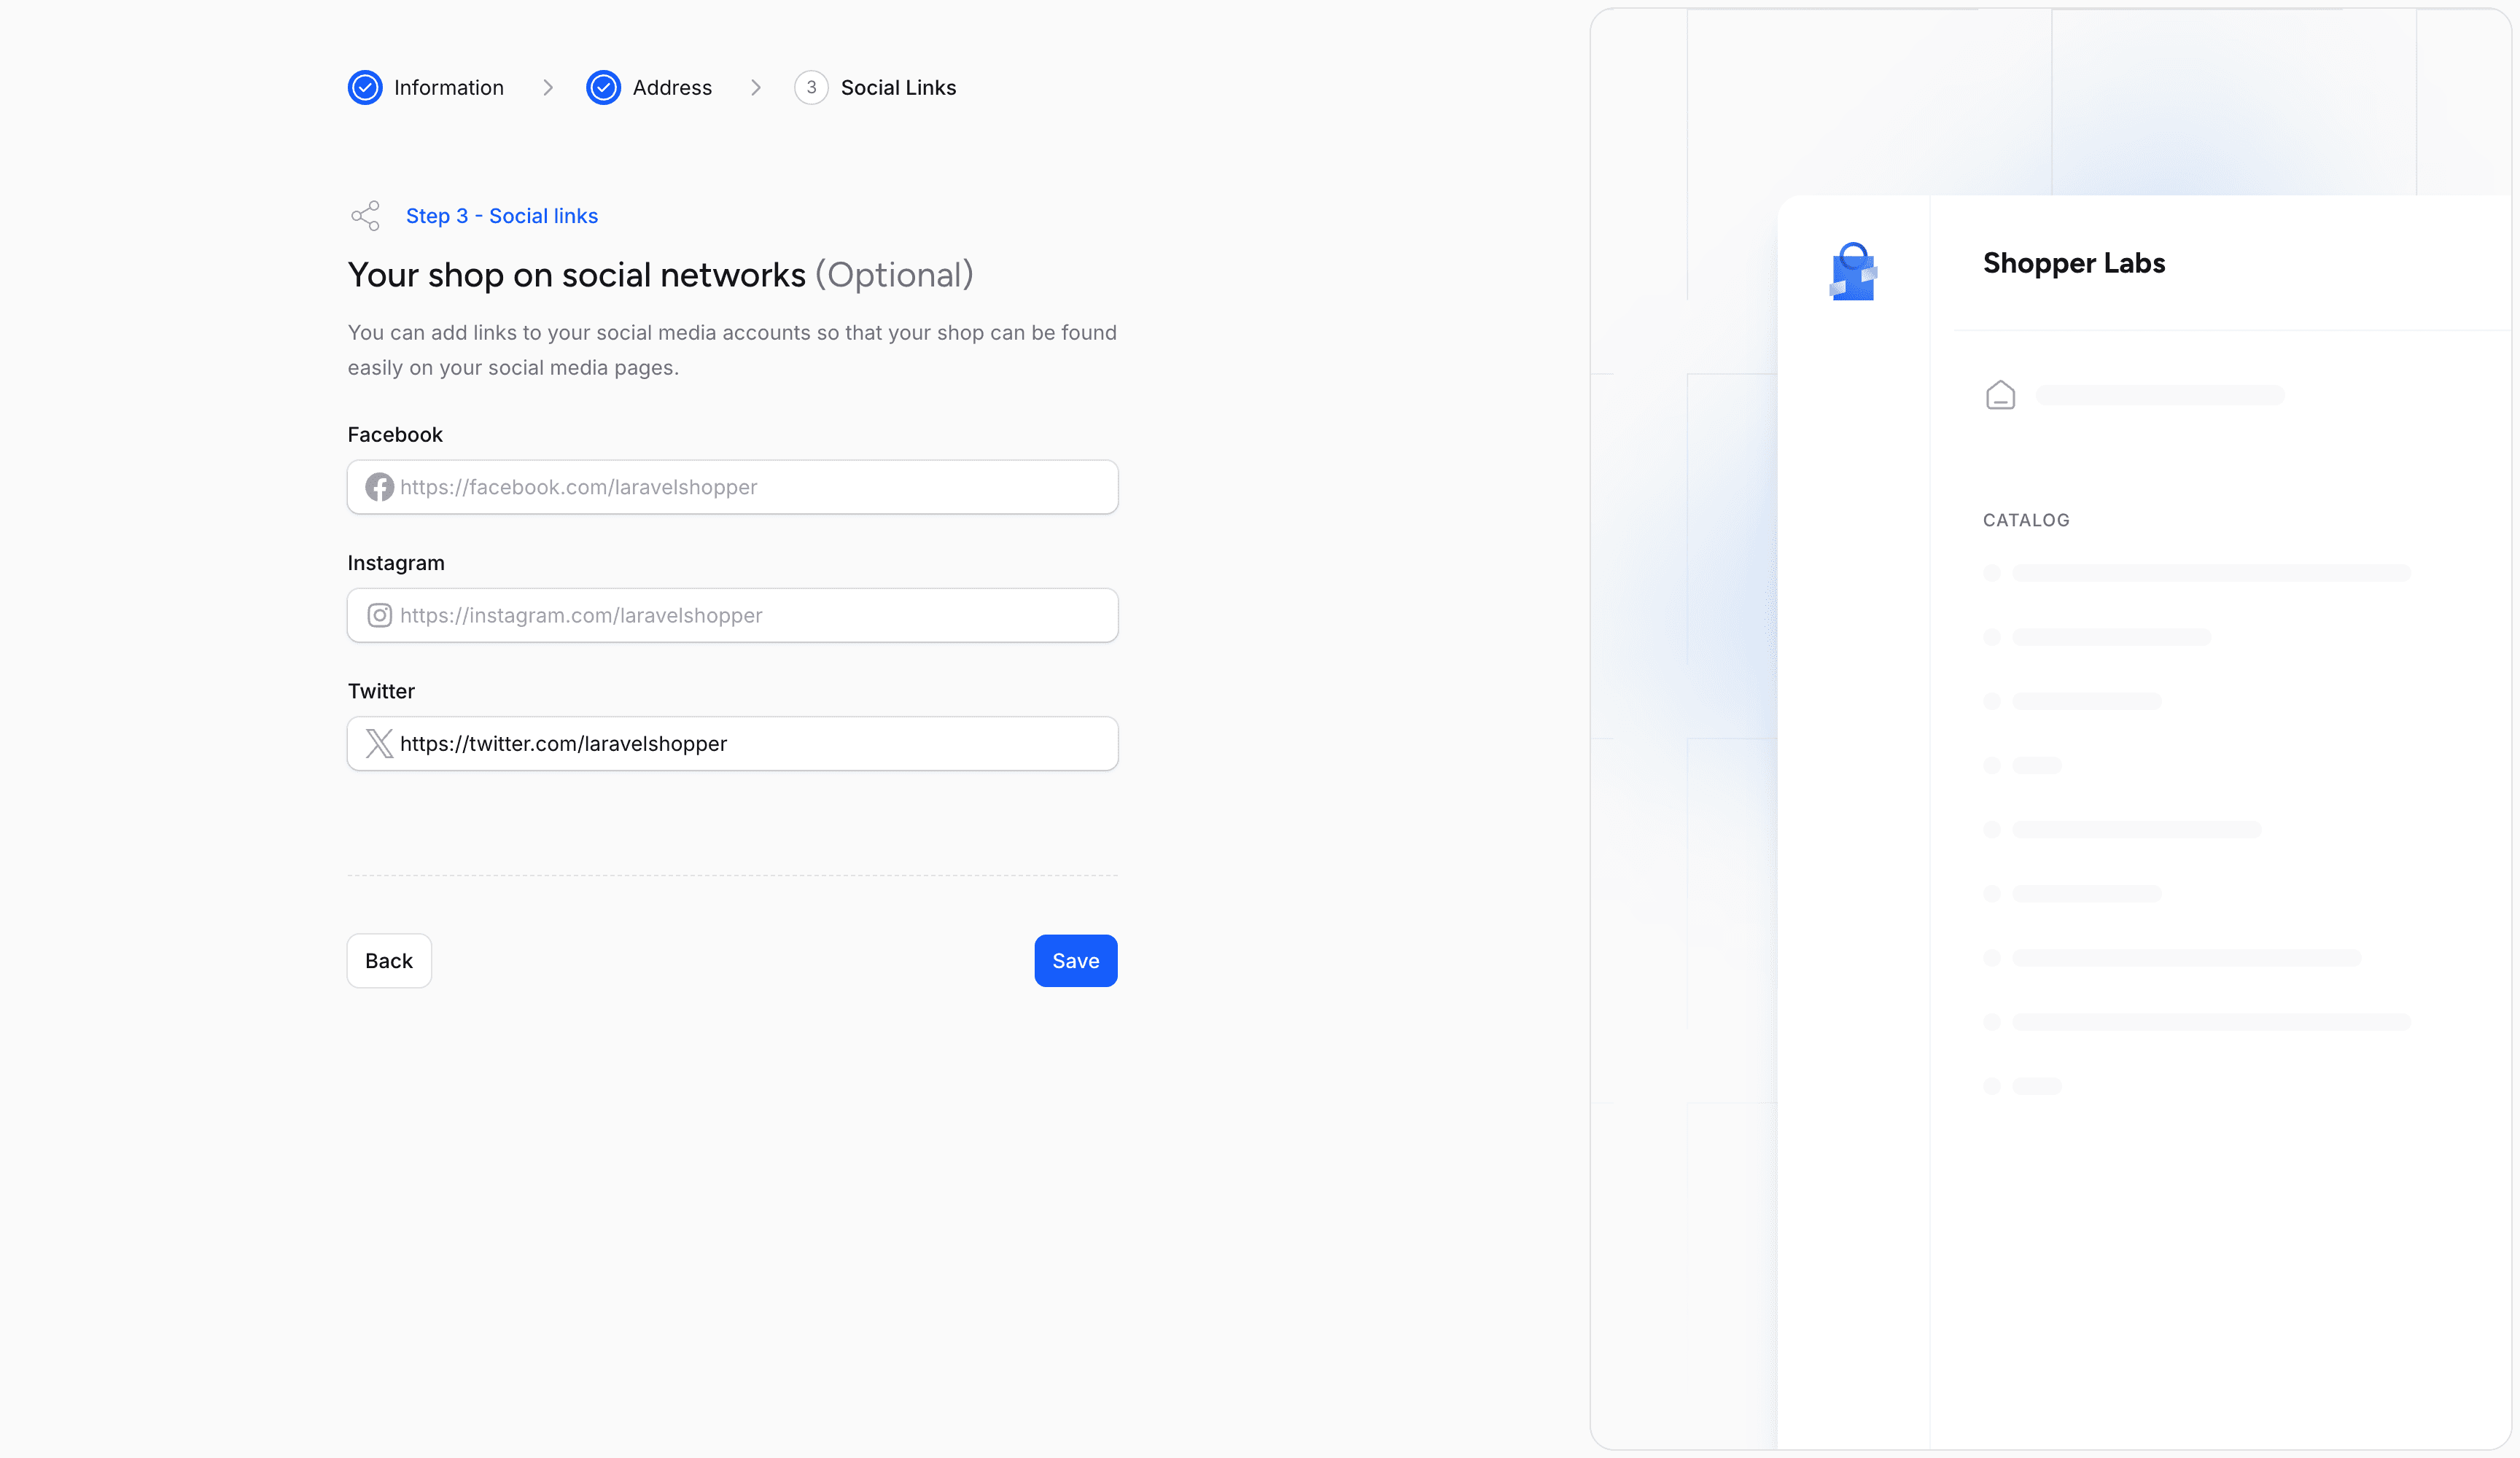
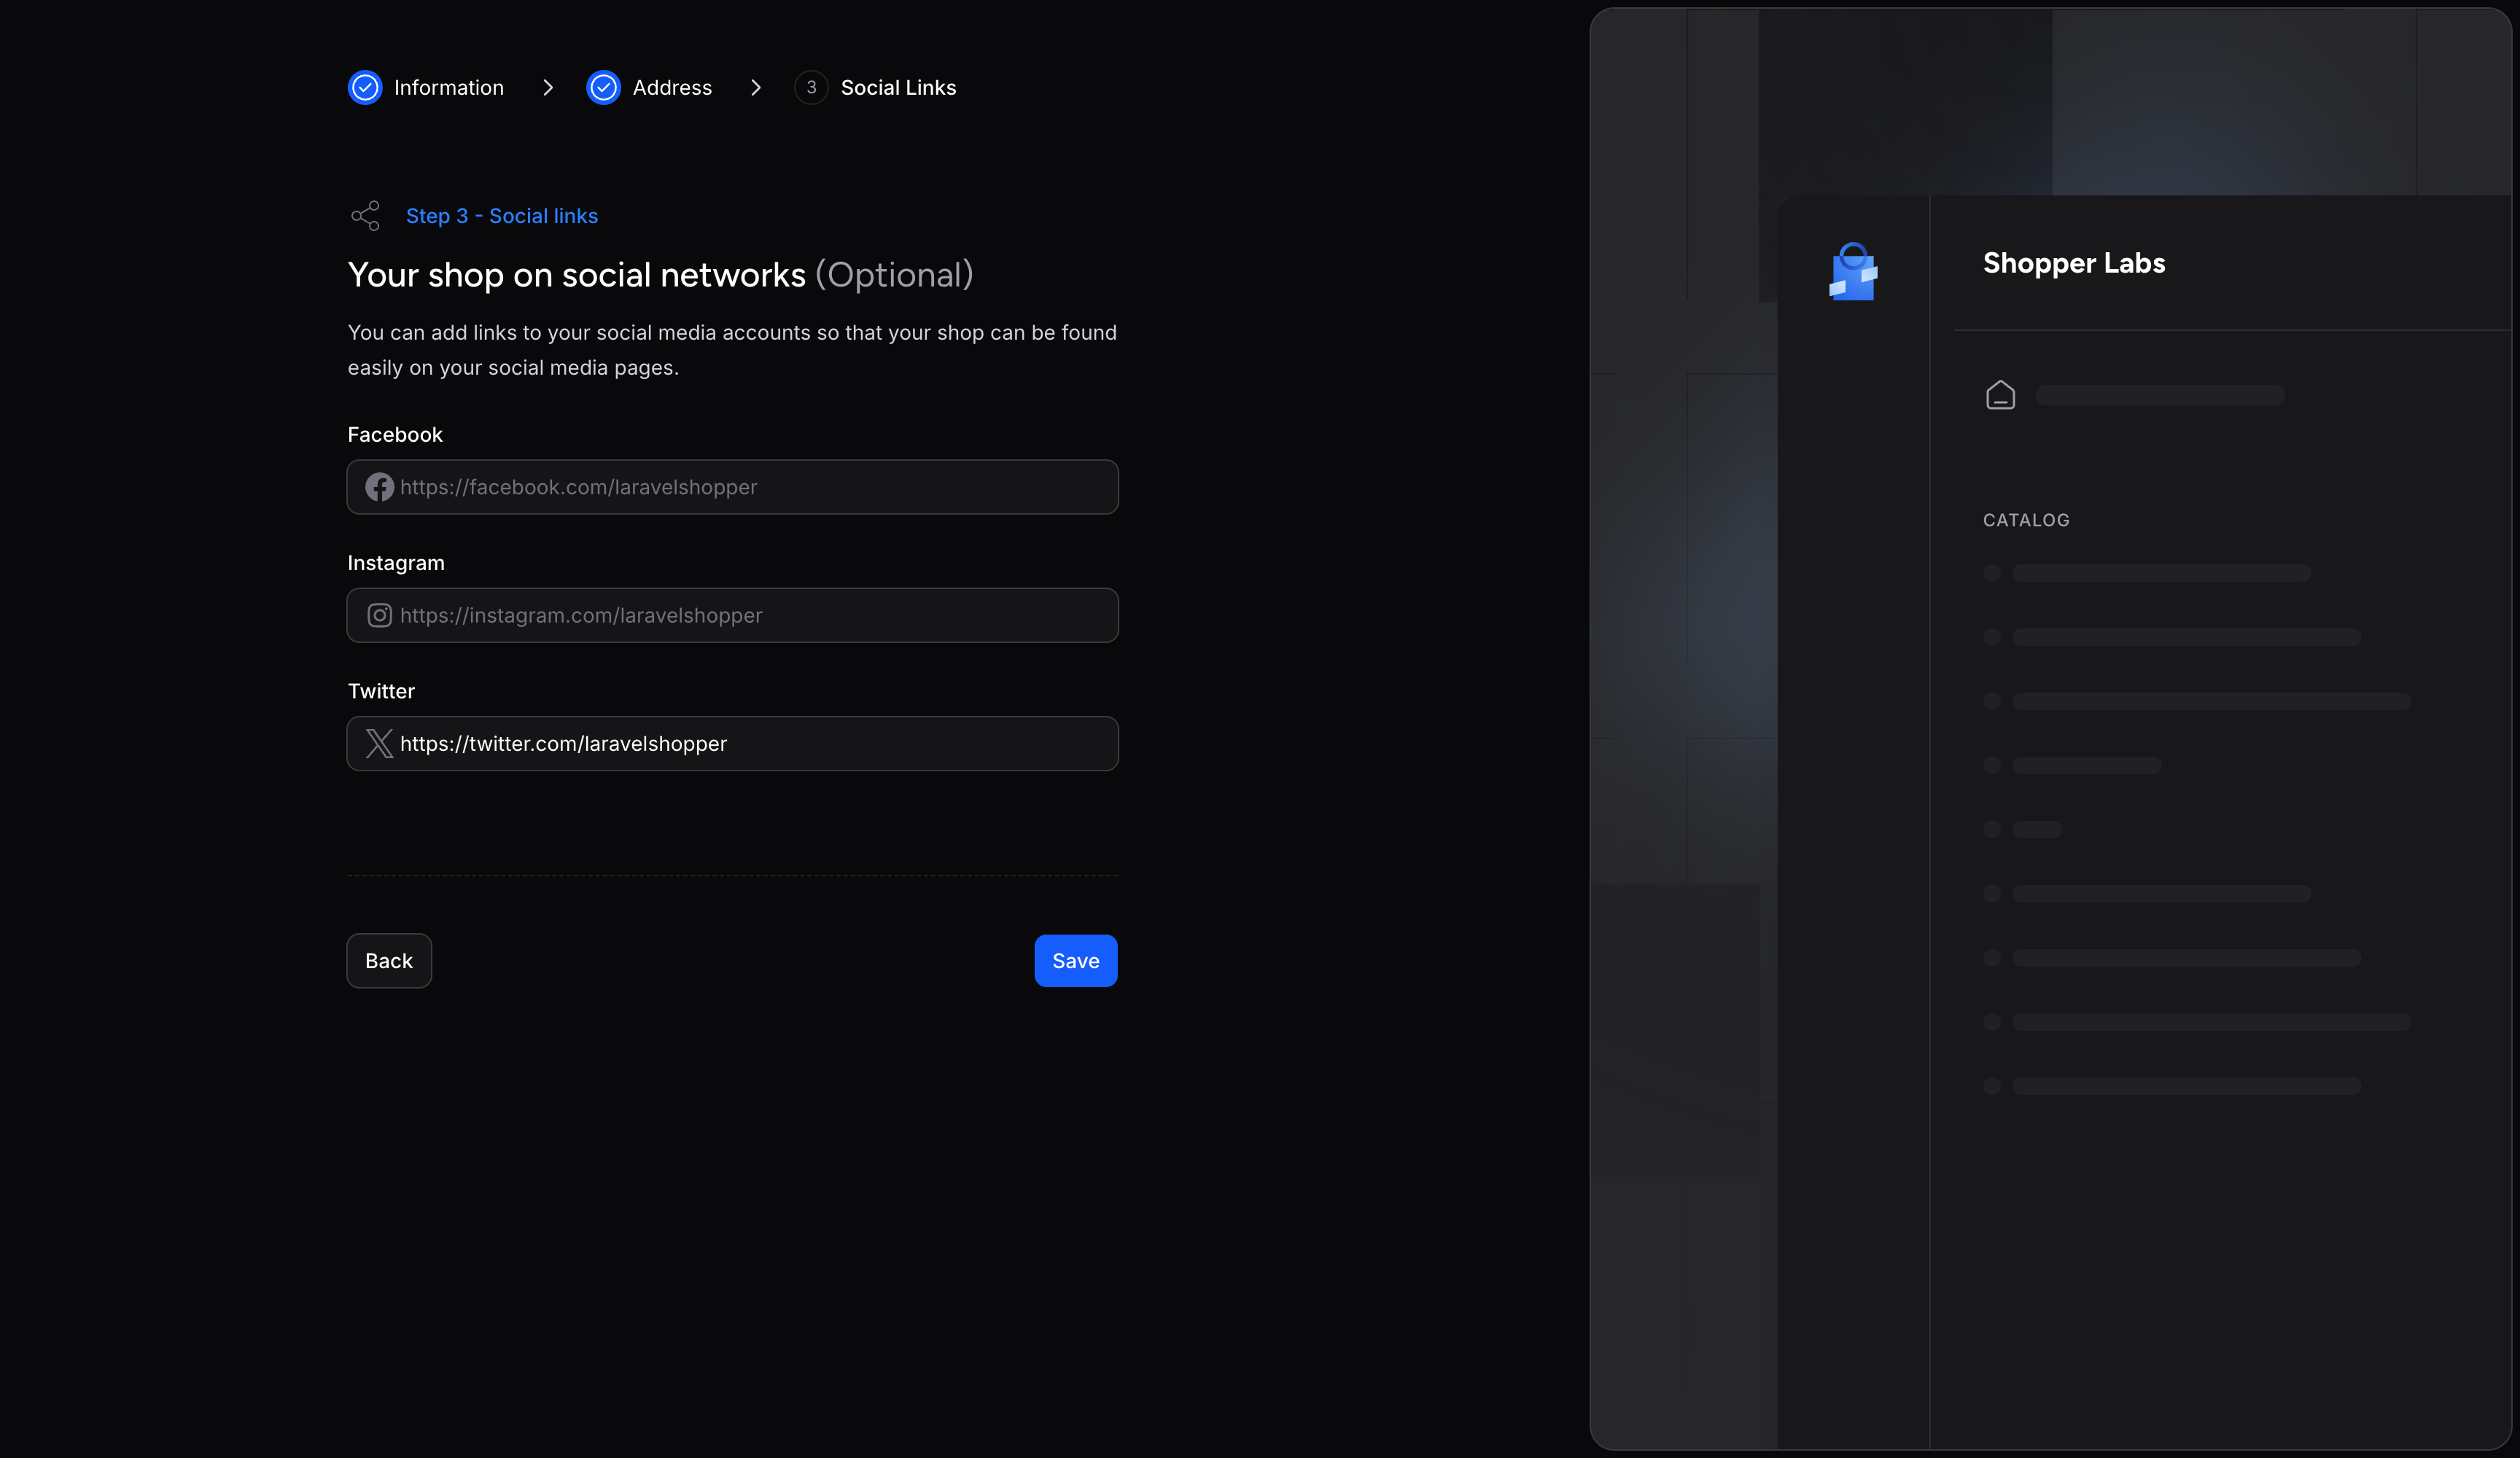
Step 3 - Social Links
The Social Links tab, titled Step 3 - Social links on screen. Add the full URL of your Facebook, Instagram and Twitter pages if you want to, then click Save to finish the setup and open the dashboard.
Saving Changes
After making any changes to your settings:
- Review your changes
- Click the Save button at the bottom of the form
- A confirmation message will appear when your changes are saved
Make sure to keep your store information up to date, especially your contact email, as this is how customers and the system will reach you.
For developer details, see the Setup Store documentation.
Last updated on
Edit on GitHub