
Roles & Permissions
Configure access control with roles and permissions.
Roles and permissions allow you to control what each staff member can do in your store's administration panel. This ensures security and prevents unauthorized access to sensitive areas.
Overview
The access control system consists of:
- Roles - Groups of permissions assigned to users
- Permissions - Individual actions a user can perform
Accessing Roles & Permissions
- Click on Settings in the sidebar
- Select Staff & permissions
The page opens with the title Administrators & roles. Your roles appear as cards under Administrator role available, each with its number of accounts and a View details link that opens the role.
Understanding Permissions
Permissions control access to specific actions:
Permission Categories
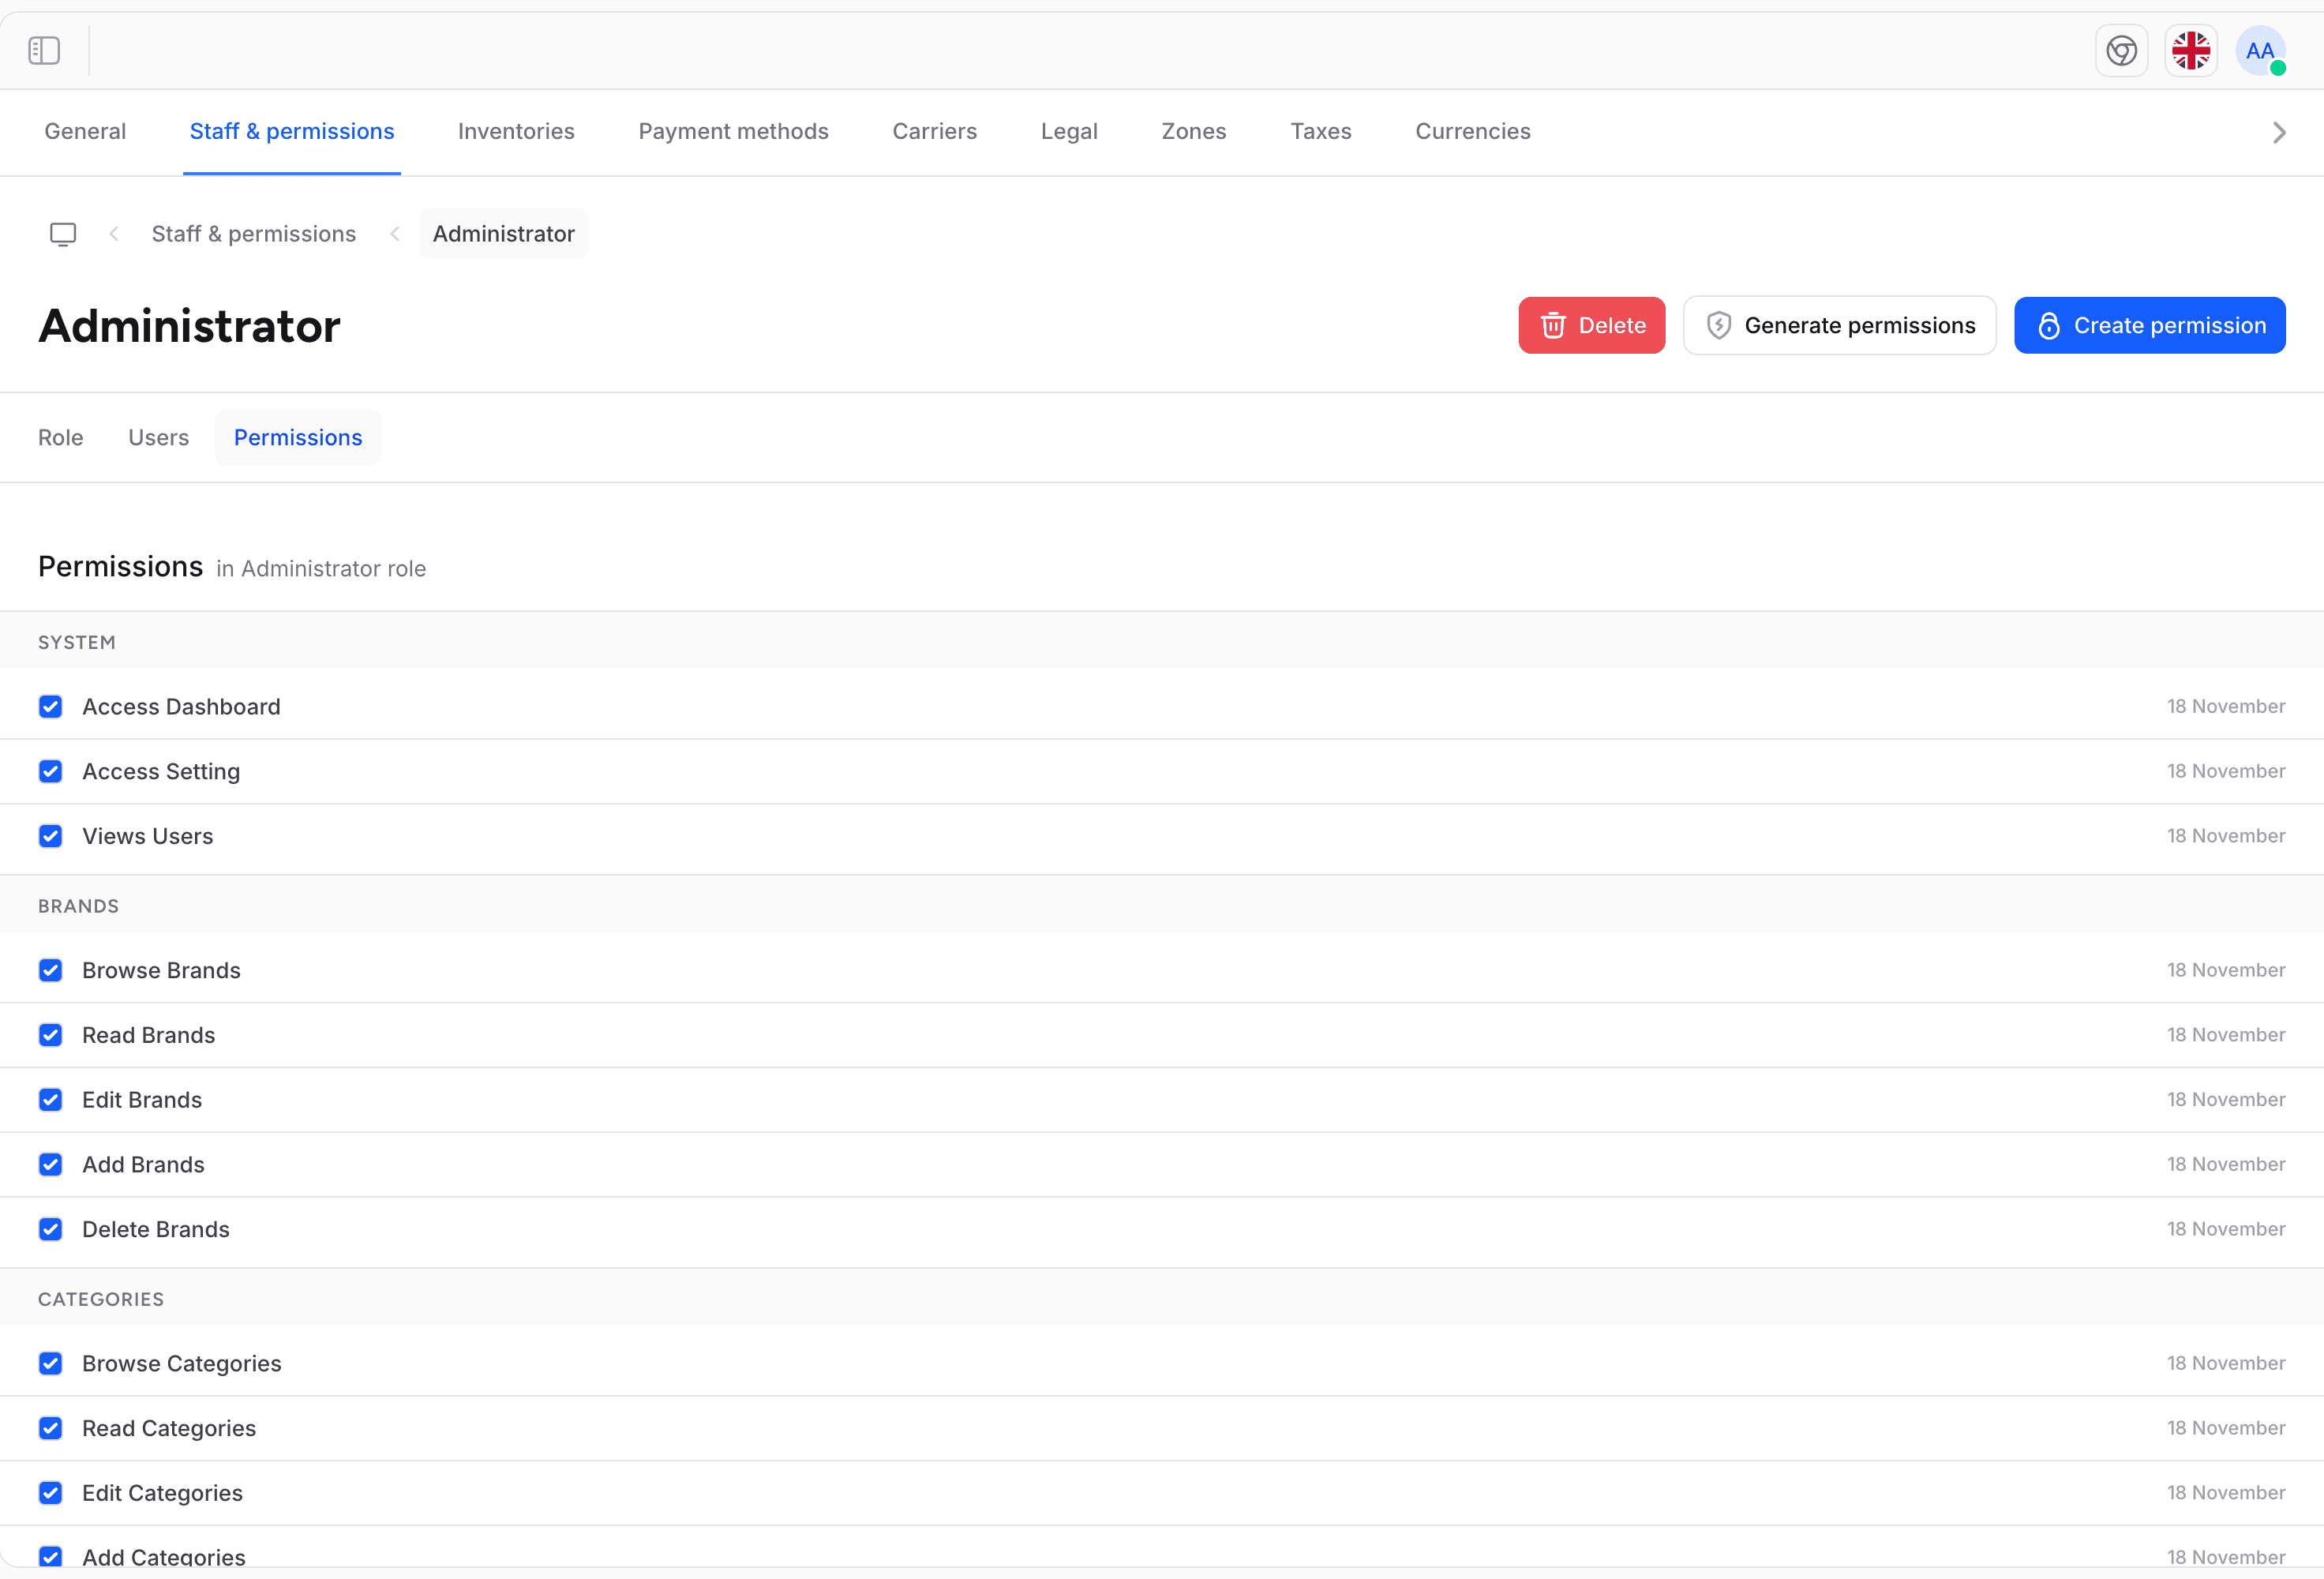
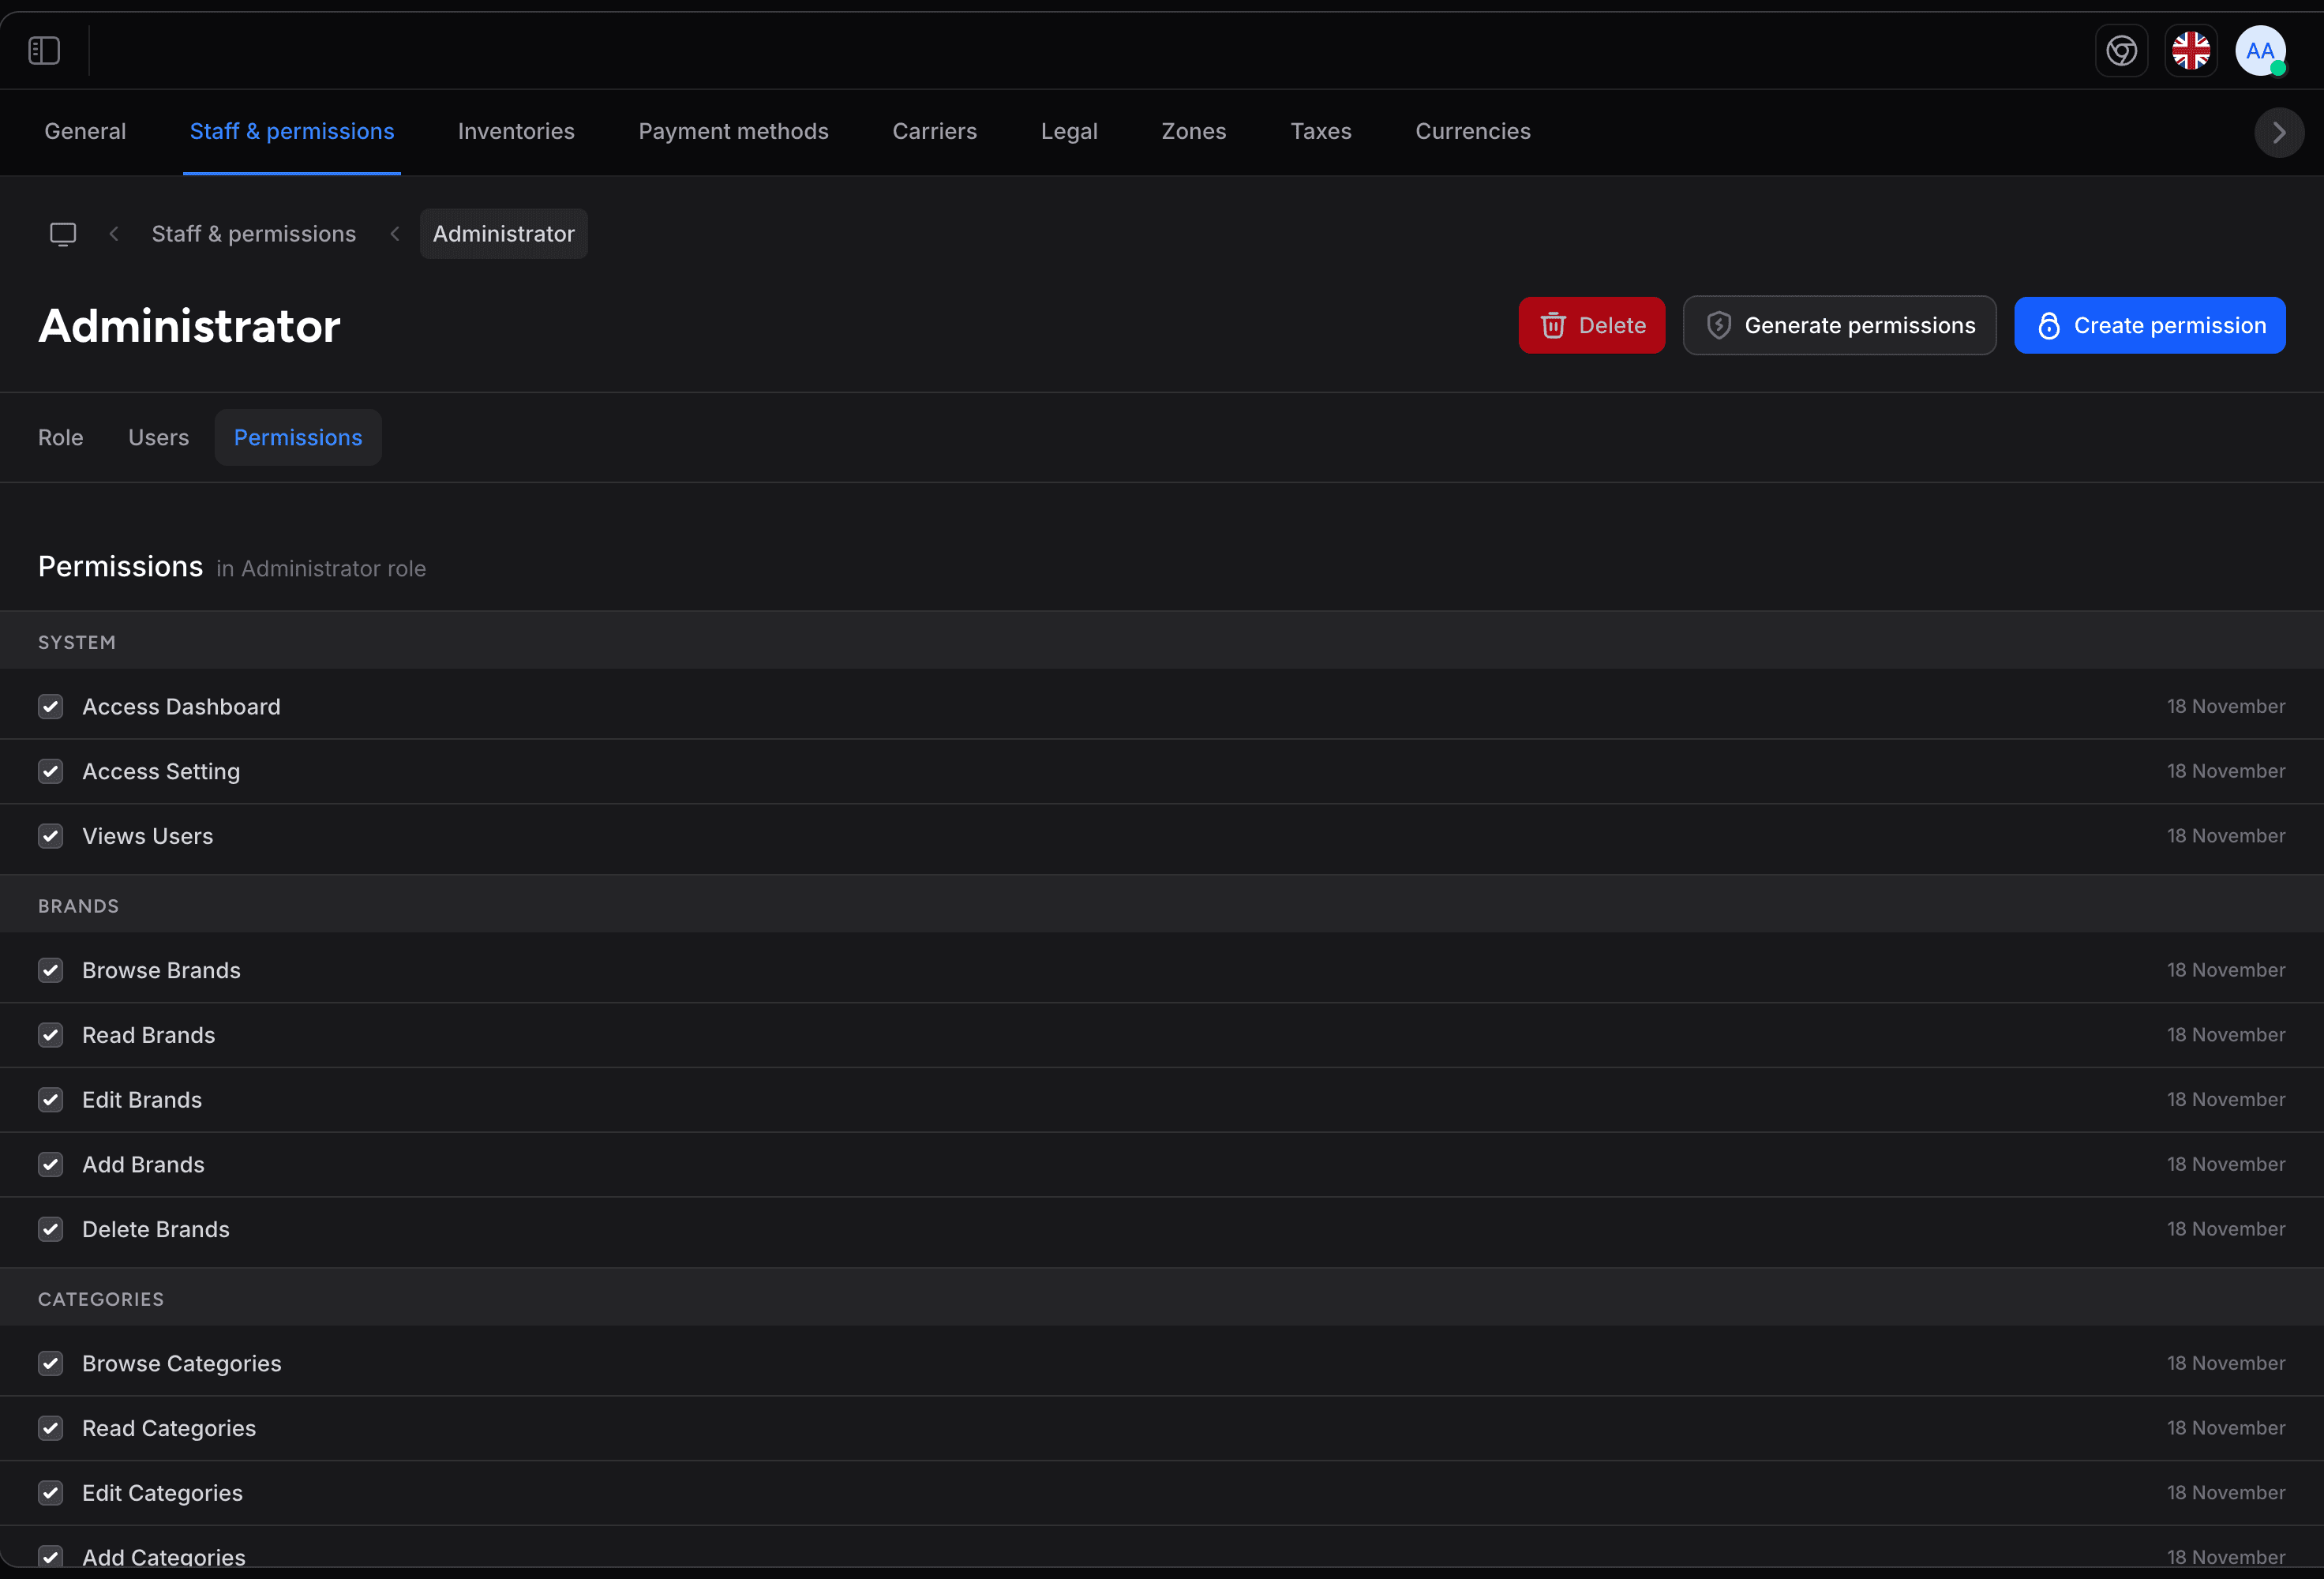
Permissions are sorted into groups. Most groups hold the same five permissions for one area of the admin: Browse (see the list), Read (open a record), Edit, Add and Delete.
| Category | Examples |
|---|---|
| System | Access Dashboard; Access Setting (all store settings except staff, roles and permissions); Views Users (staff accounts, roles and permissions) |
| Brands | Browse, read, edit, add and delete brands |
| Categories | Browse, read, edit, add and delete categories |
| Collections | Browse, read, edit, add and delete collections |
| Products | Browse, read, edit, add and delete products, plus the same five permissions for inventories, attributes, reviews, product variants, suppliers and tags |
| Customers | Browse, read, edit, add and delete customers |
| Orders | Browse, read, edit, add and delete orders. There is no separate permission for refunds |
| Discounts | Browse, read, edit, add and delete discounts |
Permissions created without a group are listed under Custom permission.
Browsing Permissions
Open a role with View details and click the Permissions tab. Every permission is listed by group, with a checkbox that shows whether the role has it and the date it was created:
Managing Roles
Creating a Role
To create a new role:
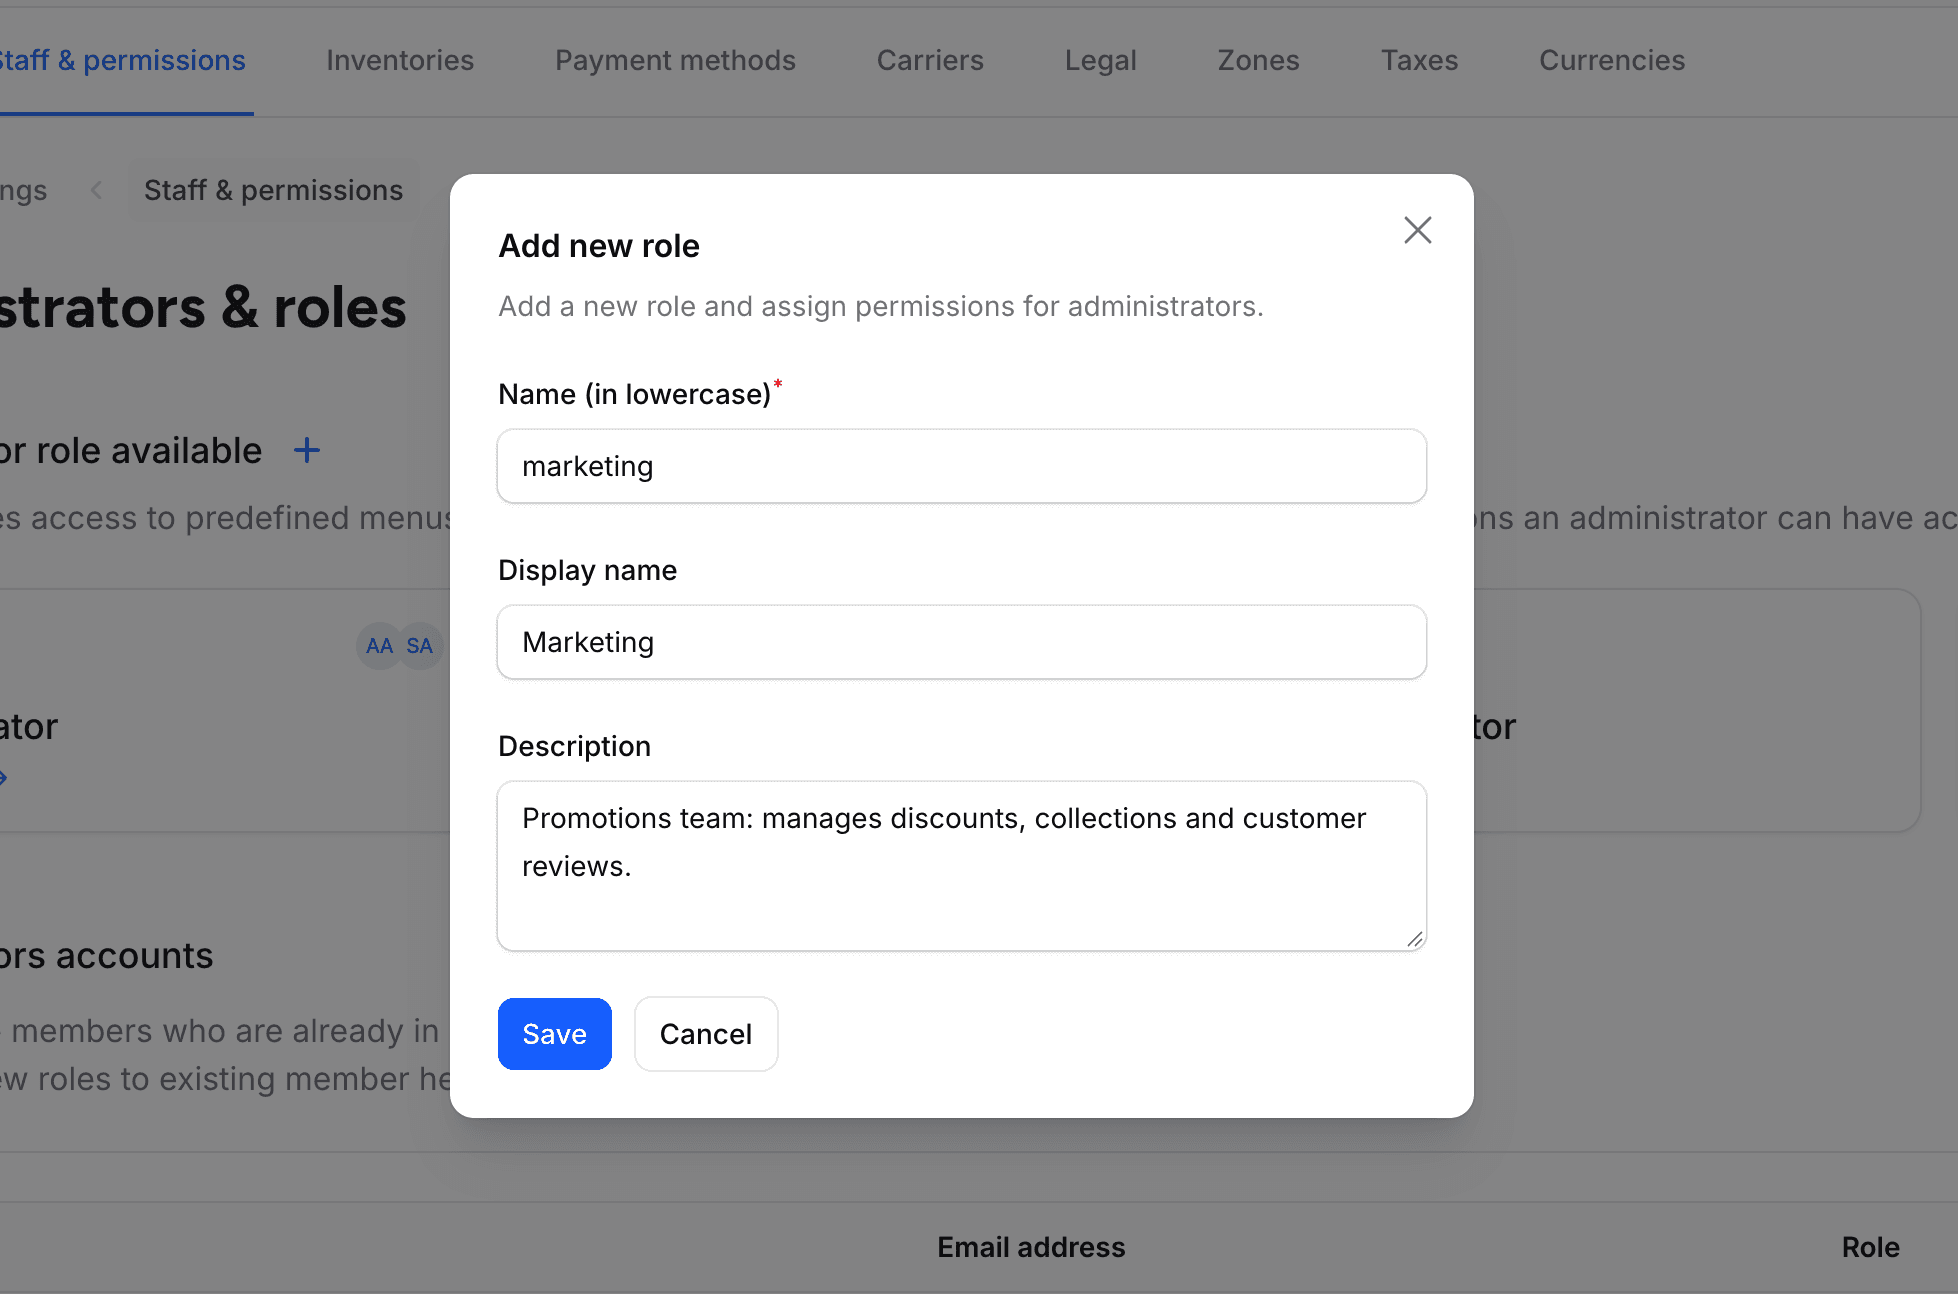
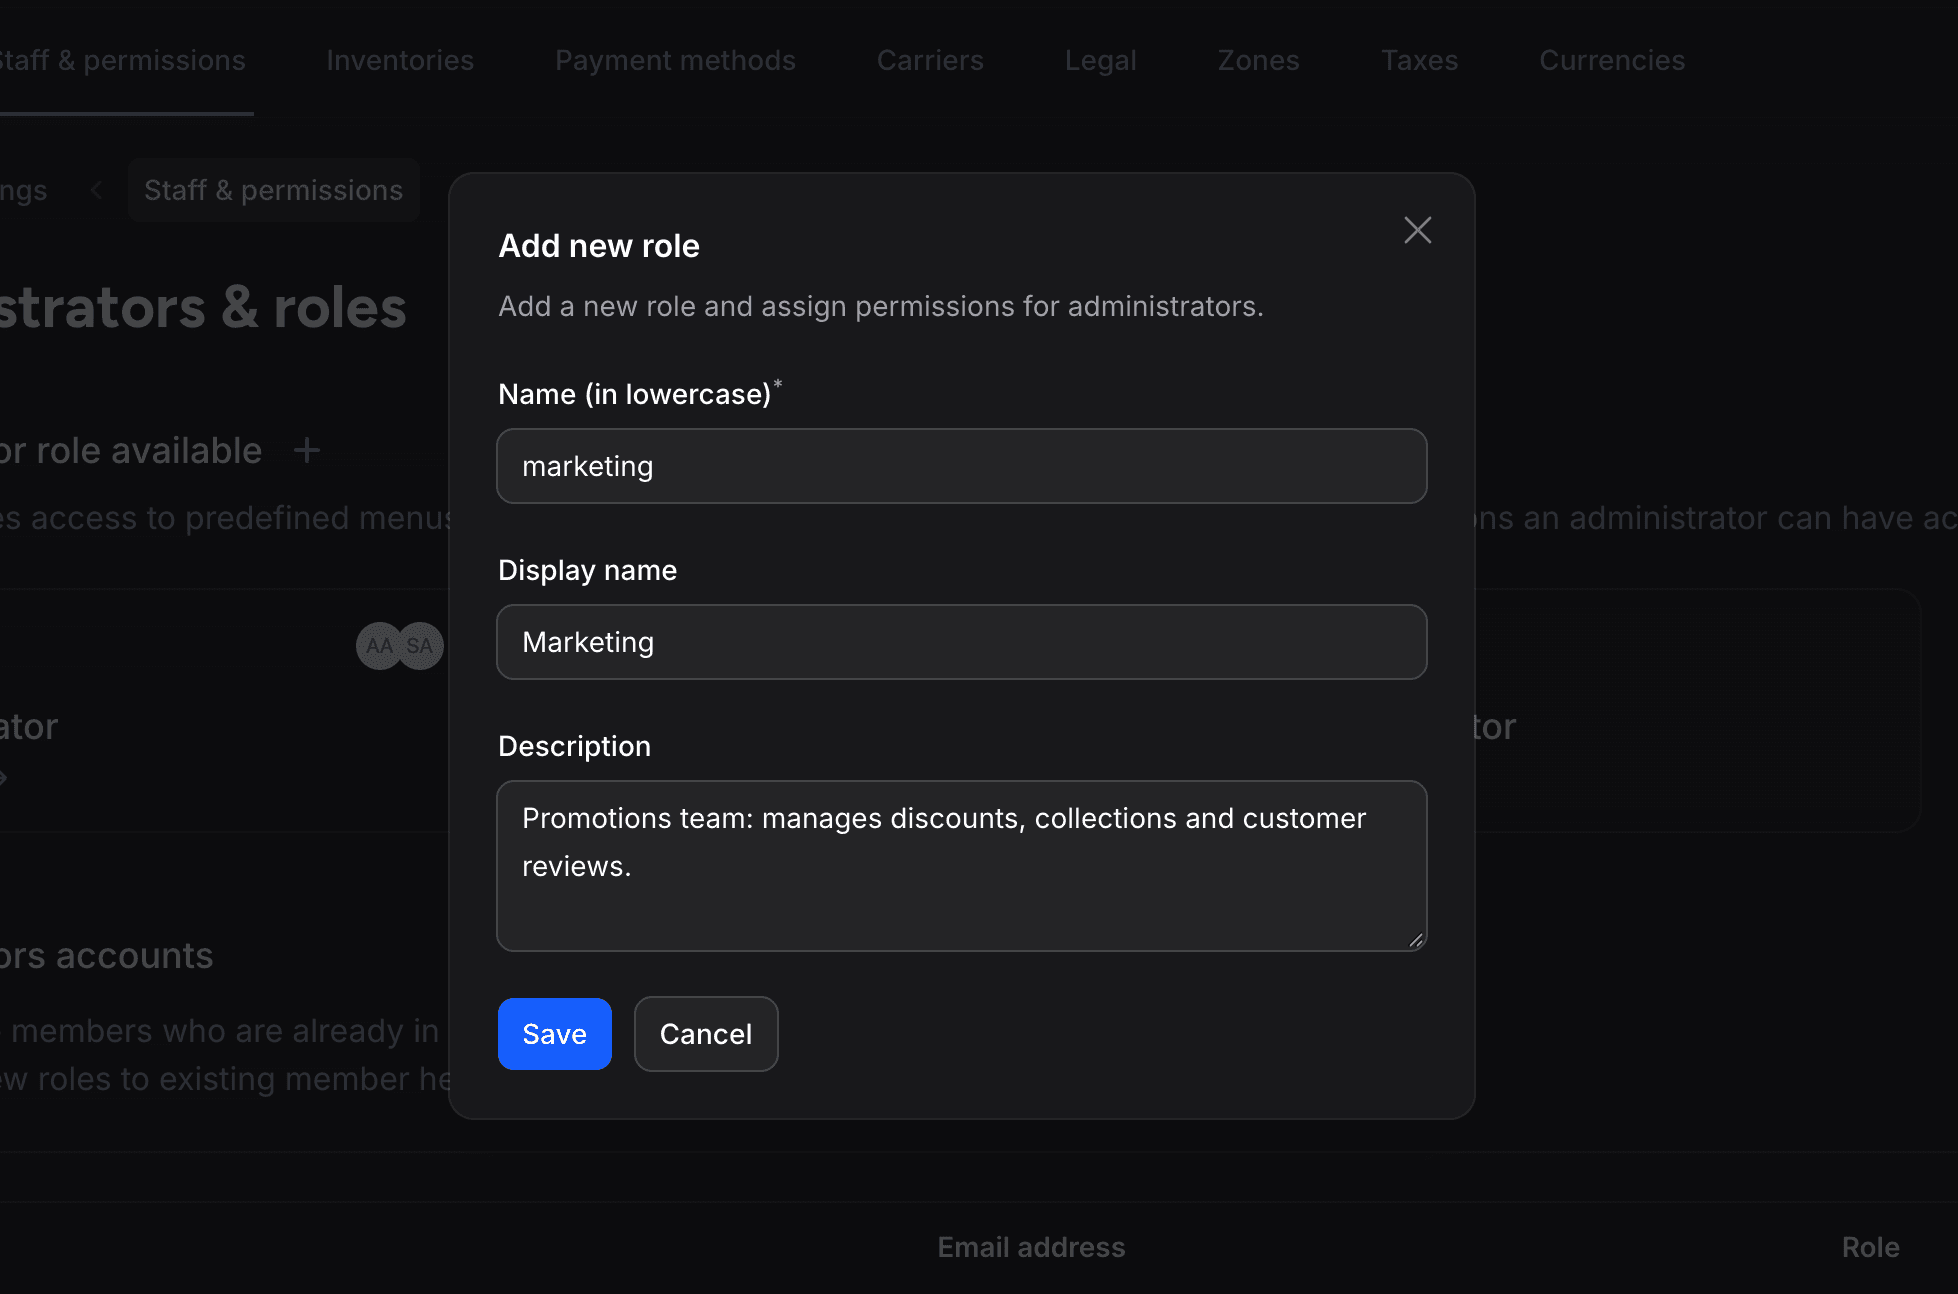
- On the Administrators & roles page, click the + button next to Administrator role available (its tooltip reads Add new role)
- Enter the Name (in lowercase), for example "manager"
- Enter the Display name shown in the admin, for example "Manager", and a Description
- Click Save
- Open the new role with View details, click the Permissions tab and check the permissions the role needs. Each checkbox is saved as soon as you click it
Role Fields
| Field | Description |
|---|---|
| Name (in lowercase) | Internal name of the role, unique (e.g., "store_manager") |
| Display name | Name shown in the admin (e.g., "Store Manager") |
| Description | What this role is for |
Permissions are not part of this form: you check them on the role's Permissions tab once the role exists.
Updating a Role
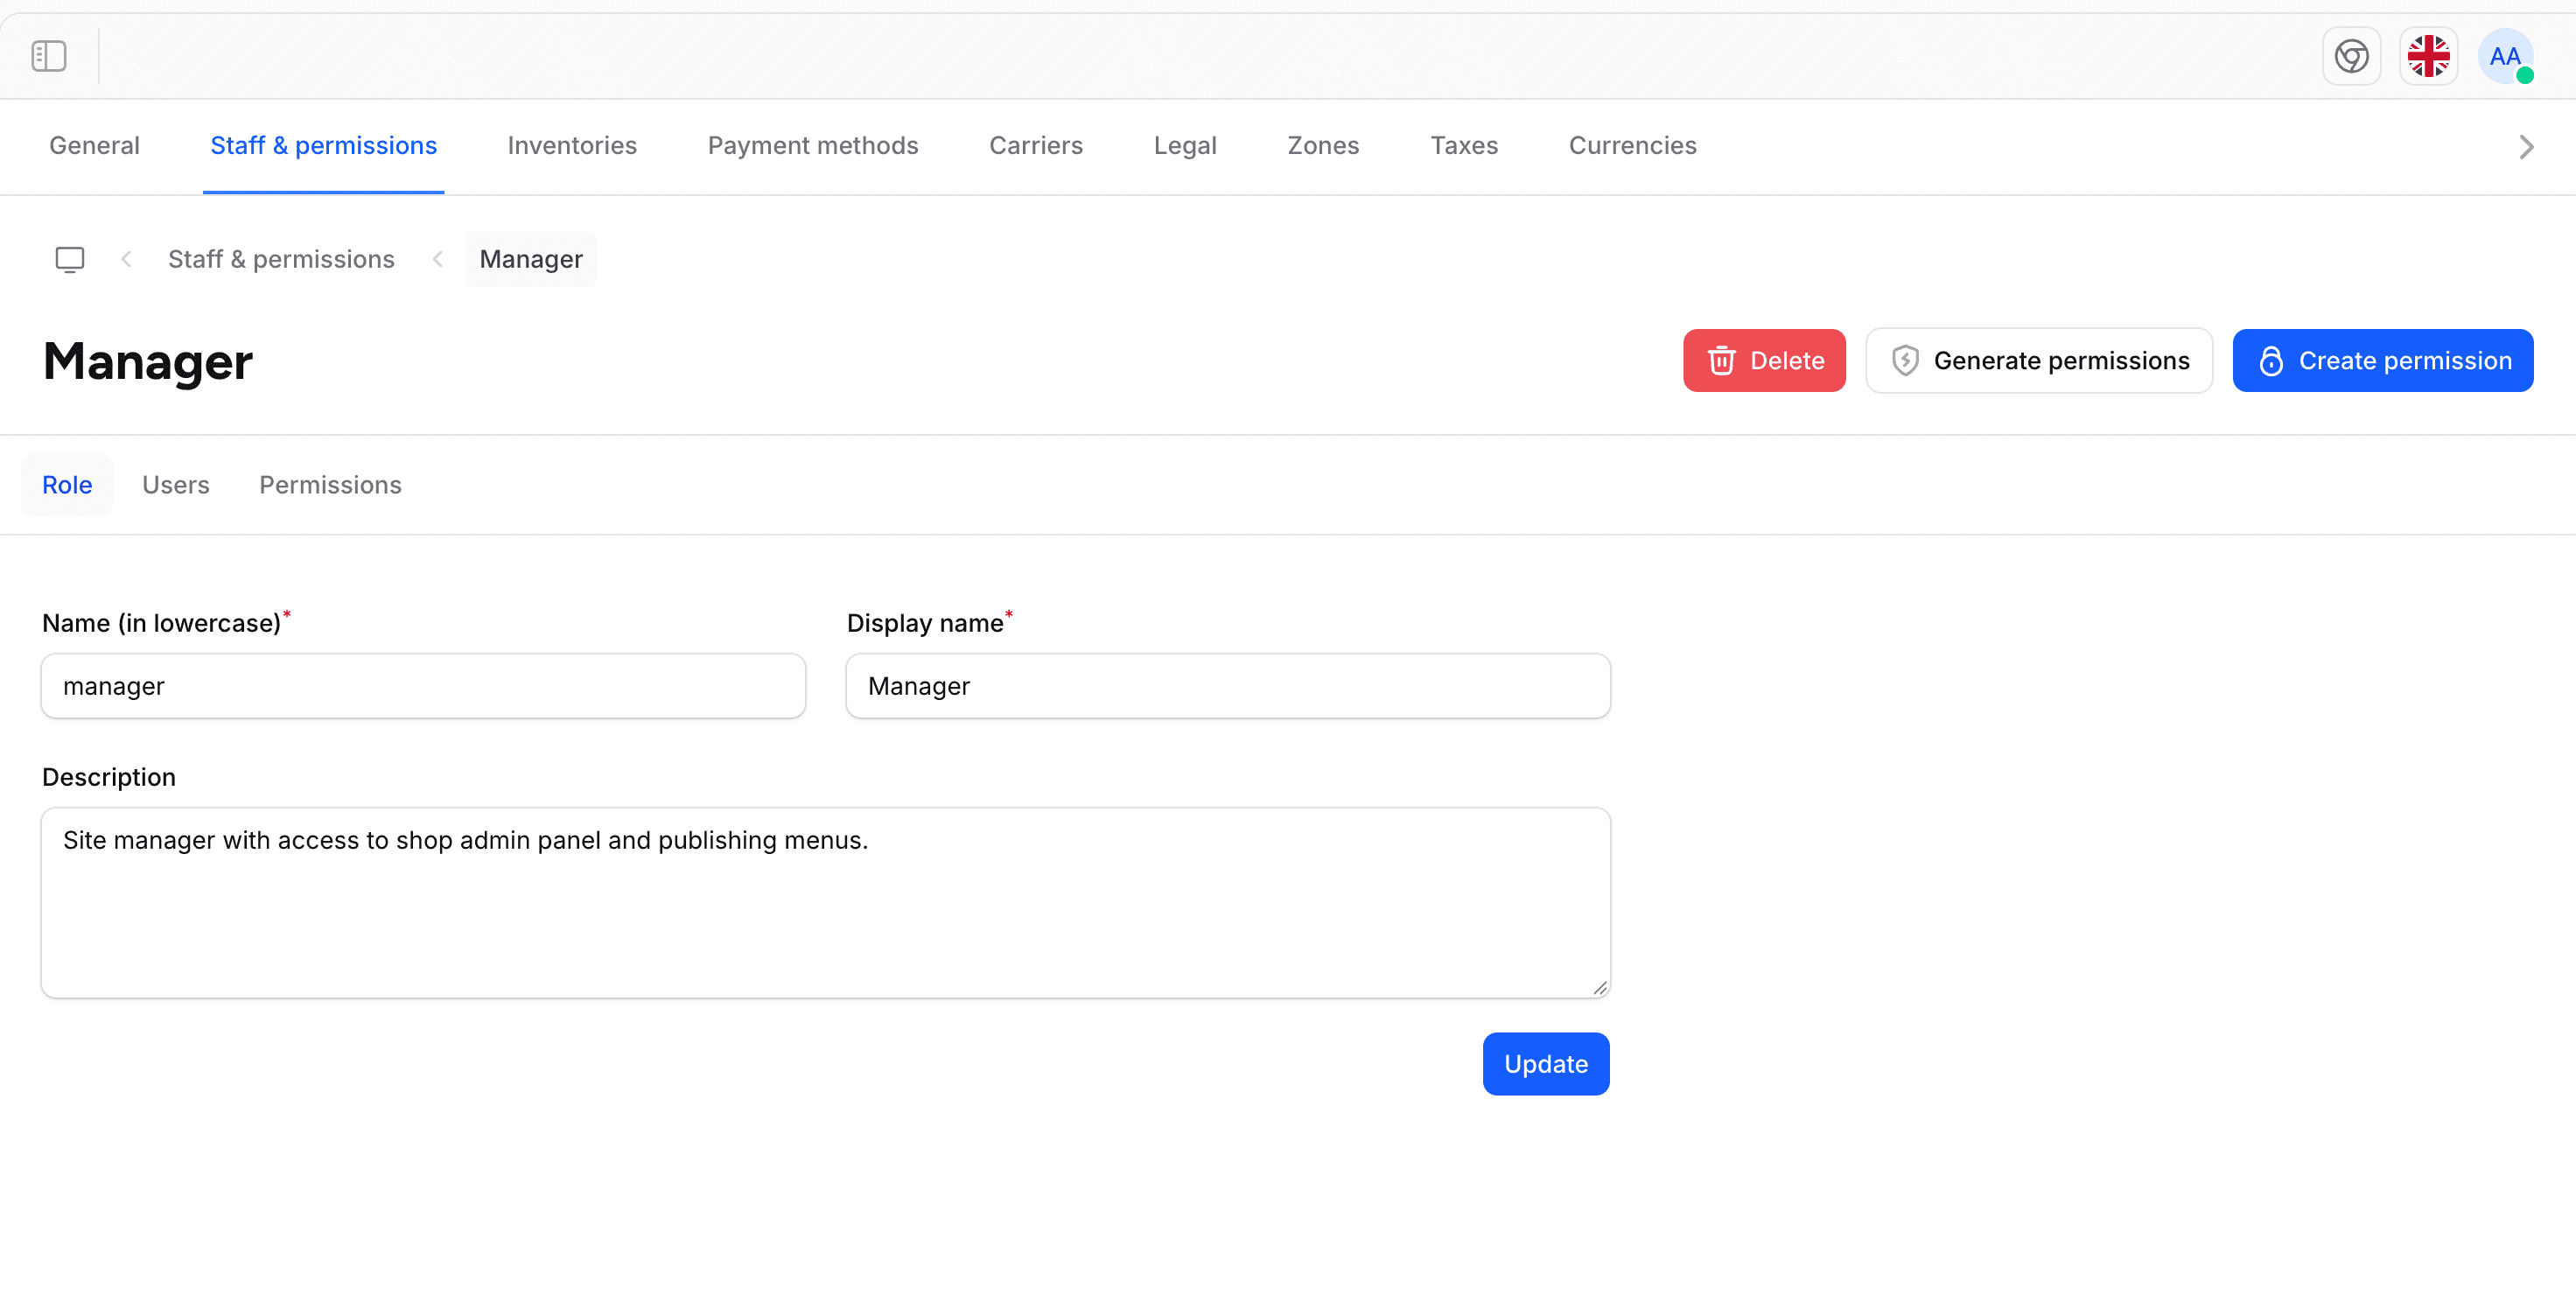
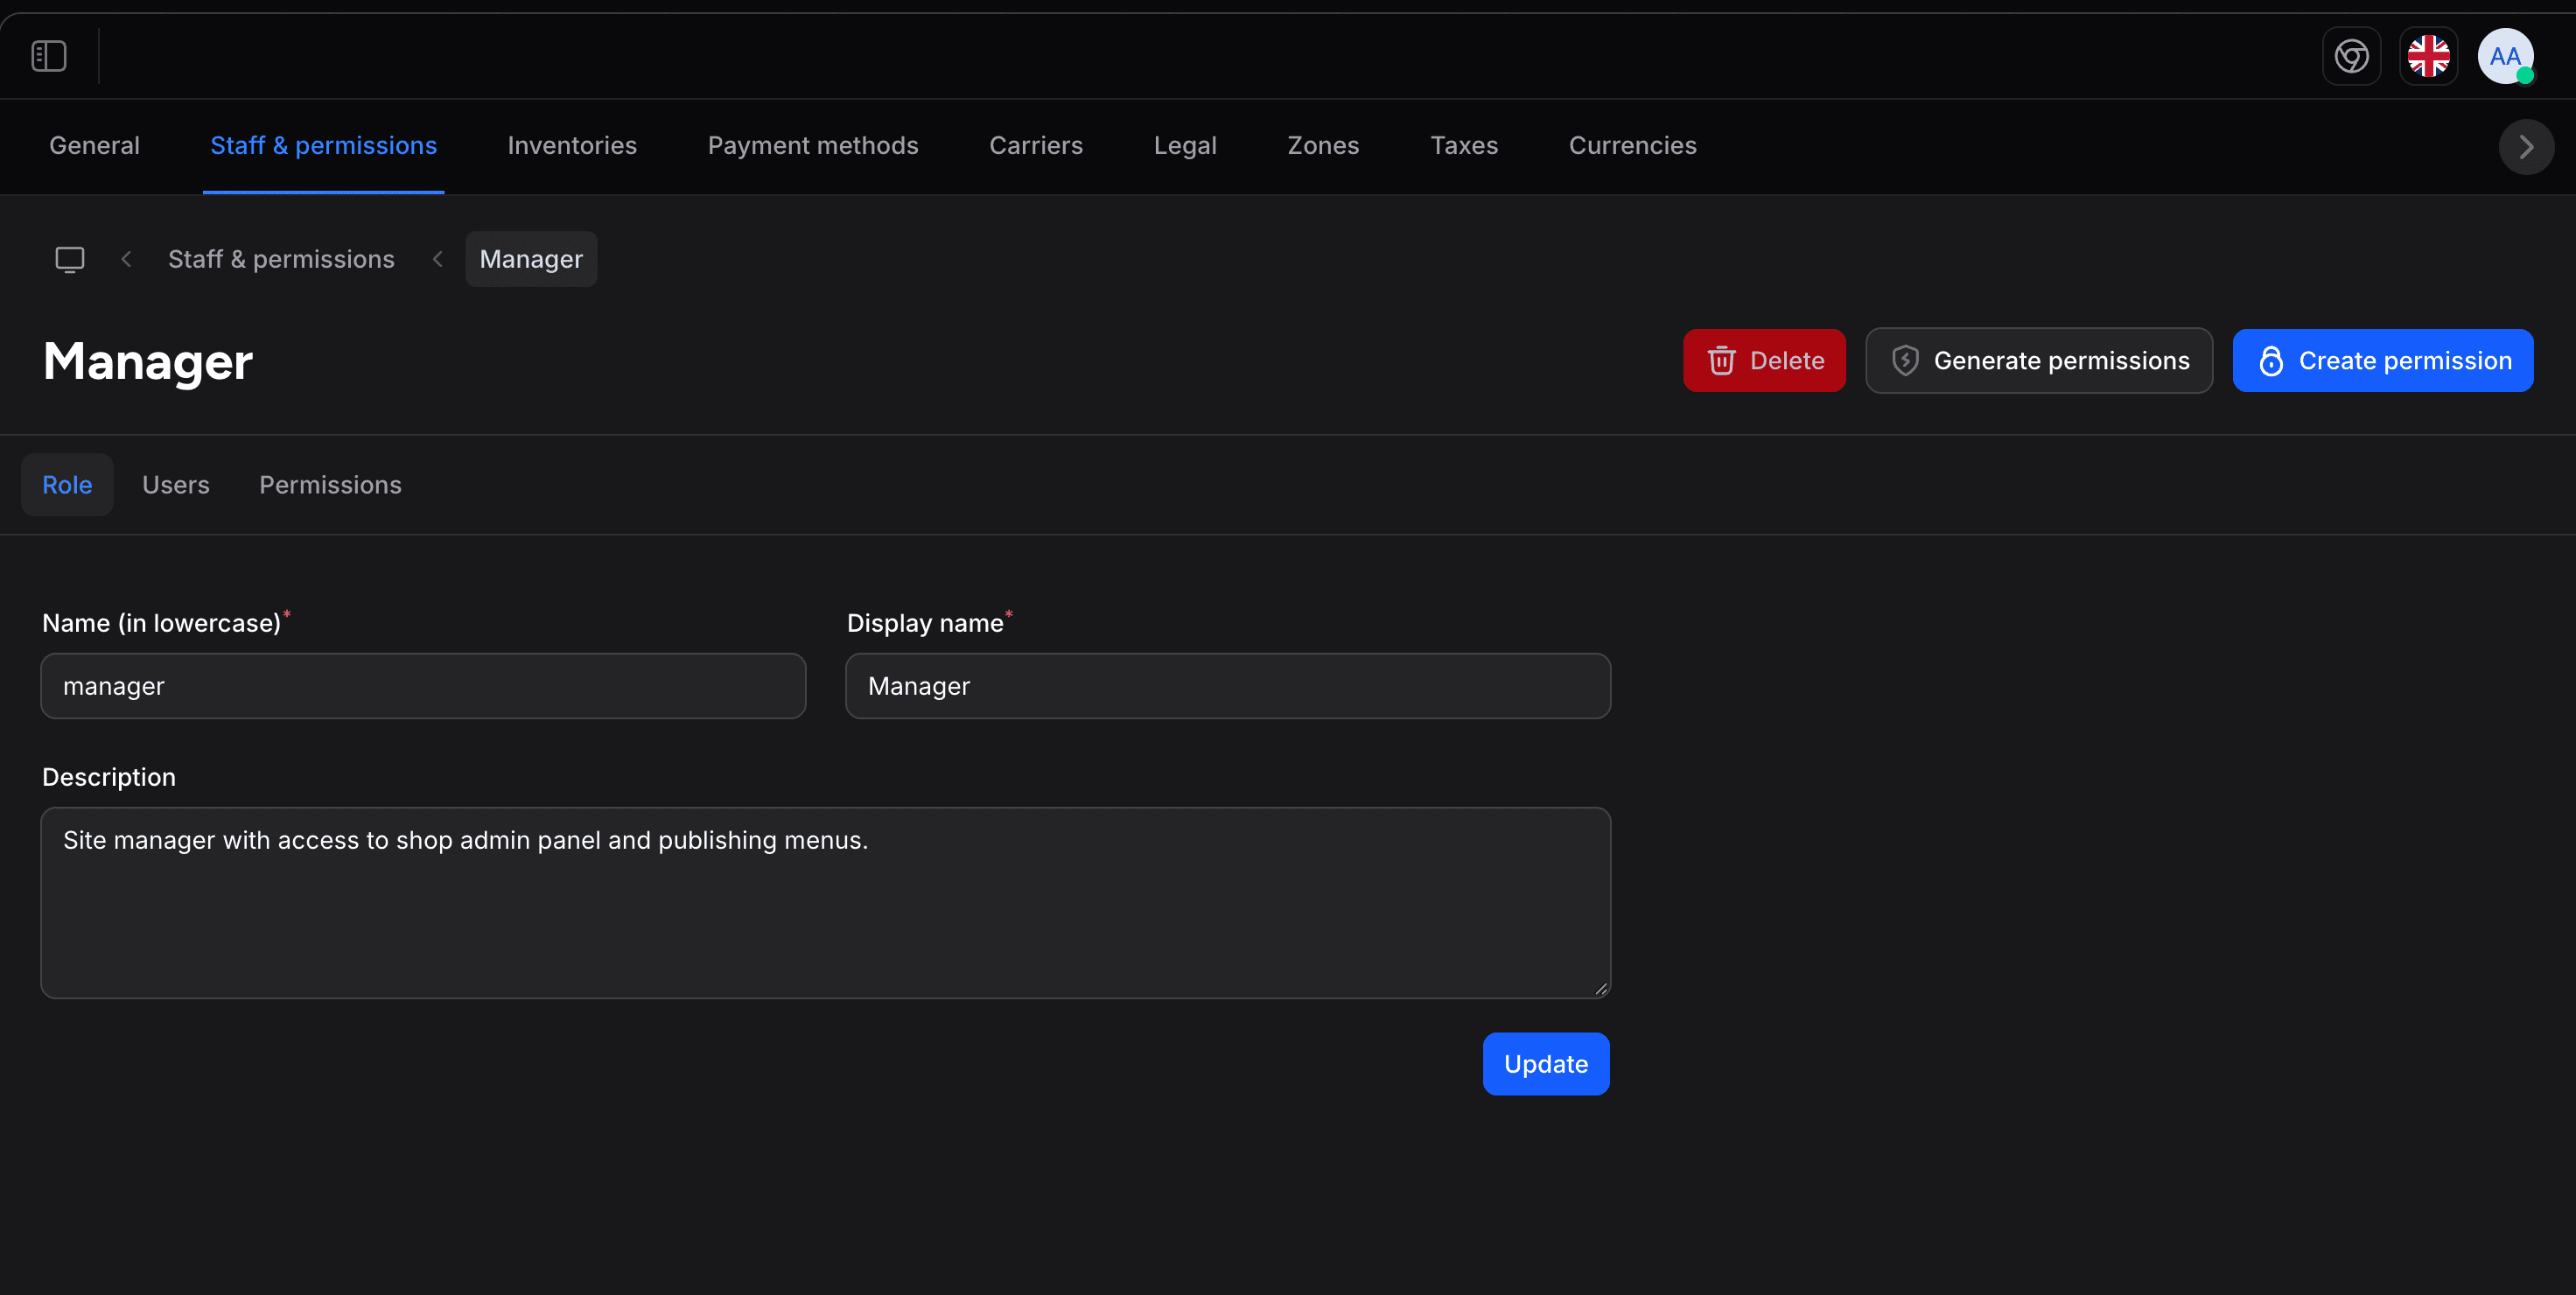
Open the role with View details. The role page has three tabs:
- Role: change the Name (in lowercase), Display name and Description, then click Update. Editing the name fills the display name for you. On the Administrator role, a warning reminds you that a wrong change could block your access to the dashboard
- Users: the staff members who have this role
- Permissions: check or uncheck the permissions of the role
A role you created can be removed with the Delete button at the top of its page. The Administrator and Manager roles that Shopper installs cannot be deleted.
Changes apply immediately to all users with that role.
Creating Permissions
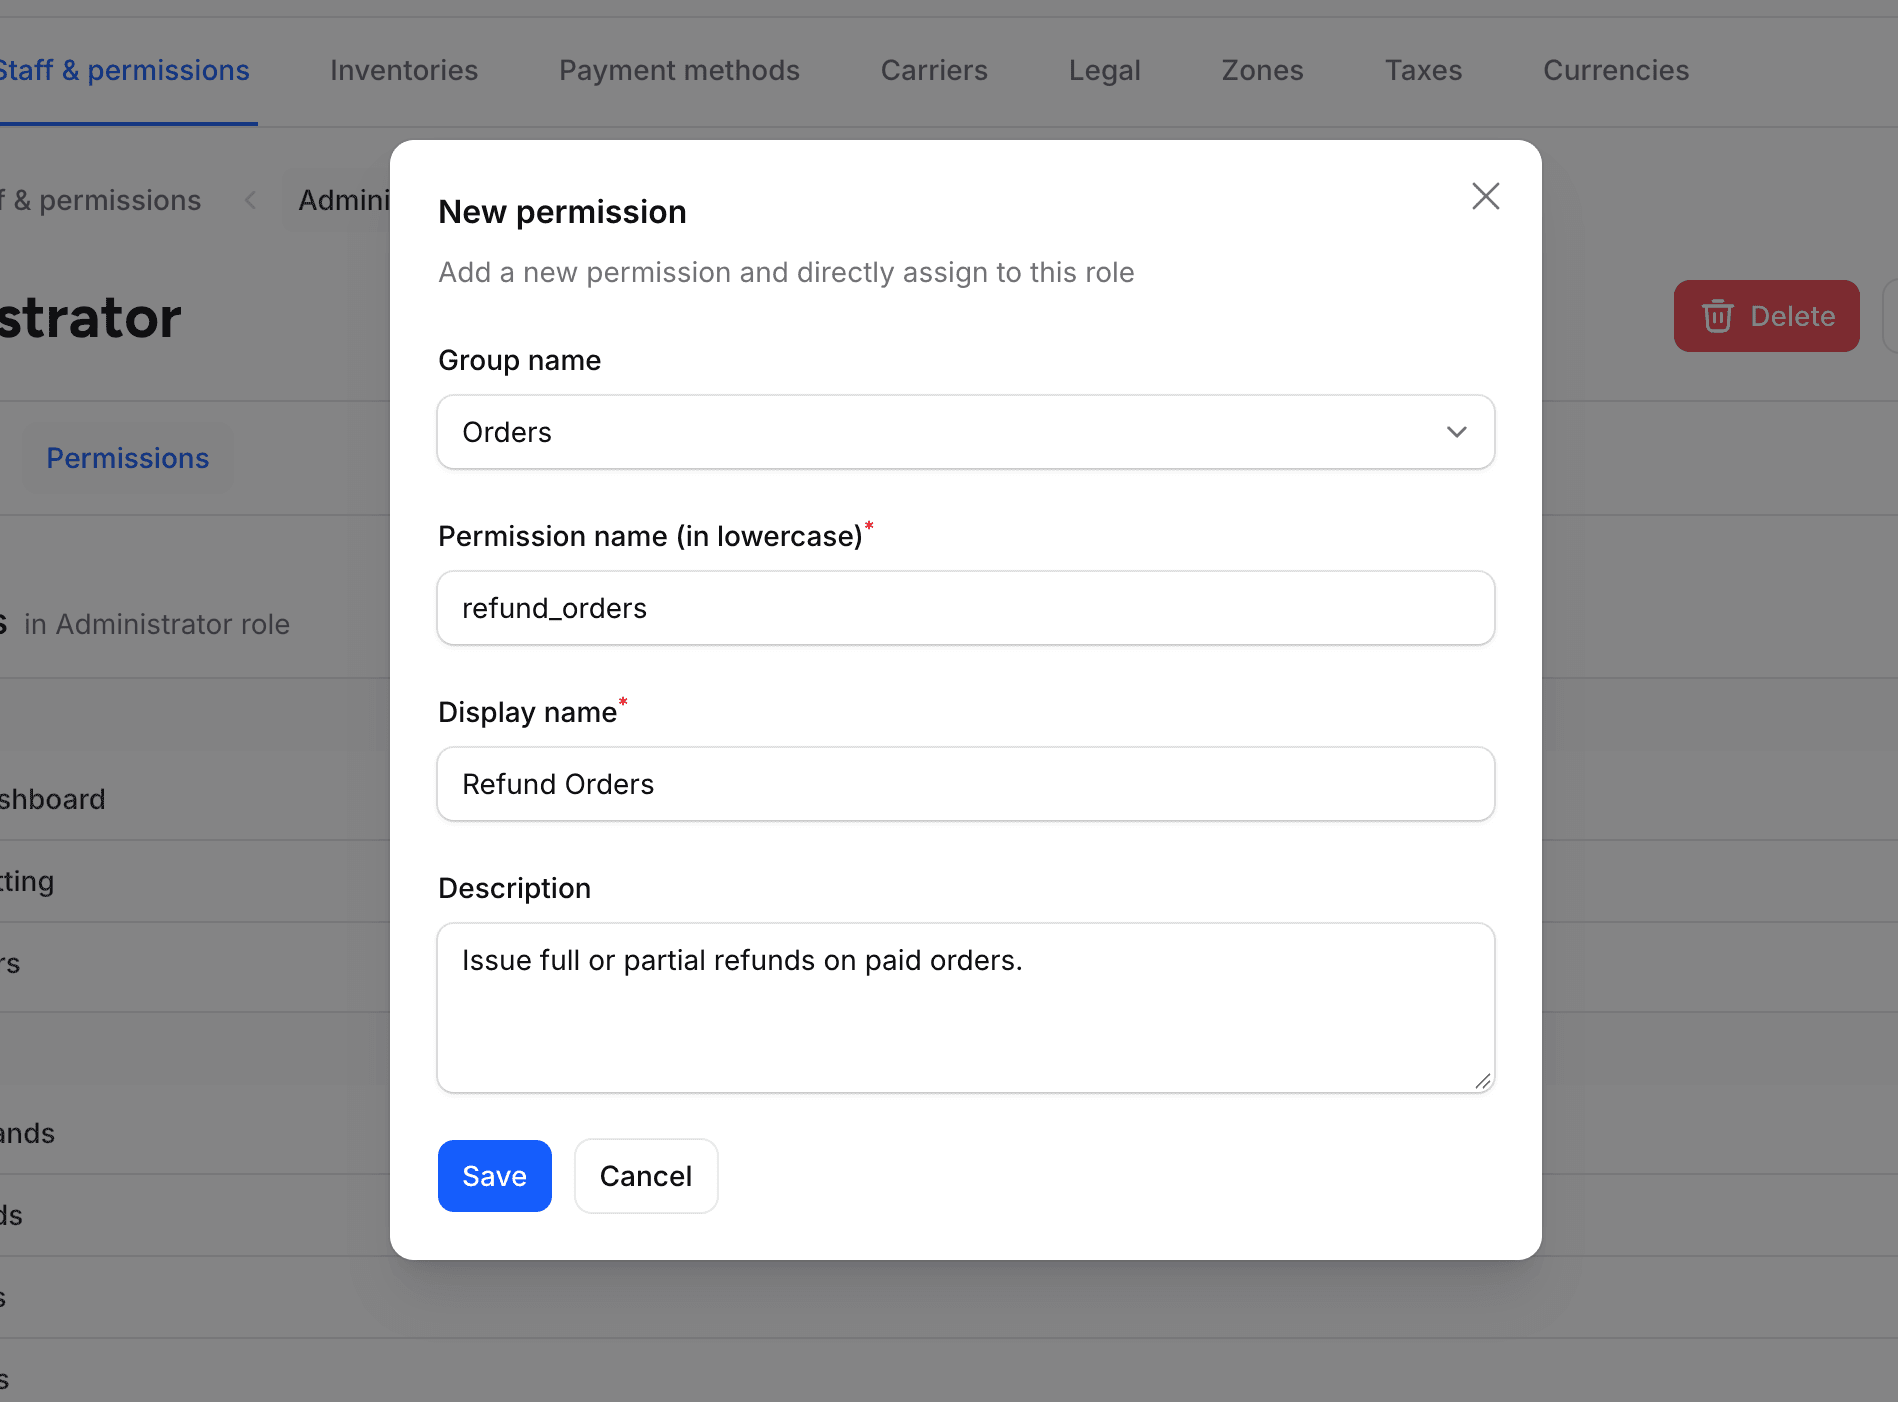
Add custom permissions for your specific needs from a role's page. Two buttons at the top of the page, shown to Administrator accounts only, create permissions and give them to that role straight away:
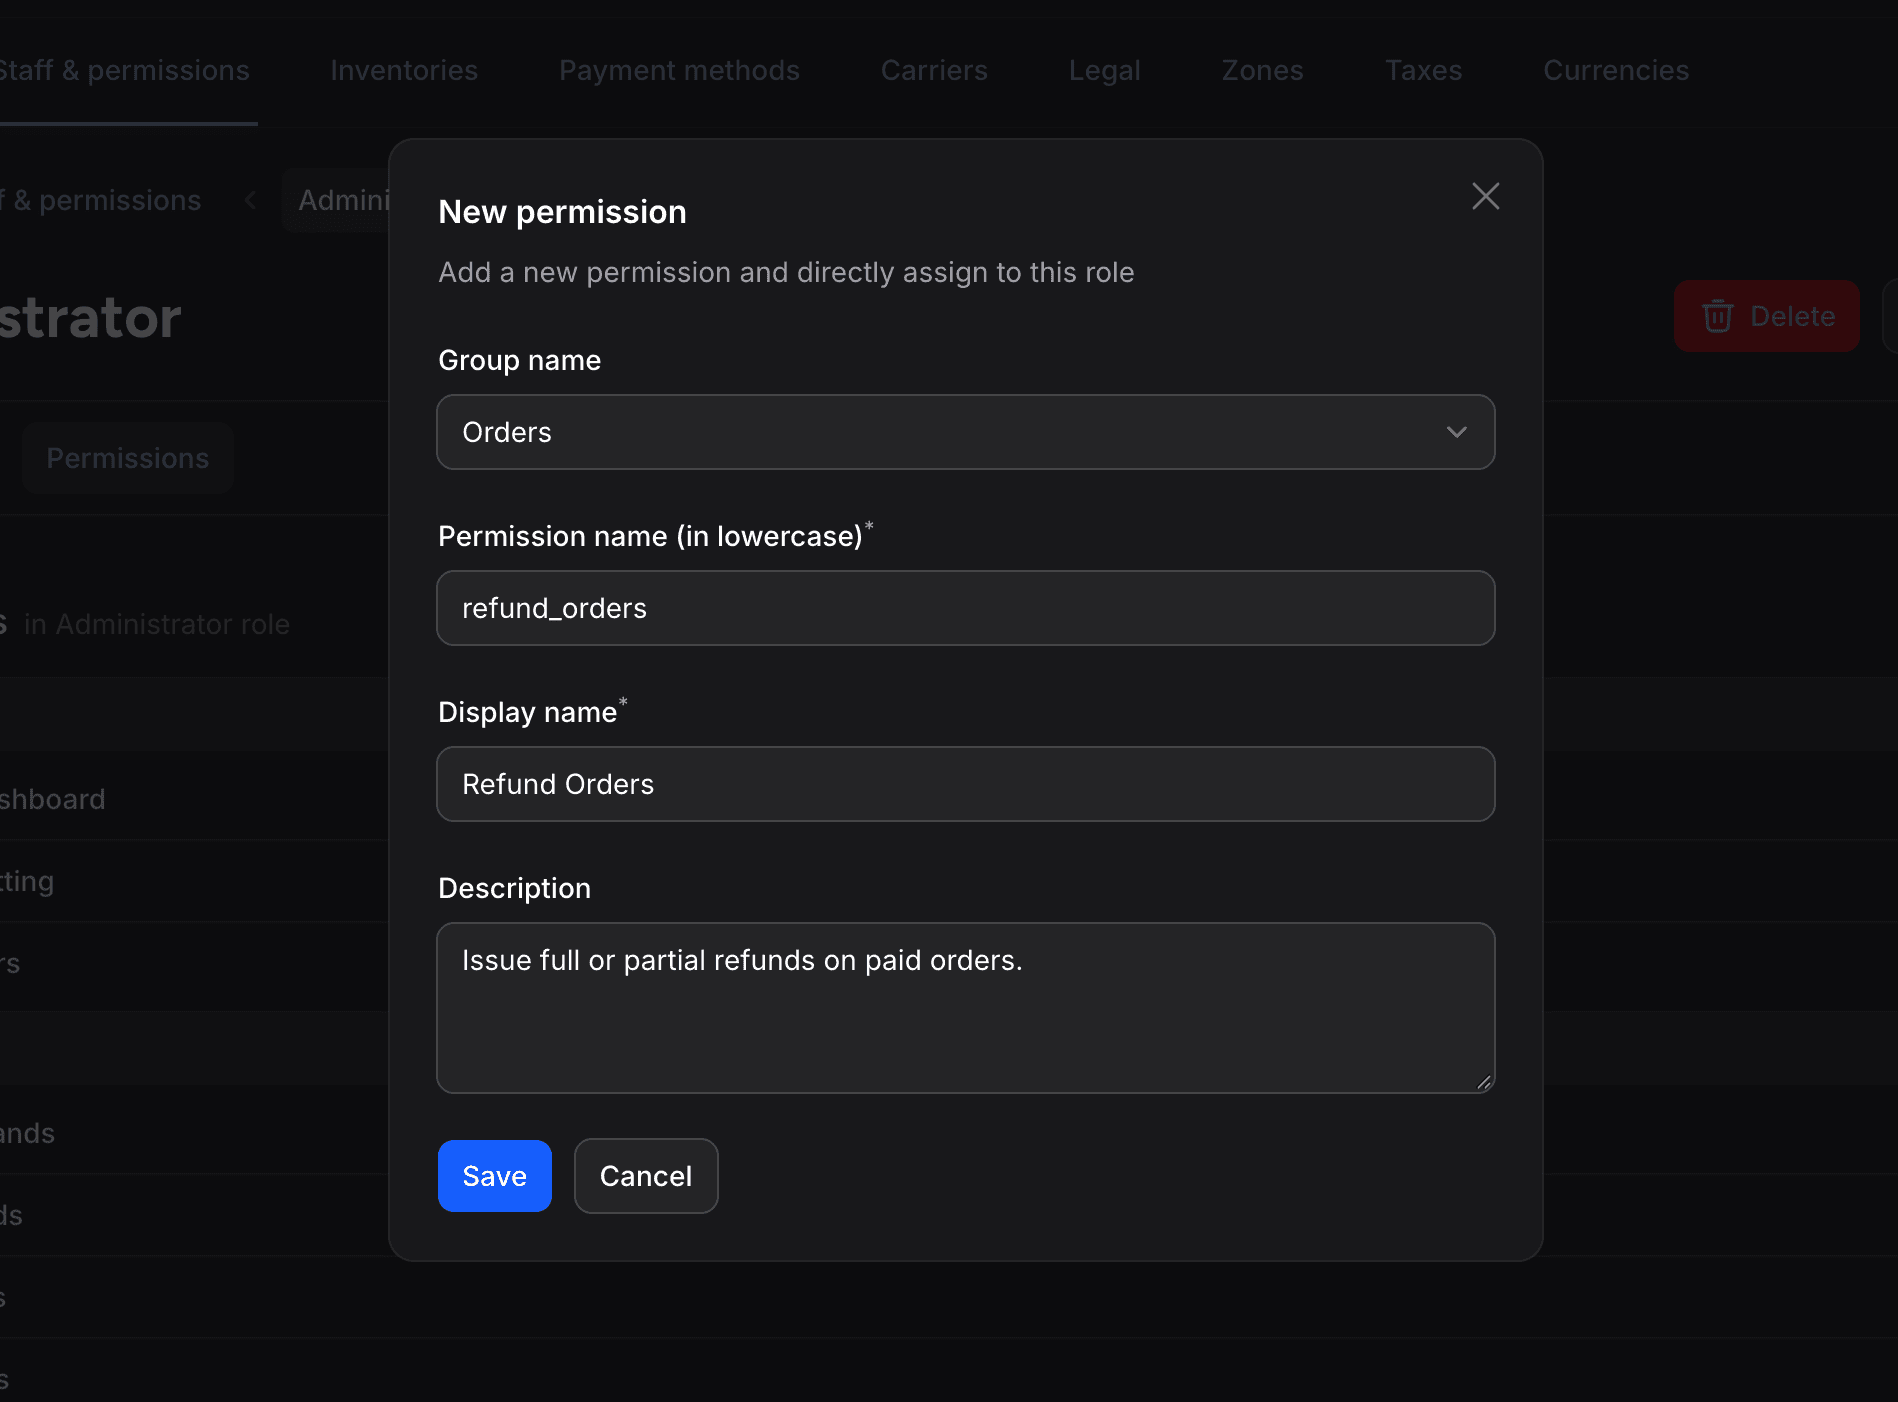
- Create permission opens the New permission window. Pick a Group name (optional), enter the Permission name (in lowercase) (up to 30 characters, unique), the Display name (up to 75 characters) and a Description, then click Save
- Generate permissions creates the five standard permissions (browse, read, edit, add and delete) for one area in one go. Enter the Resource name, for example "shipments", pick a Group name if you want, check the list under Permissions that will be created, then click Generate permissions
A new permission only controls something once your developer checks it in the admin or in a custom screen. Creating it does not restrict anything on its own.
Creating or deleting a permission requires an Administrator account. Other staff members can still grant existing permissions to roles, but only permissions they hold themselves, and they cannot modify the Administrator role.
Custom Permissions
Create permissions tailored to your business. Permissions created without a group appear under Custom permission on the role's Permissions tab. A permission made with Create permission has a trash icon that lets an Administrator delete it; the permissions Shopper installs and those made with Generate permissions cannot be deleted.


Common Role Examples
Store Manager
Full operational access:
- All product permissions
- All order permissions
- All customer permissions
- Access Setting only if they manage the store settings, as it opens all of them at once
Content Editor
Focus on catalog management:
- View/edit products
- View/edit categories
- View/edit collections
- No order or customer access
Support Agent
Customer service focus:
- Browse and read orders
- Browse and read customers
- Edit orders only if they handle order changes
- No product management
Marketing
Promotional access:
- View products
- Manage discounts
- Manage collections
- No customer data access
Best Practices
Start Restrictive
Begin with minimal permissions and add as needed.
Group Logically
Create roles that match actual job functions.
Review Regularly
Audit roles periodically to ensure they're still appropriate.
Document Roles
Keep clear descriptions of what each role can do.
Permission Hierarchy
Some permissions may depend on others. For example, to edit a product, a user typically also needs the Browse permission to reach the product list.
When assigning permissions, consider:
- Browse - Can see the list
- Read - Can open a record and see its details
- Add - Can add new items
- Edit - Can modify existing items
- Delete - Can remove items (most sensitive)
Security Considerations
- Know who has access - The Users tab of each role lists its members. Shopper does not keep a history of who changed what
- Separation of duties - Don't give one person all permissions
- Regular reviews - Remove unnecessary access
- Test roles - Verify permissions work as expected
For developer details, see the Roles & Permissions documentation.
Last updated on
Edit on GitHub