
Inventory Locations
Manage your store's inventory locations for stock management.
Locations in Shopper represent physical places where you store your inventory. This could be warehouses, retail stores, or any other location where you keep products.
Why Use Multiple Locations?
Managing inventory across multiple locations allows you to:
- Track stock levels at different warehouses
- Choose which location supplies stock first when an order is placed
- Manage inventory for physical retail stores
- Keep accurate stock counts across your business
Accessing Locations
- Click on Settings in the sidebar
- Select Inventories from the settings menu
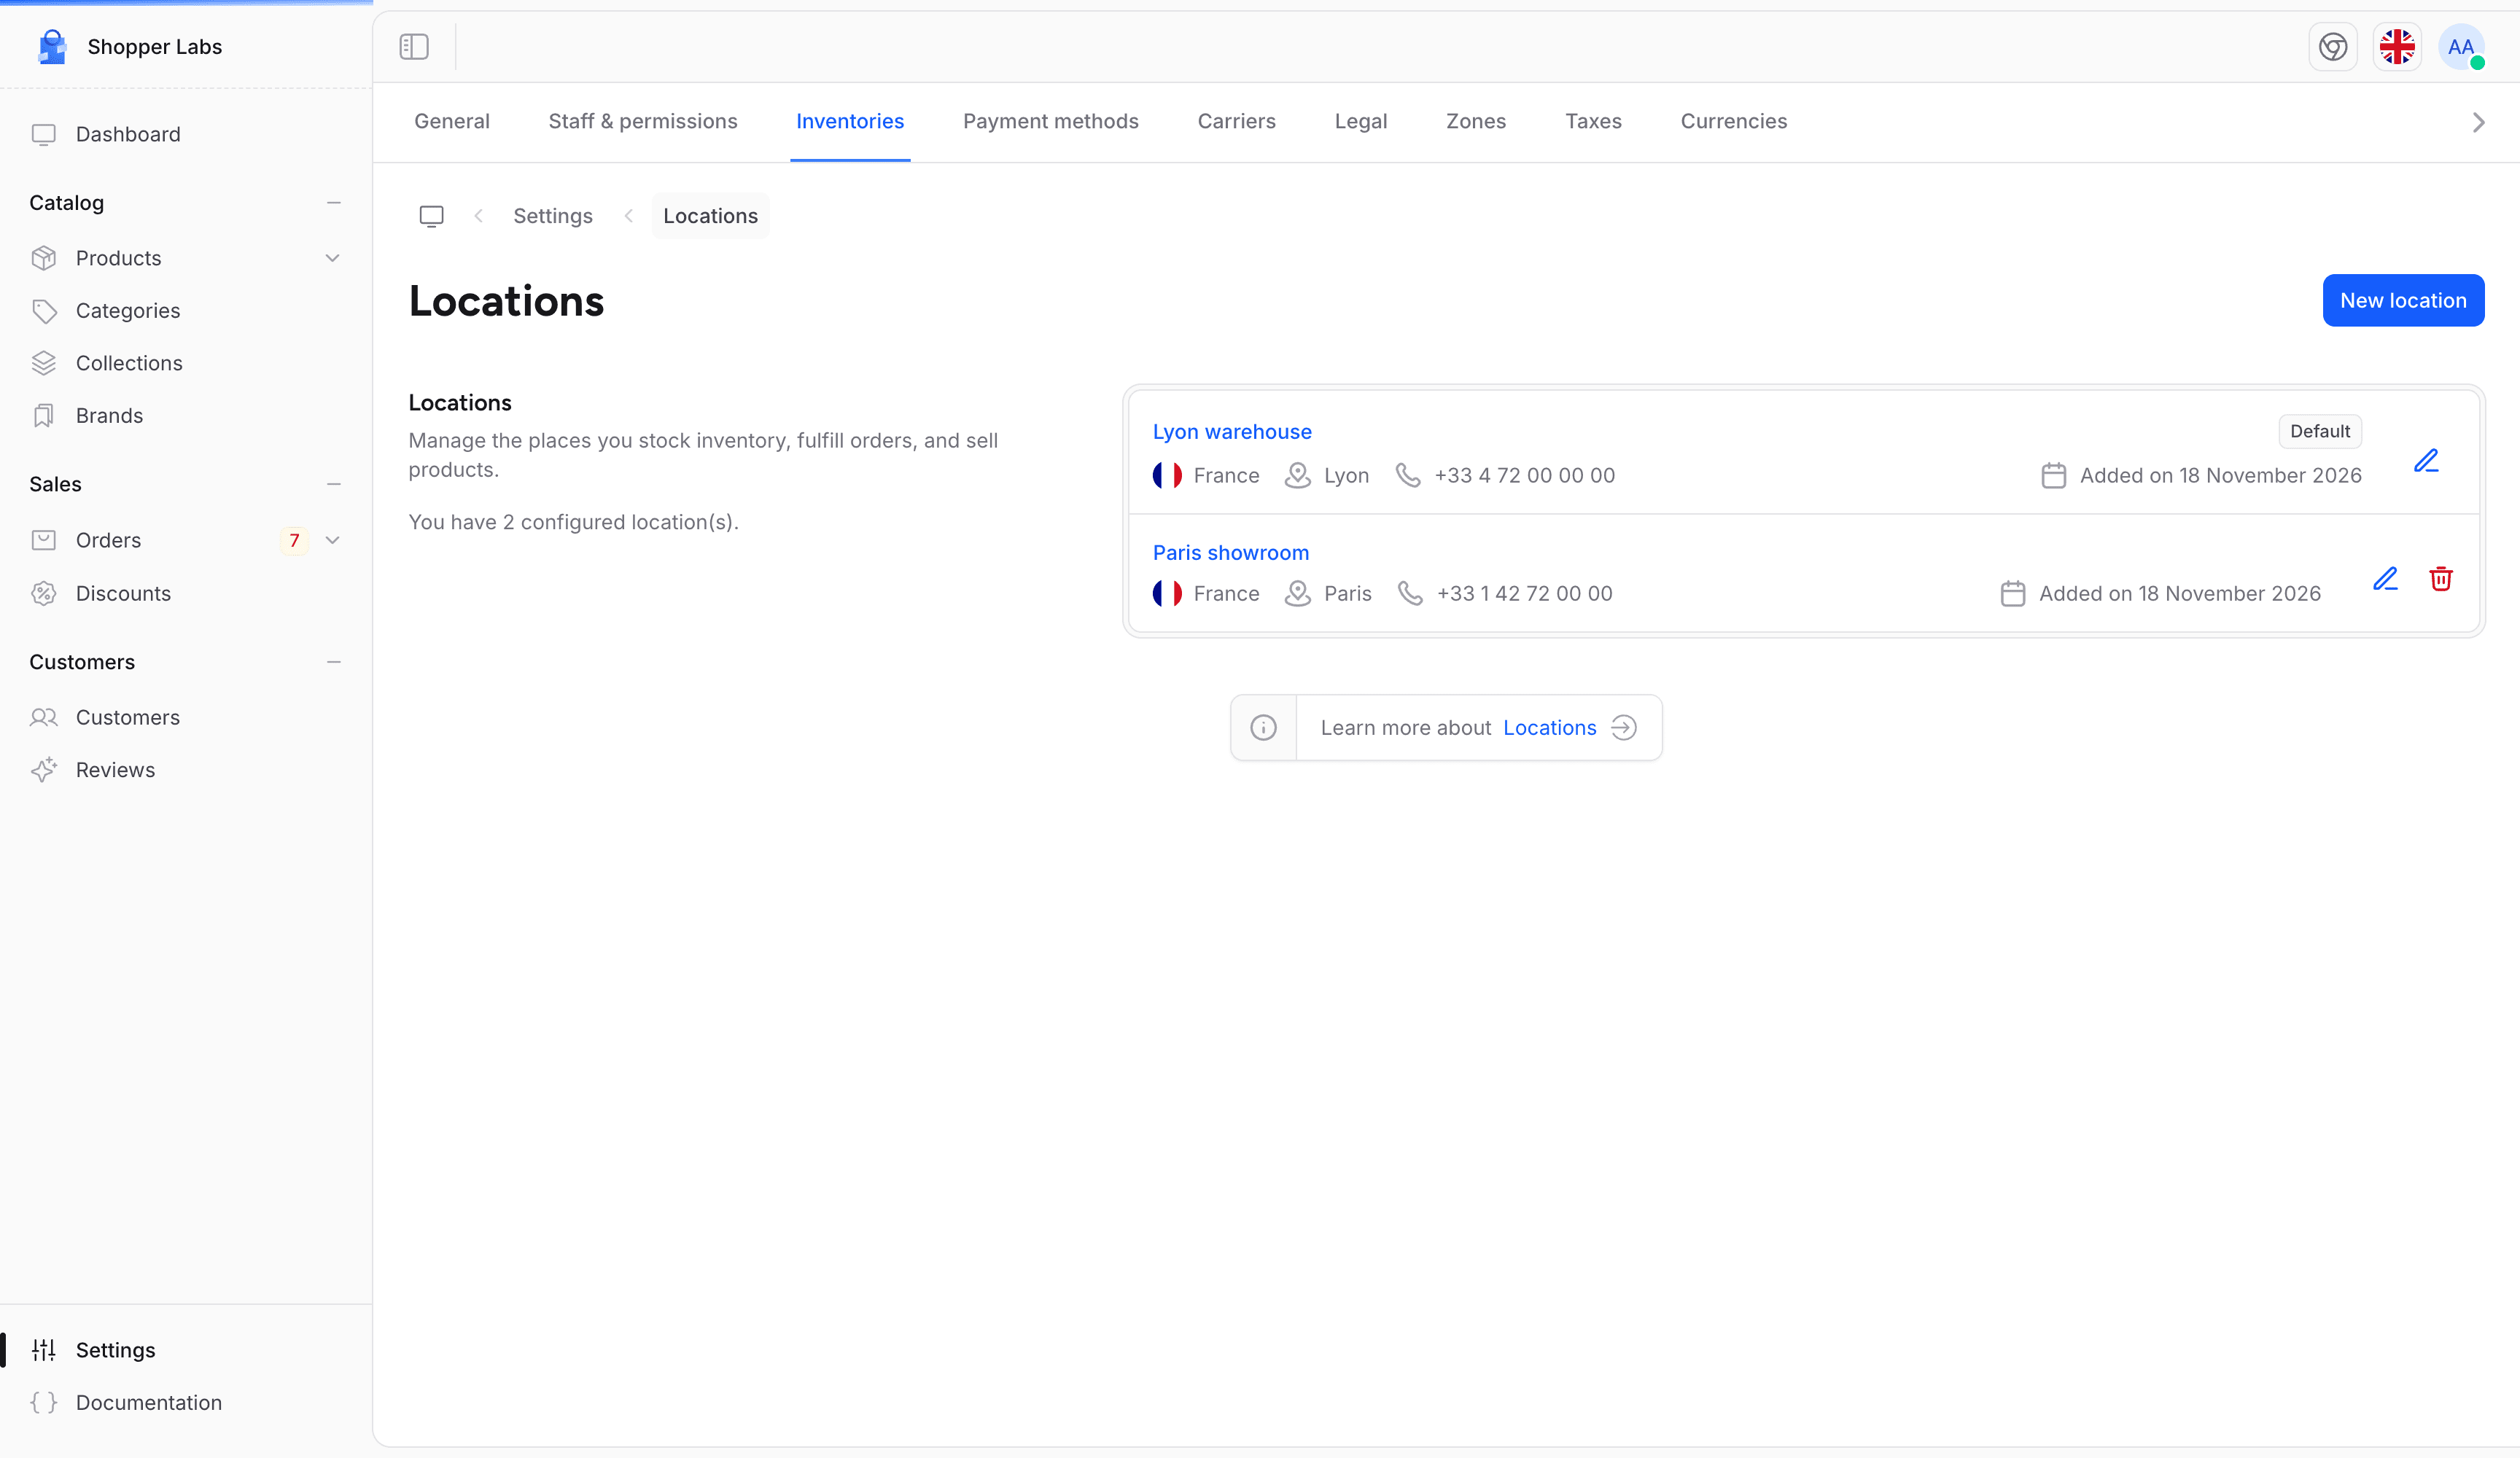
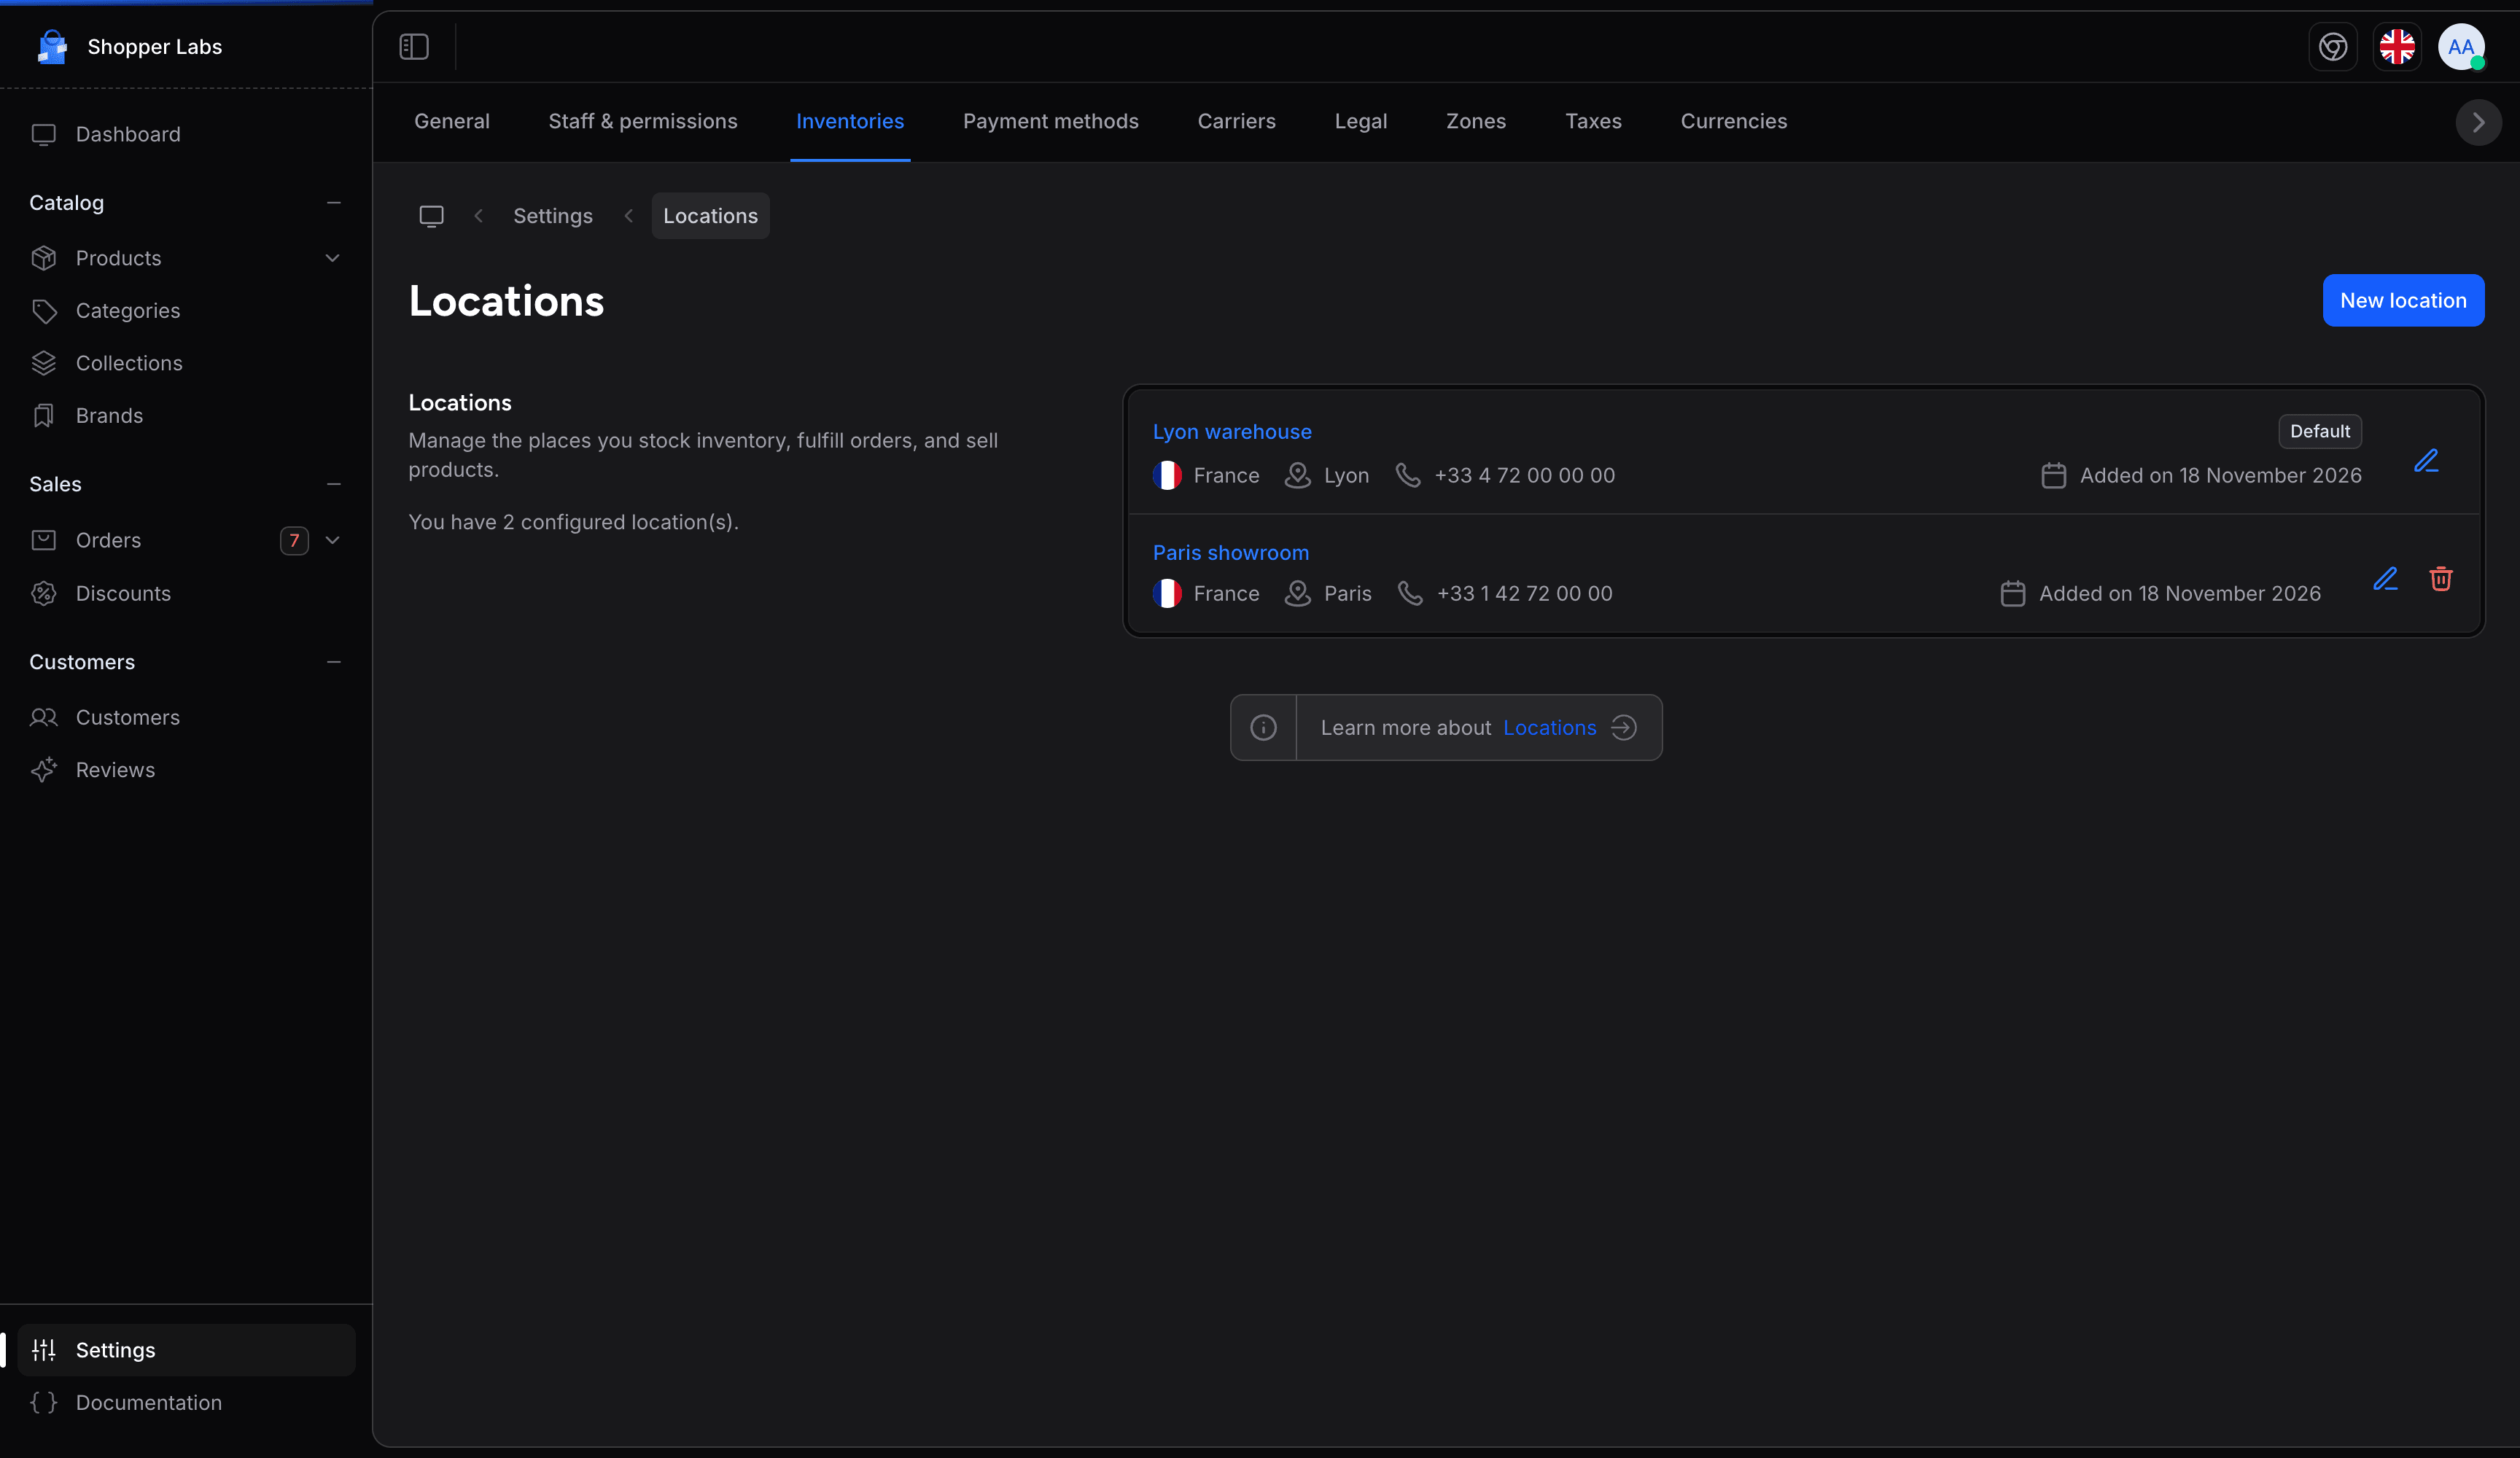
Default Inventory
When you set up Shopper, a default inventory location is created for you. It is marked Default in the list and receives the initial stock you enter when you create a product.
Creating a New Location
To add a new inventory location:
- Click the New location button on the Locations page
- Fill in the location details
- Click Save
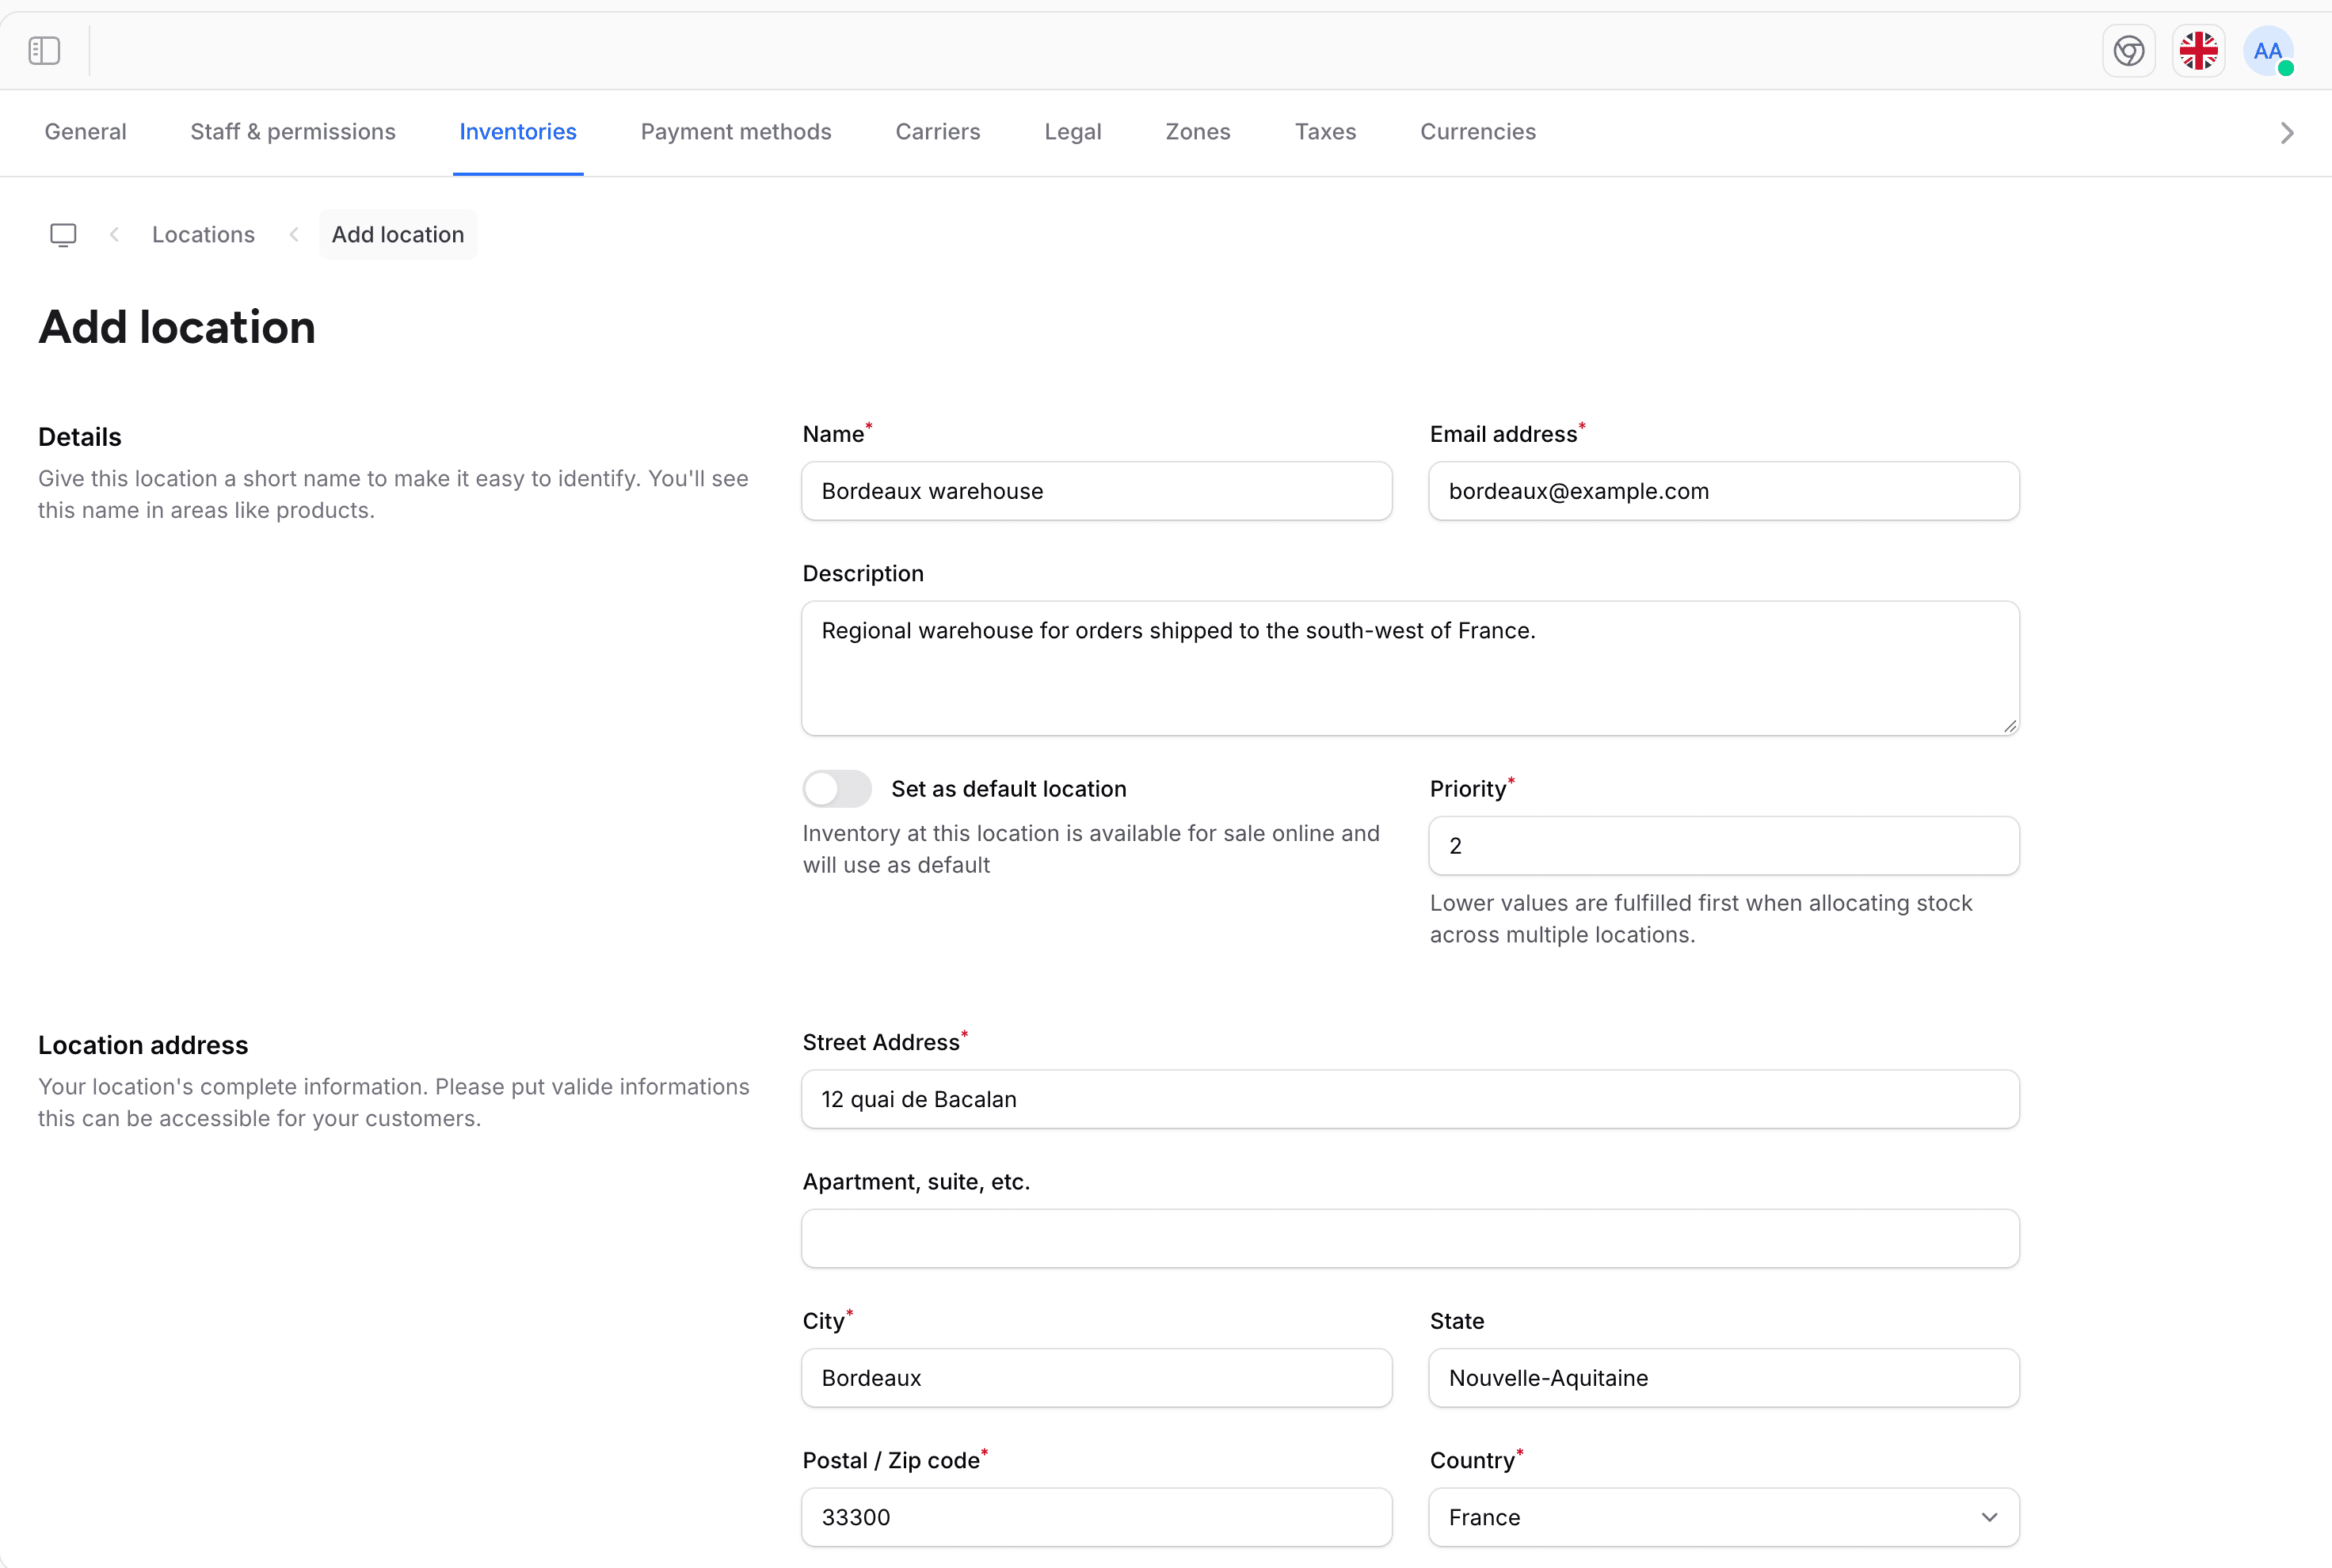
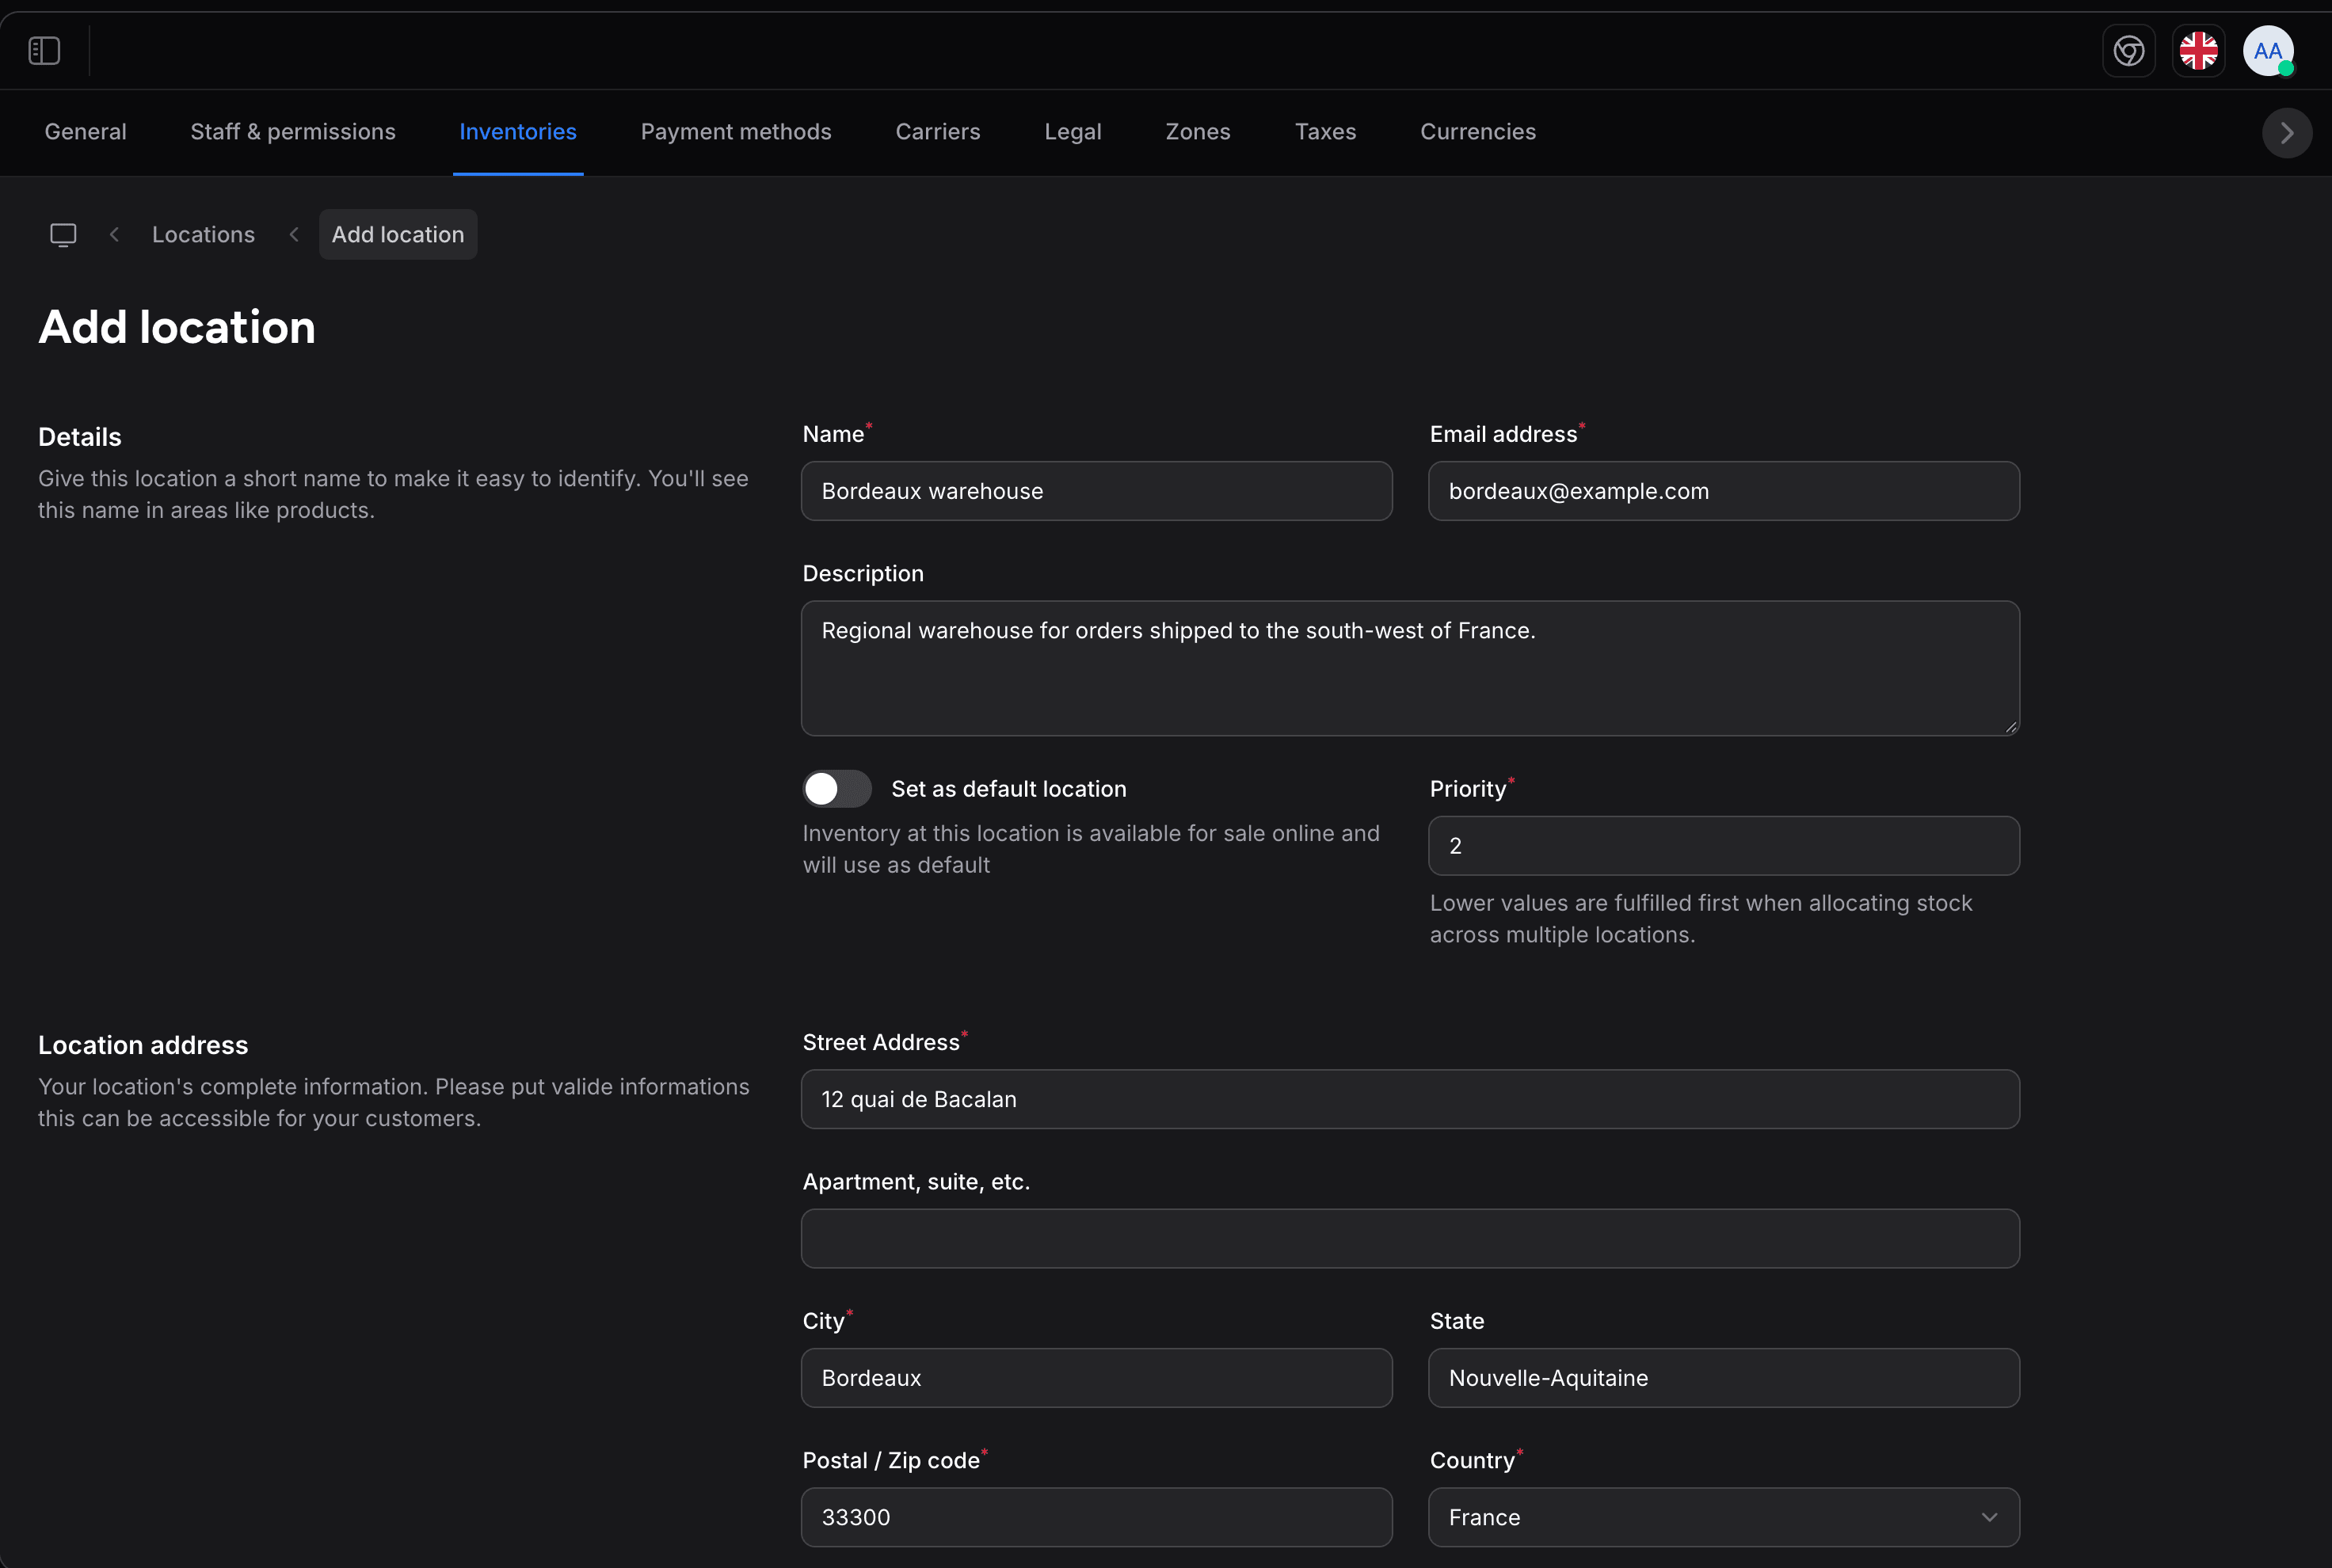
Location Fields
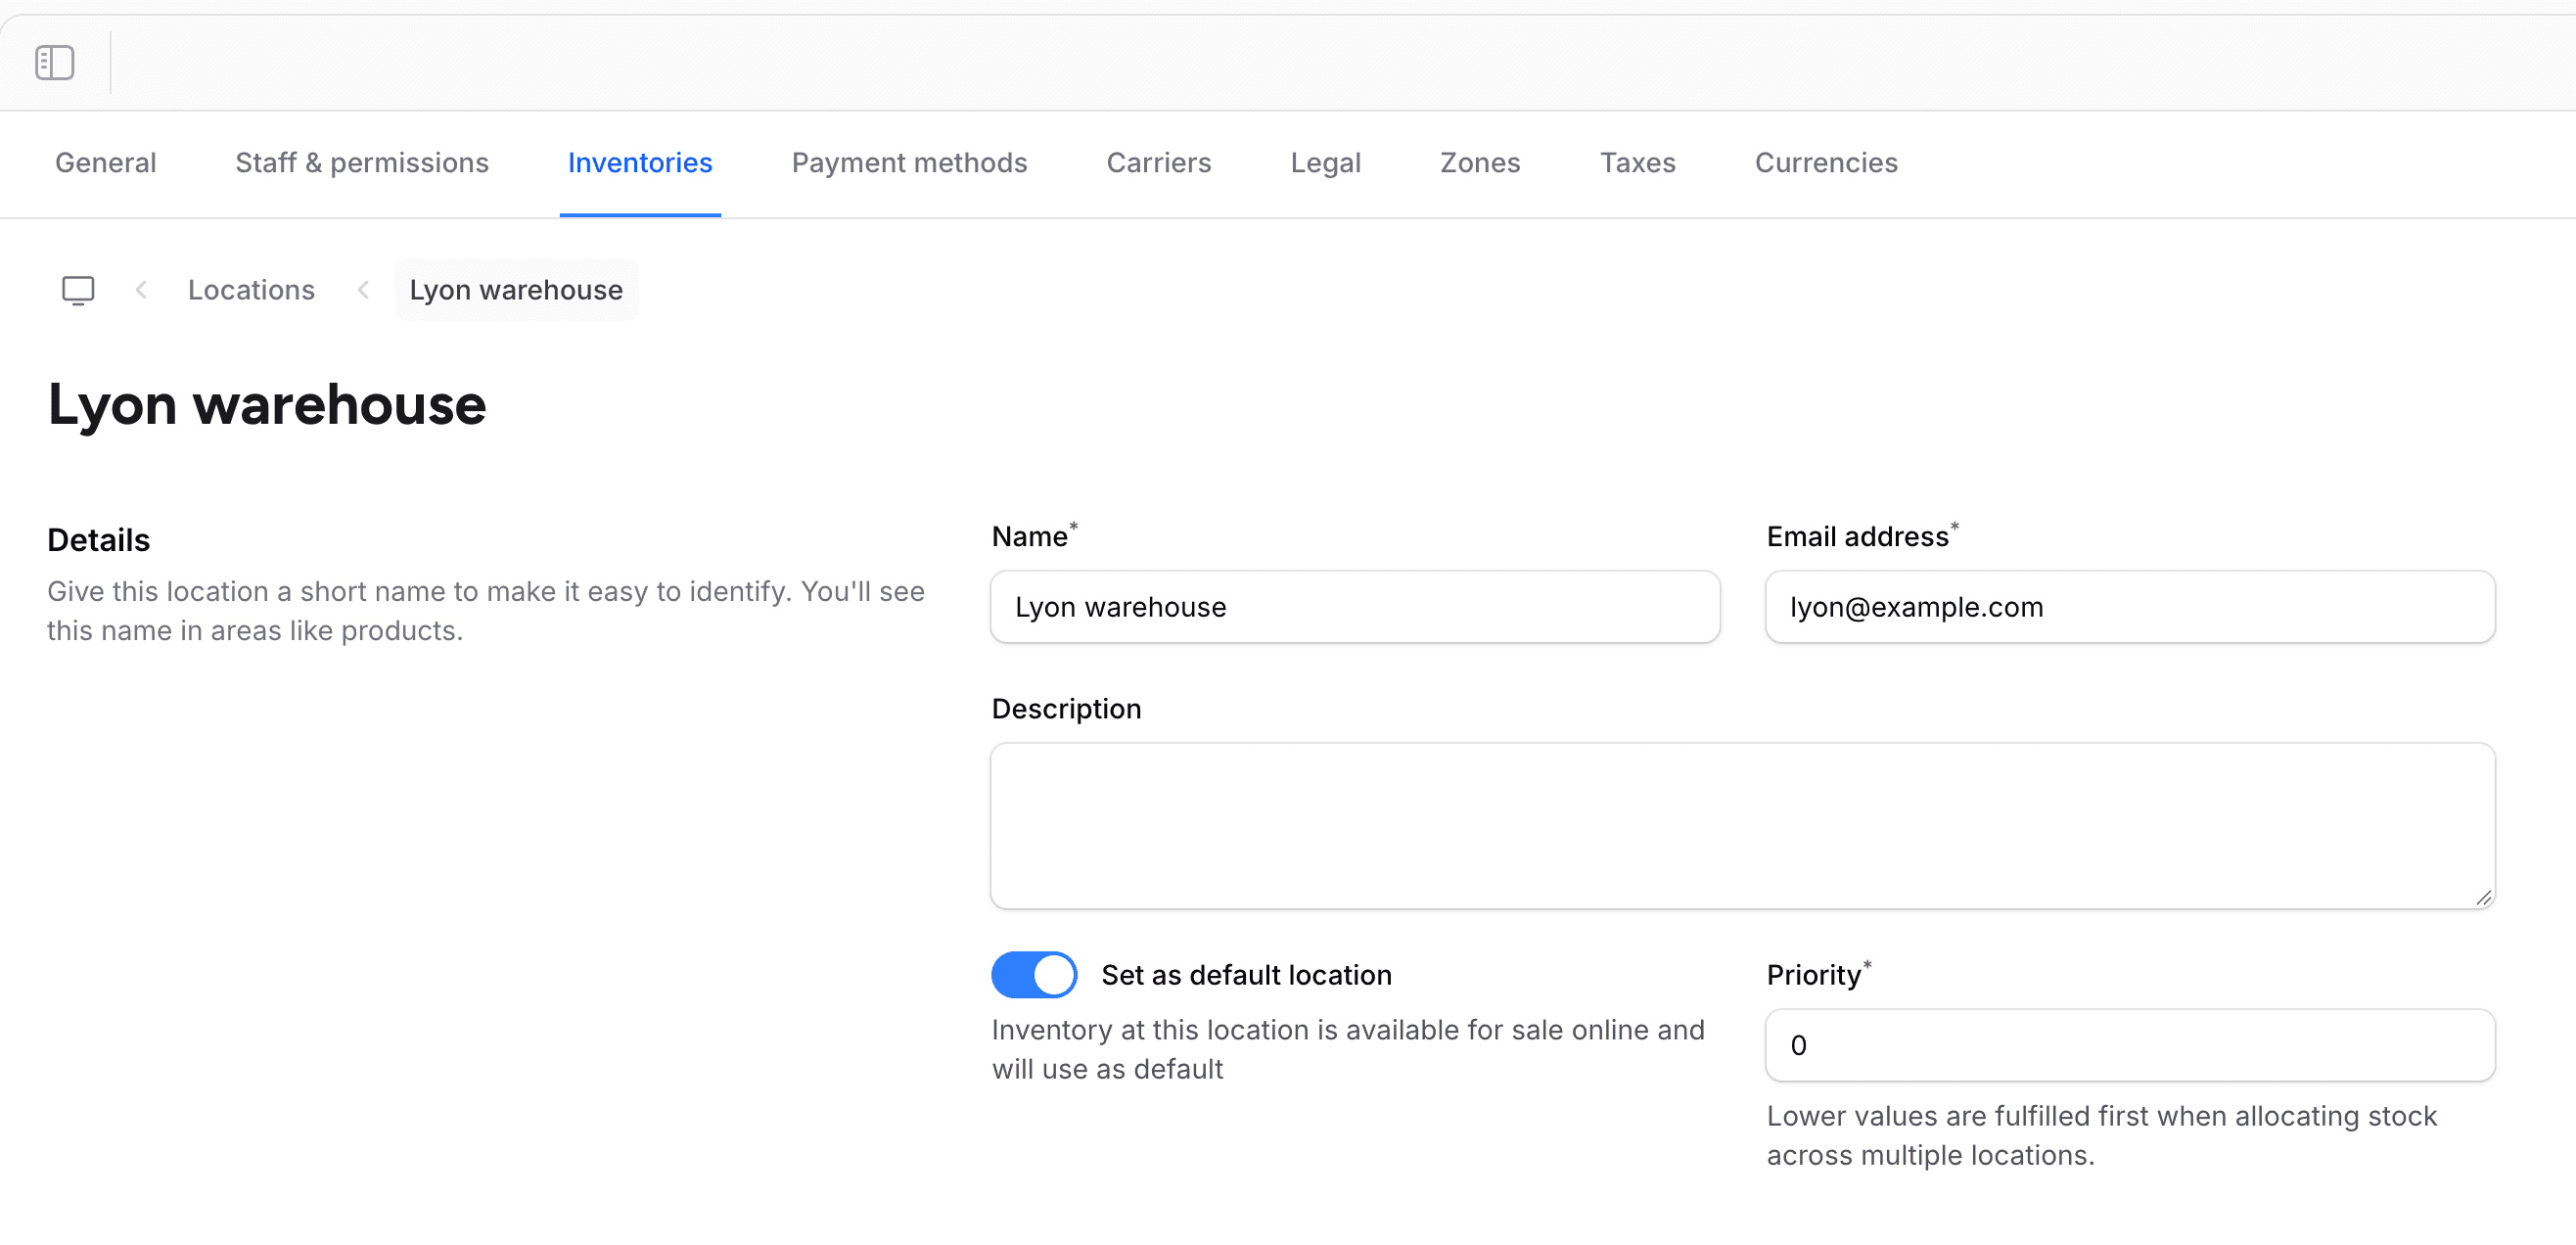
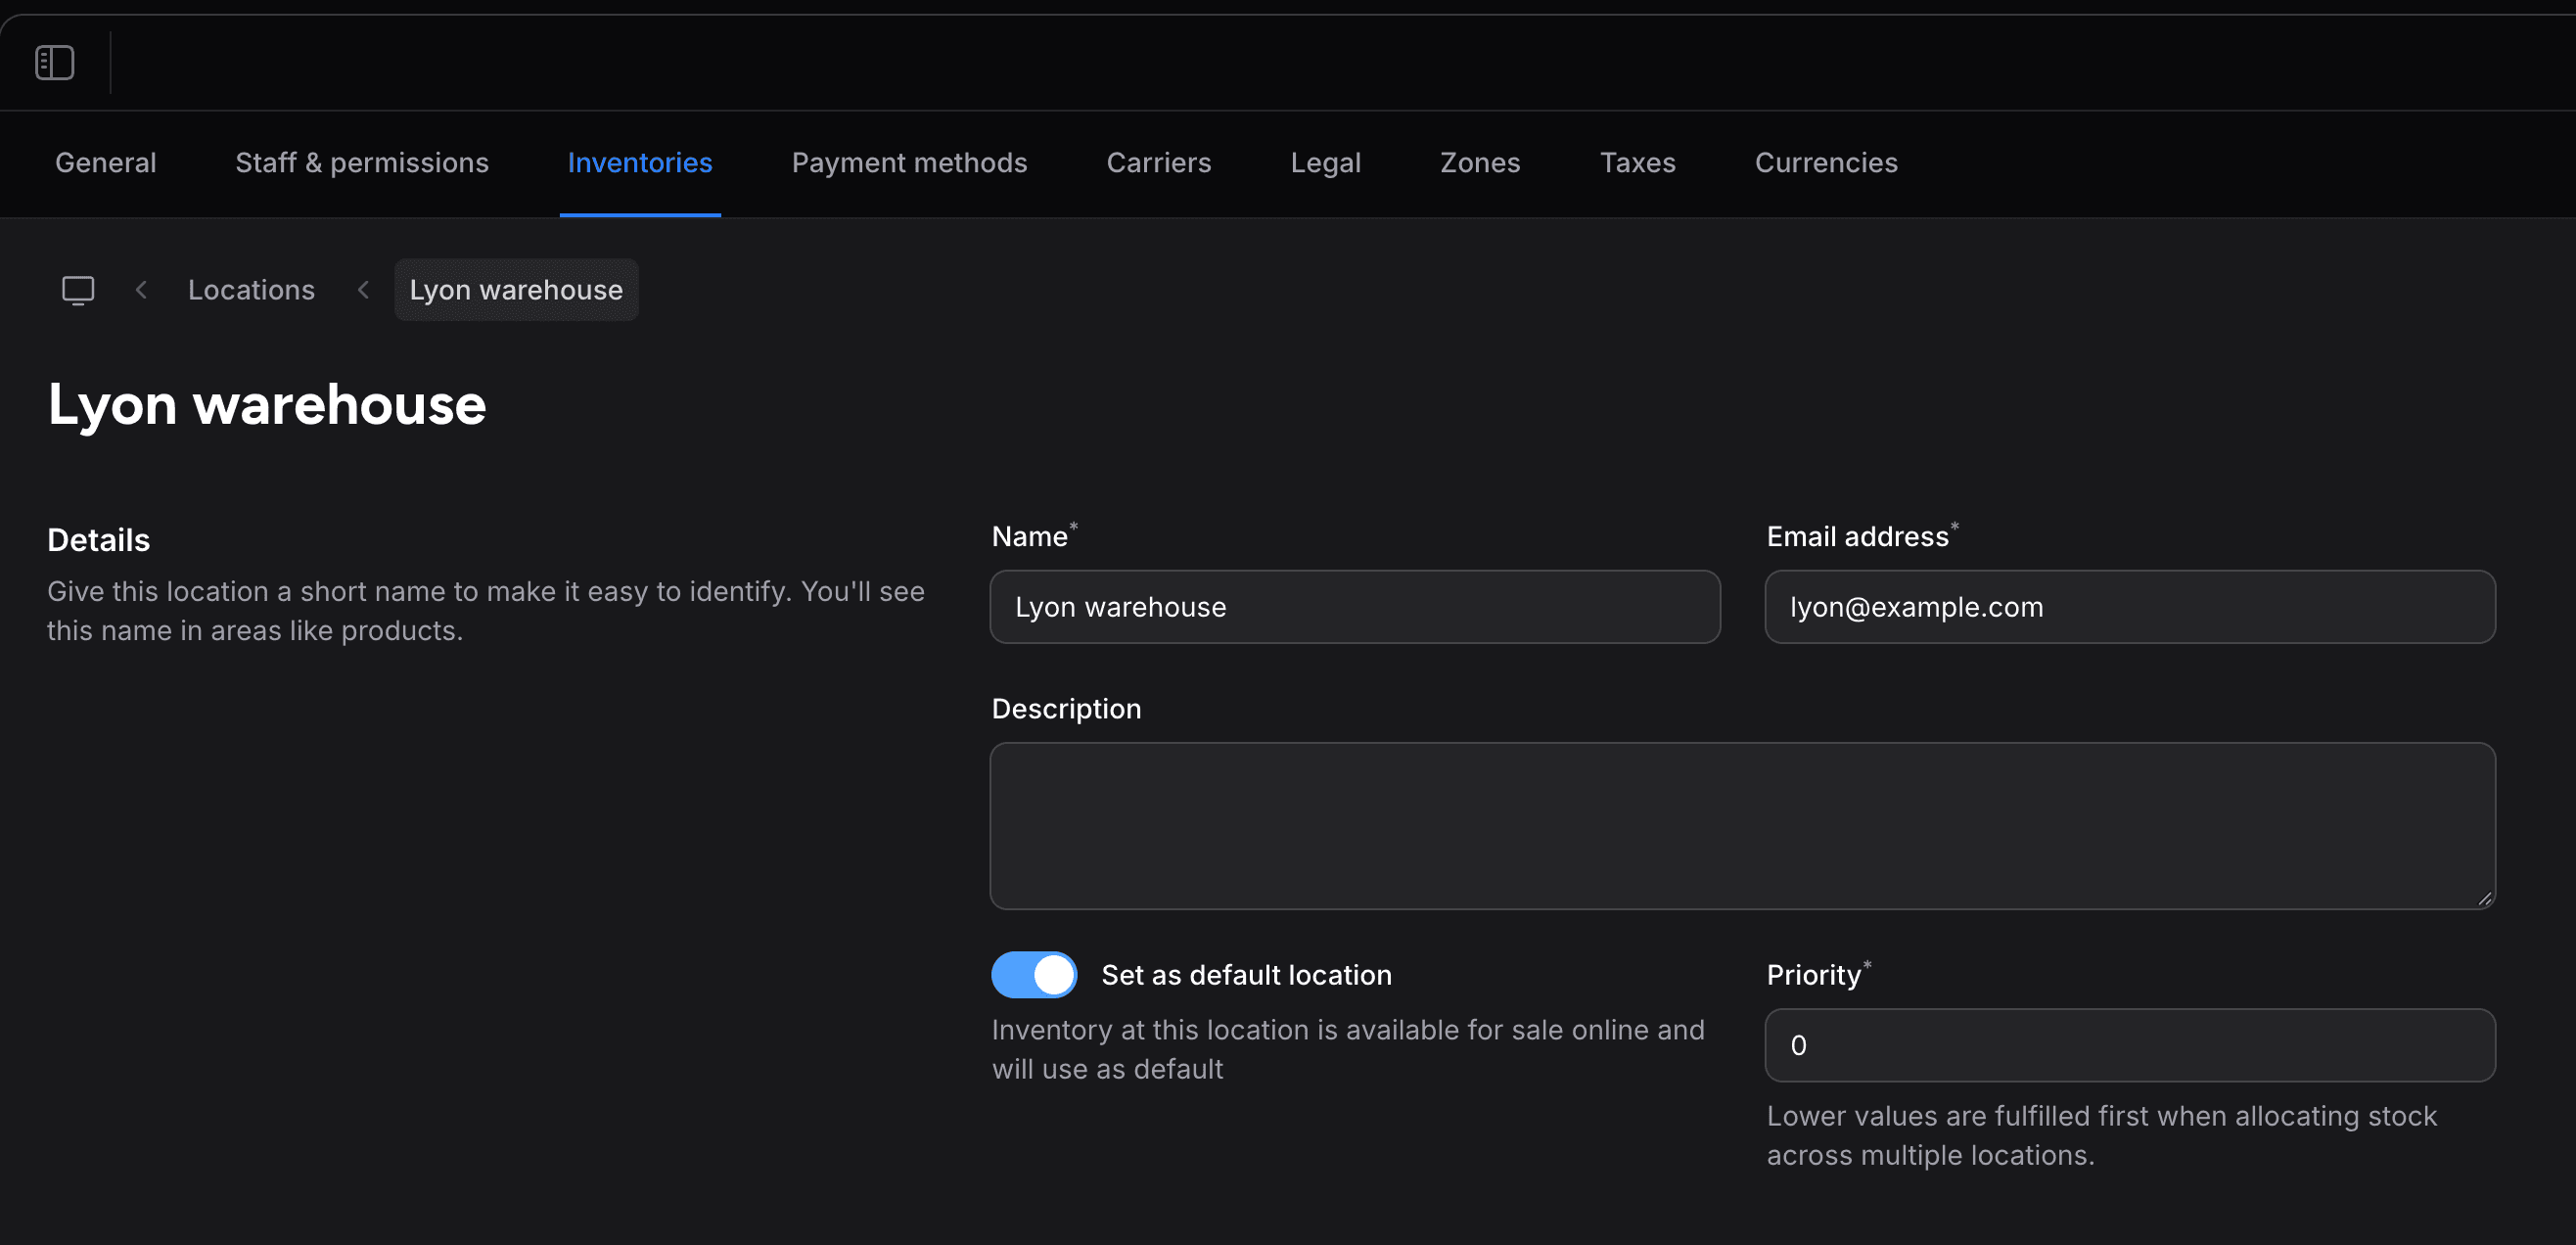
The form has two sections: Details and Location address.
| Field | Required | Description |
|---|---|---|
| Name | Yes | A descriptive name for the location (e.g., "Main Warehouse"). You see this name in areas like products |
| Email address | Yes | Contact email for this location. Each location needs its own email address |
| Description | No | Additional notes about the location |
| Set as default location | No | Makes this location the default one (see Setting a Default Location) |
| Priority | Yes | A number, 0 by default. When an order takes stock from several locations, lower values are used first |
| Street Address | Yes | Physical address of the location |
| Apartment, suite, etc. | No | Additional address line |
| City | Yes | City where the location is situated |
| State | No | State, province, or region |
| Postal / Zip code | Yes | Postal or ZIP code |
| Country | Yes | Country selection |
| Phone number | No | Contact phone number |
Editing a Location
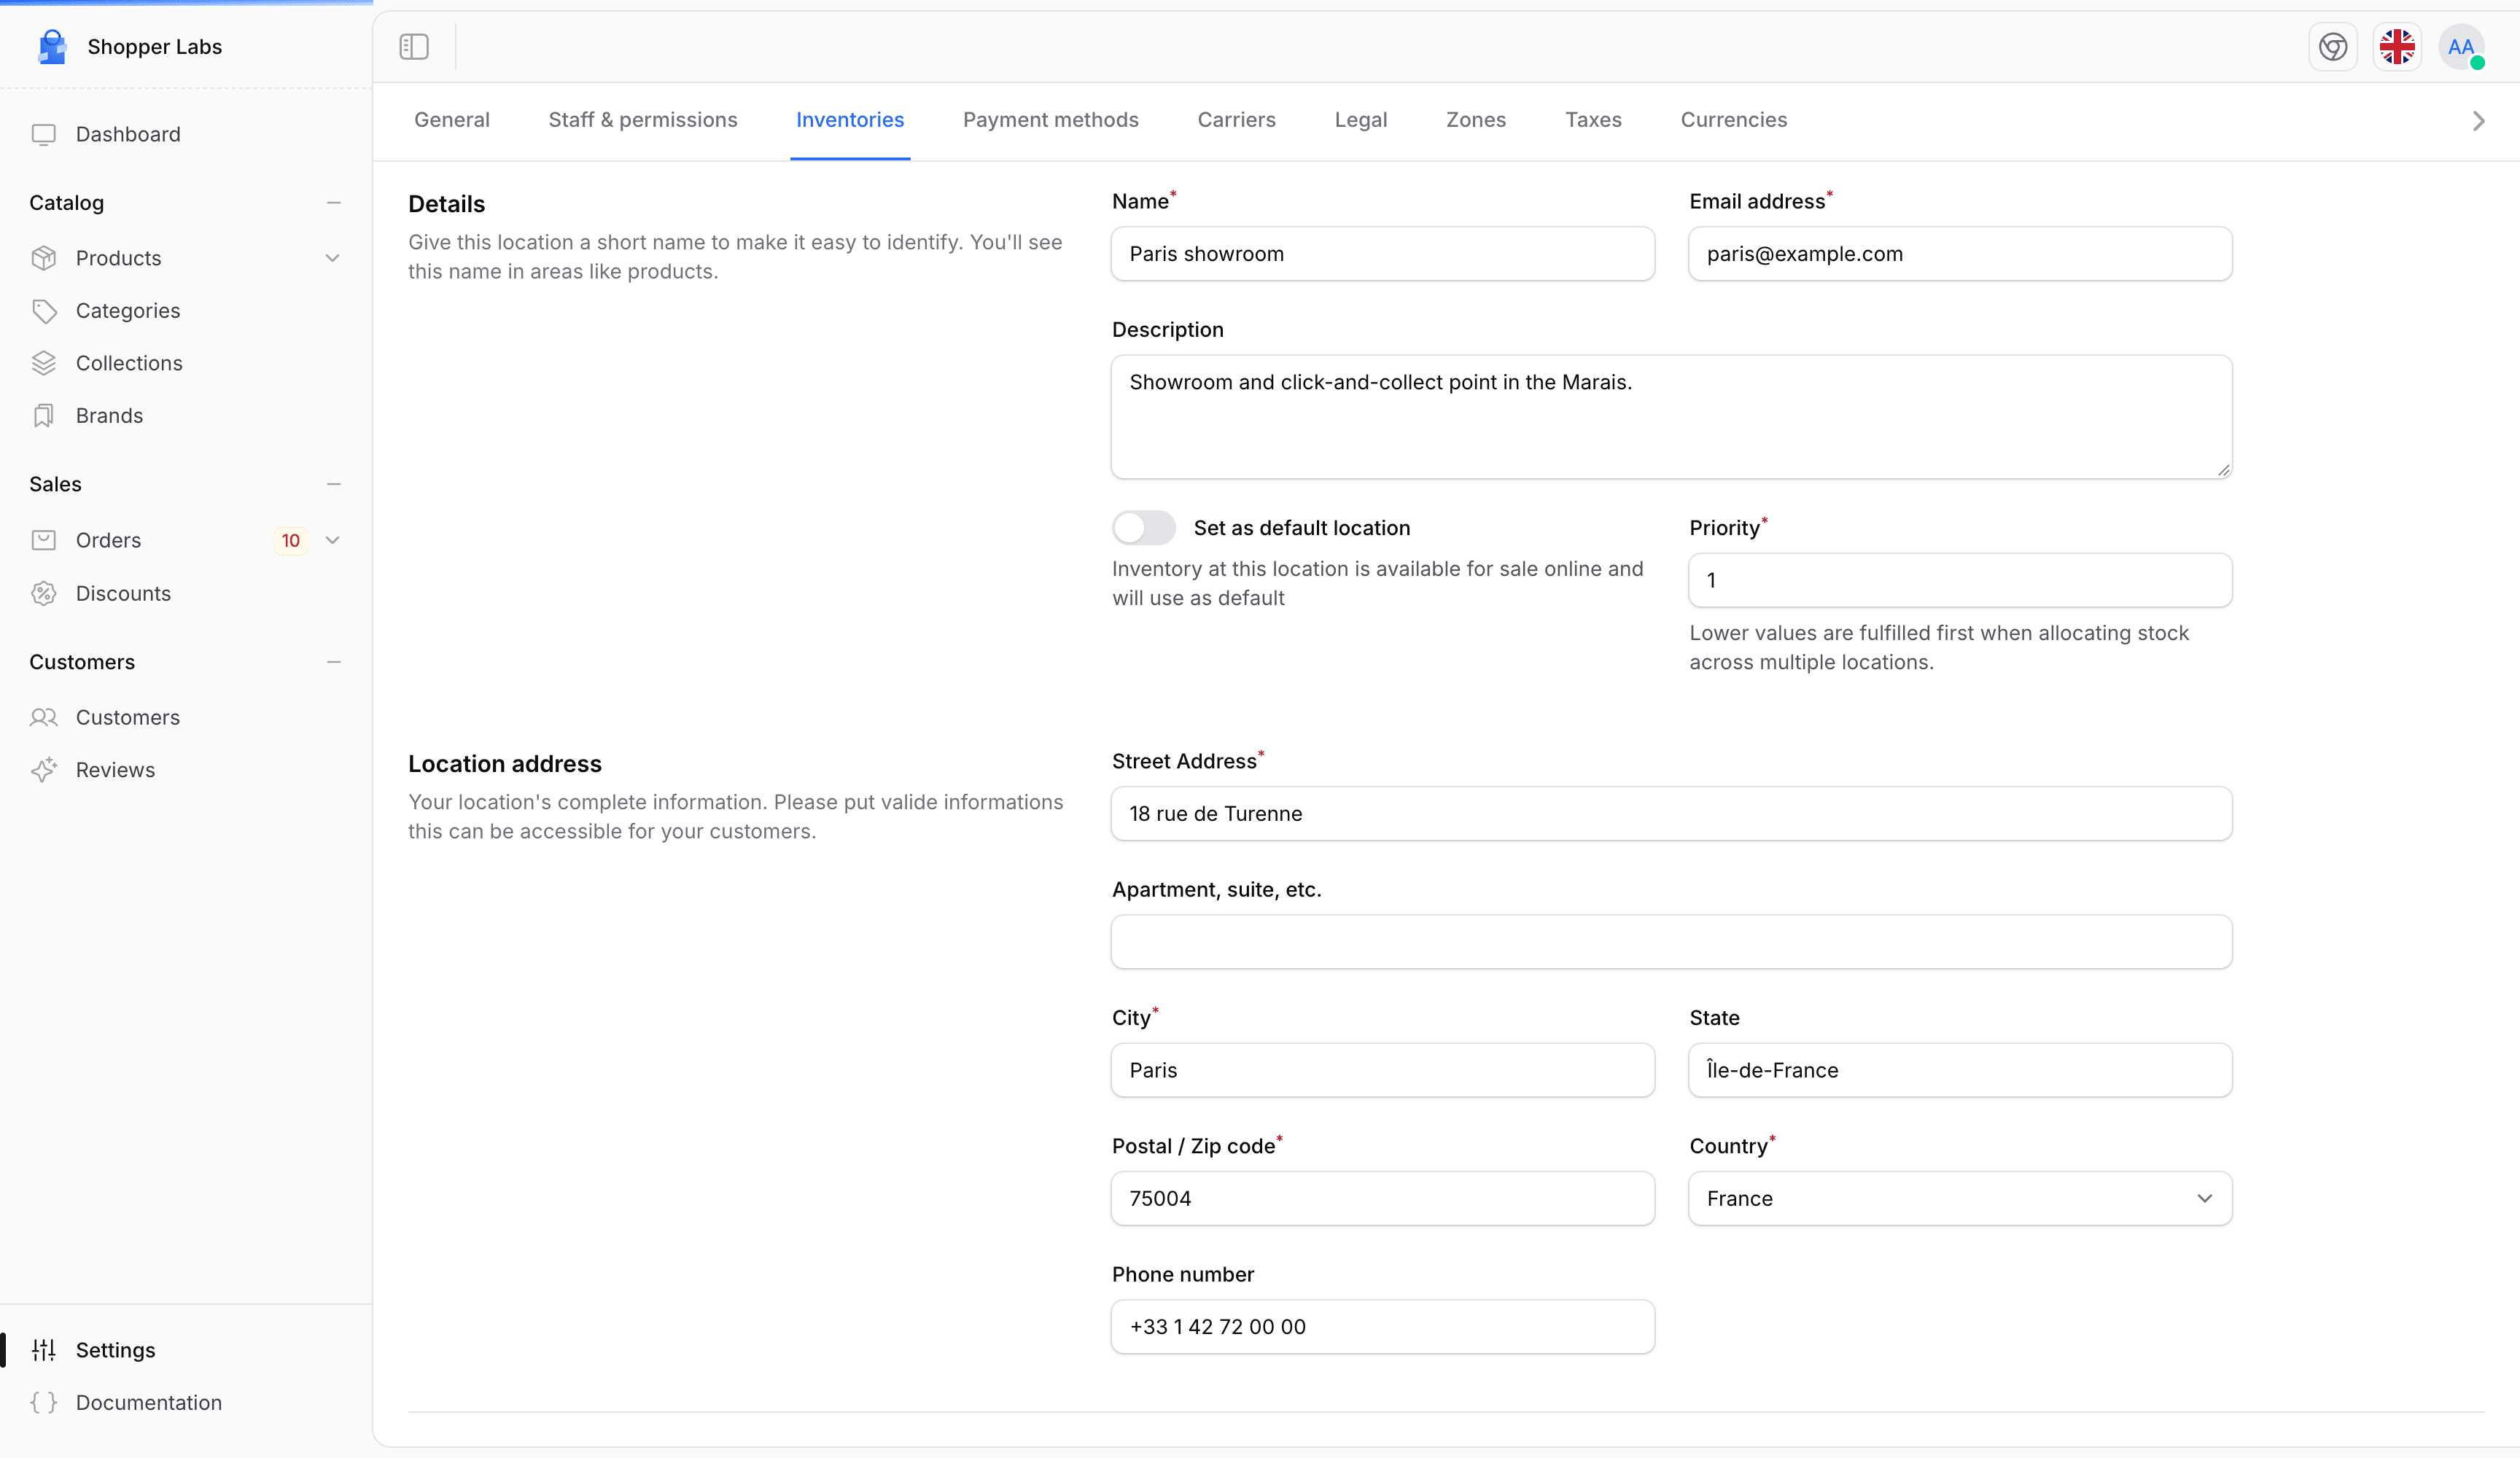
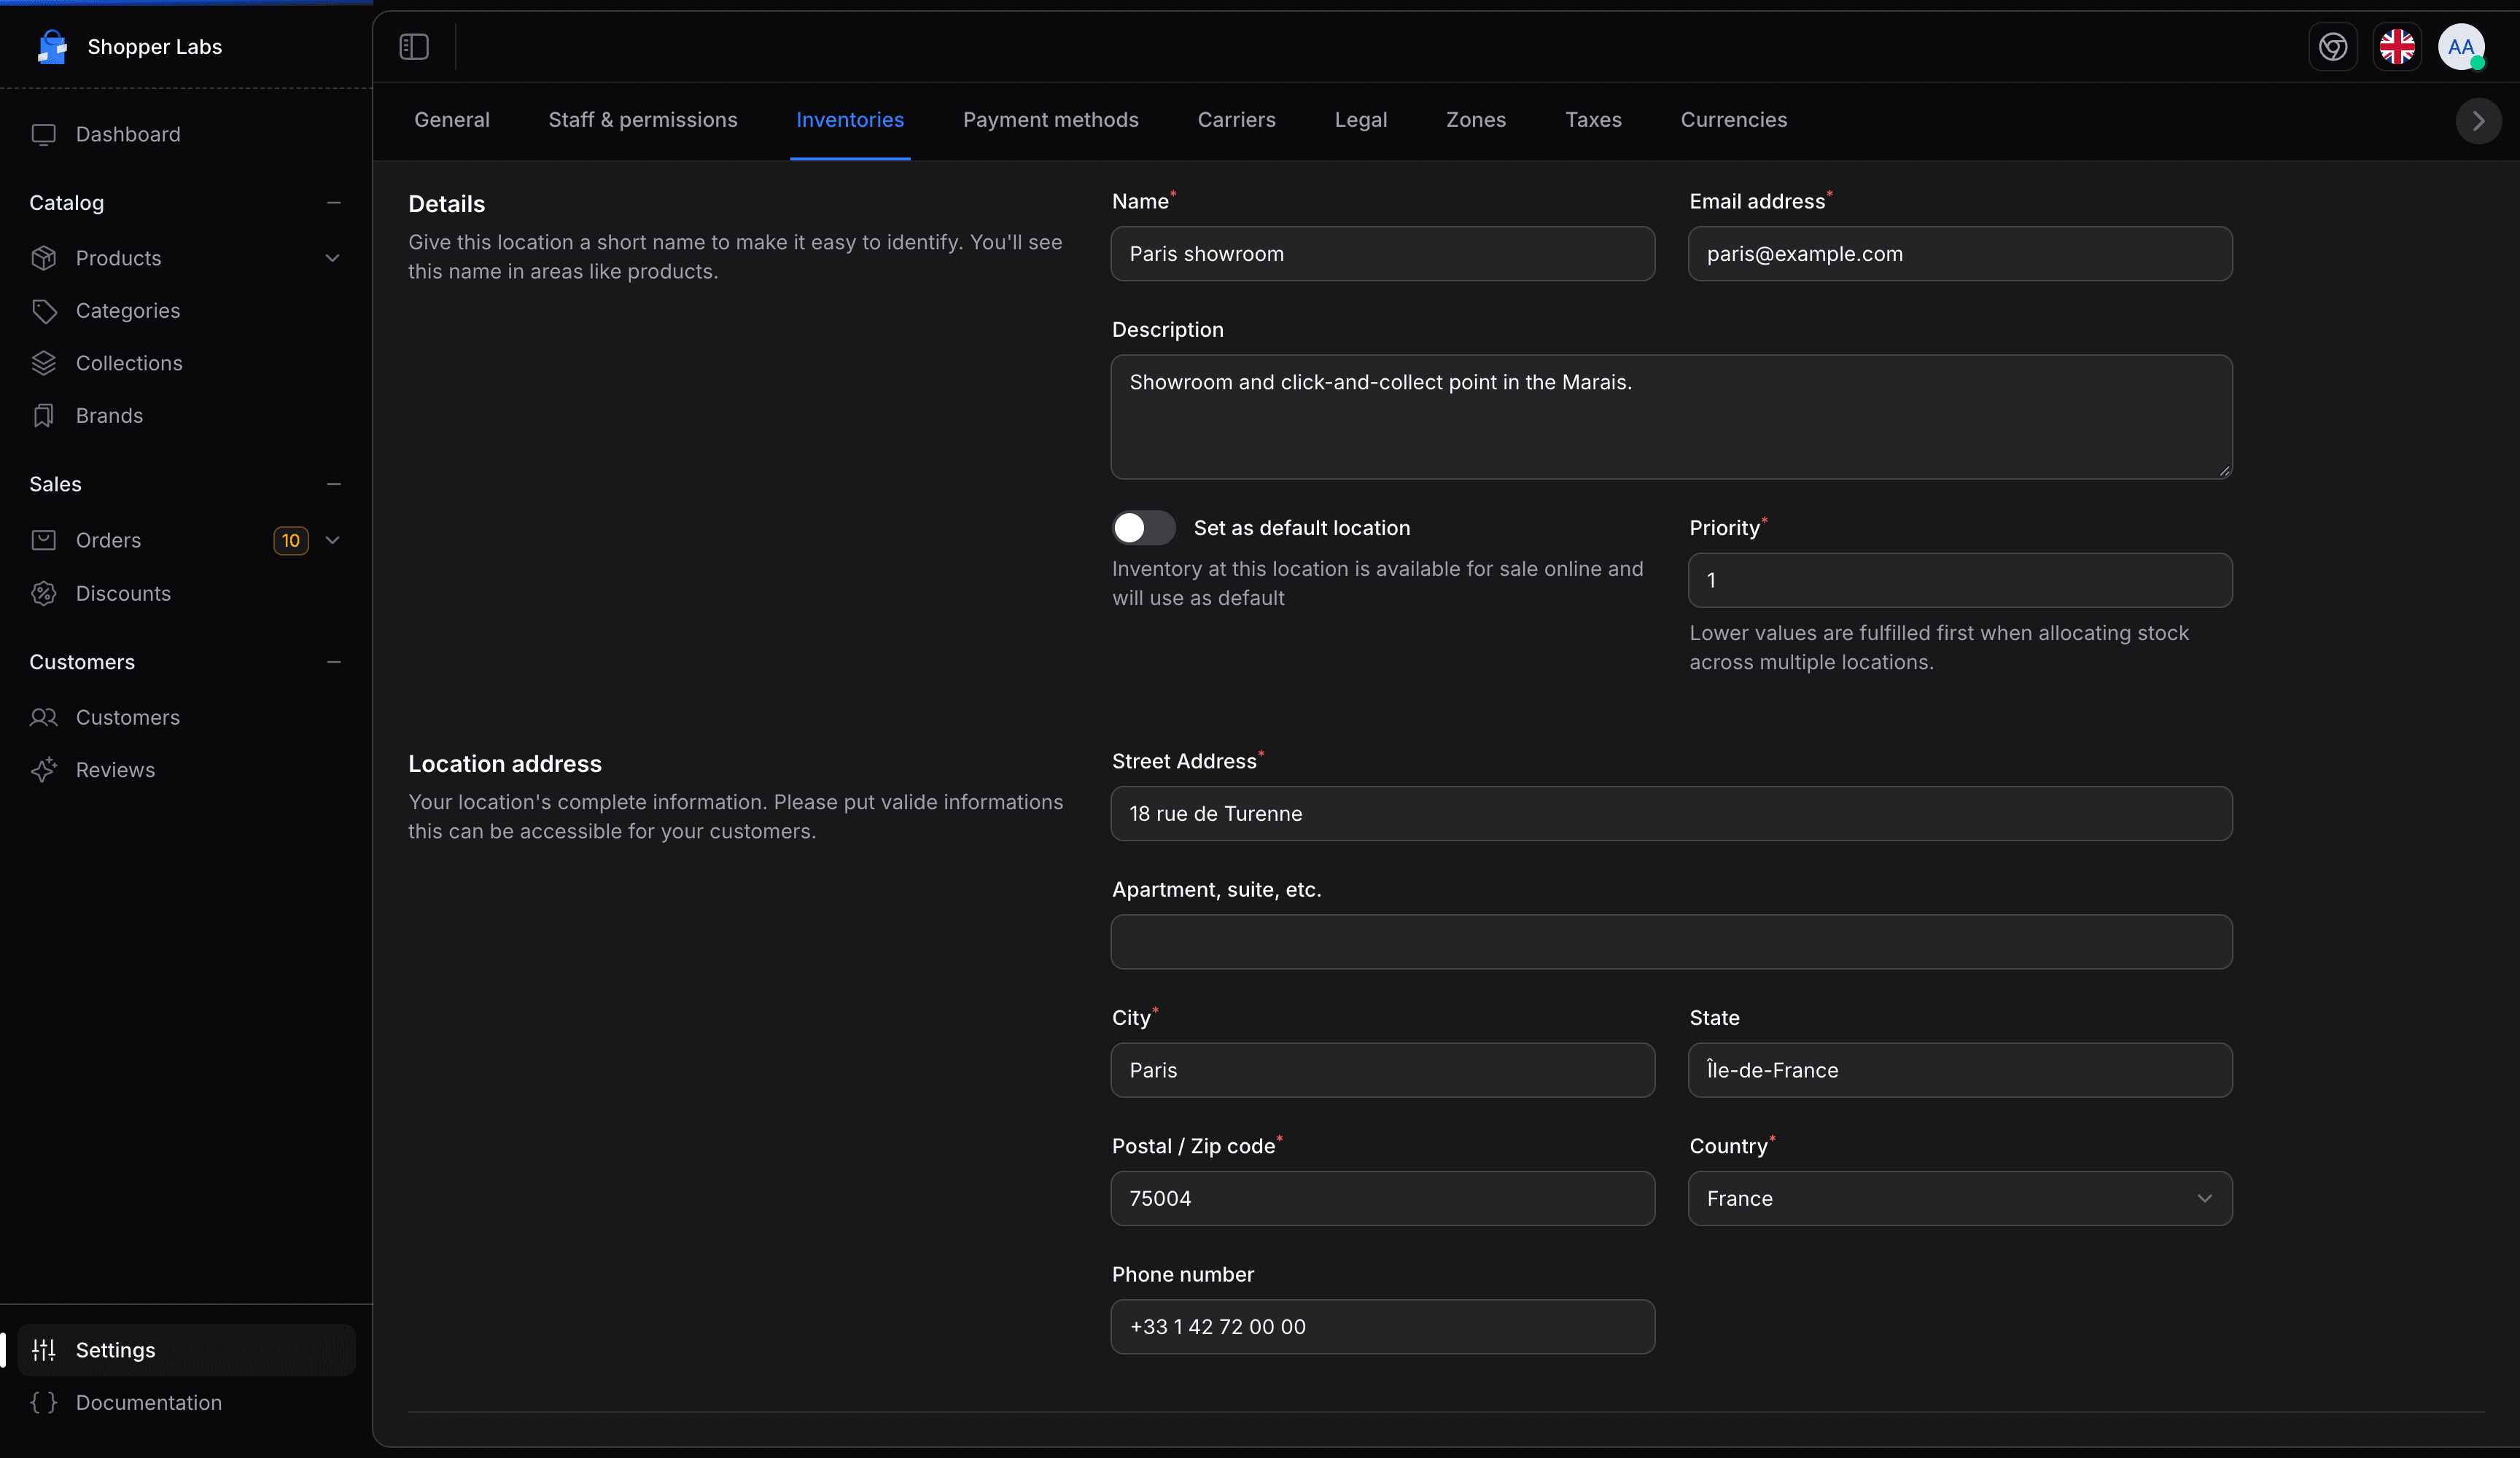
To modify an existing location:
- Click the pencil icon next to the location in the list
- Update the desired fields
- Click Save to apply changes
Setting a Default Location
One location is the default. It is marked Default in the locations list. The default location:
- Receives the initial stock you enter when you create a product or a variant
- Cannot be deleted: the delete icon is hidden for it
To change the default location, edit another location, turn on Set as default location, and click Save. The previous default location stops being the default.
Keep your location information accurate, especially addresses, as they may be used for shipping calculations and customer communications.
For developer details, see the Locations documentation.
Last updated on
Edit on GitHub