
Managing Customers
View and manage your customer accounts and information.
Your customers are essential to your business. Shopper helps you manage customer information, track their orders, and build lasting relationships.
Overview
The Customers section allows you to:
- View all registered customers
- Access customer details and order history
- See customer addresses
- Send login credentials to the customers you create
- Create customers manually
- Anonymize a customer who asks for their data to be removed
Accessing Customers
Click on Customers in the sidebar to access customer management.
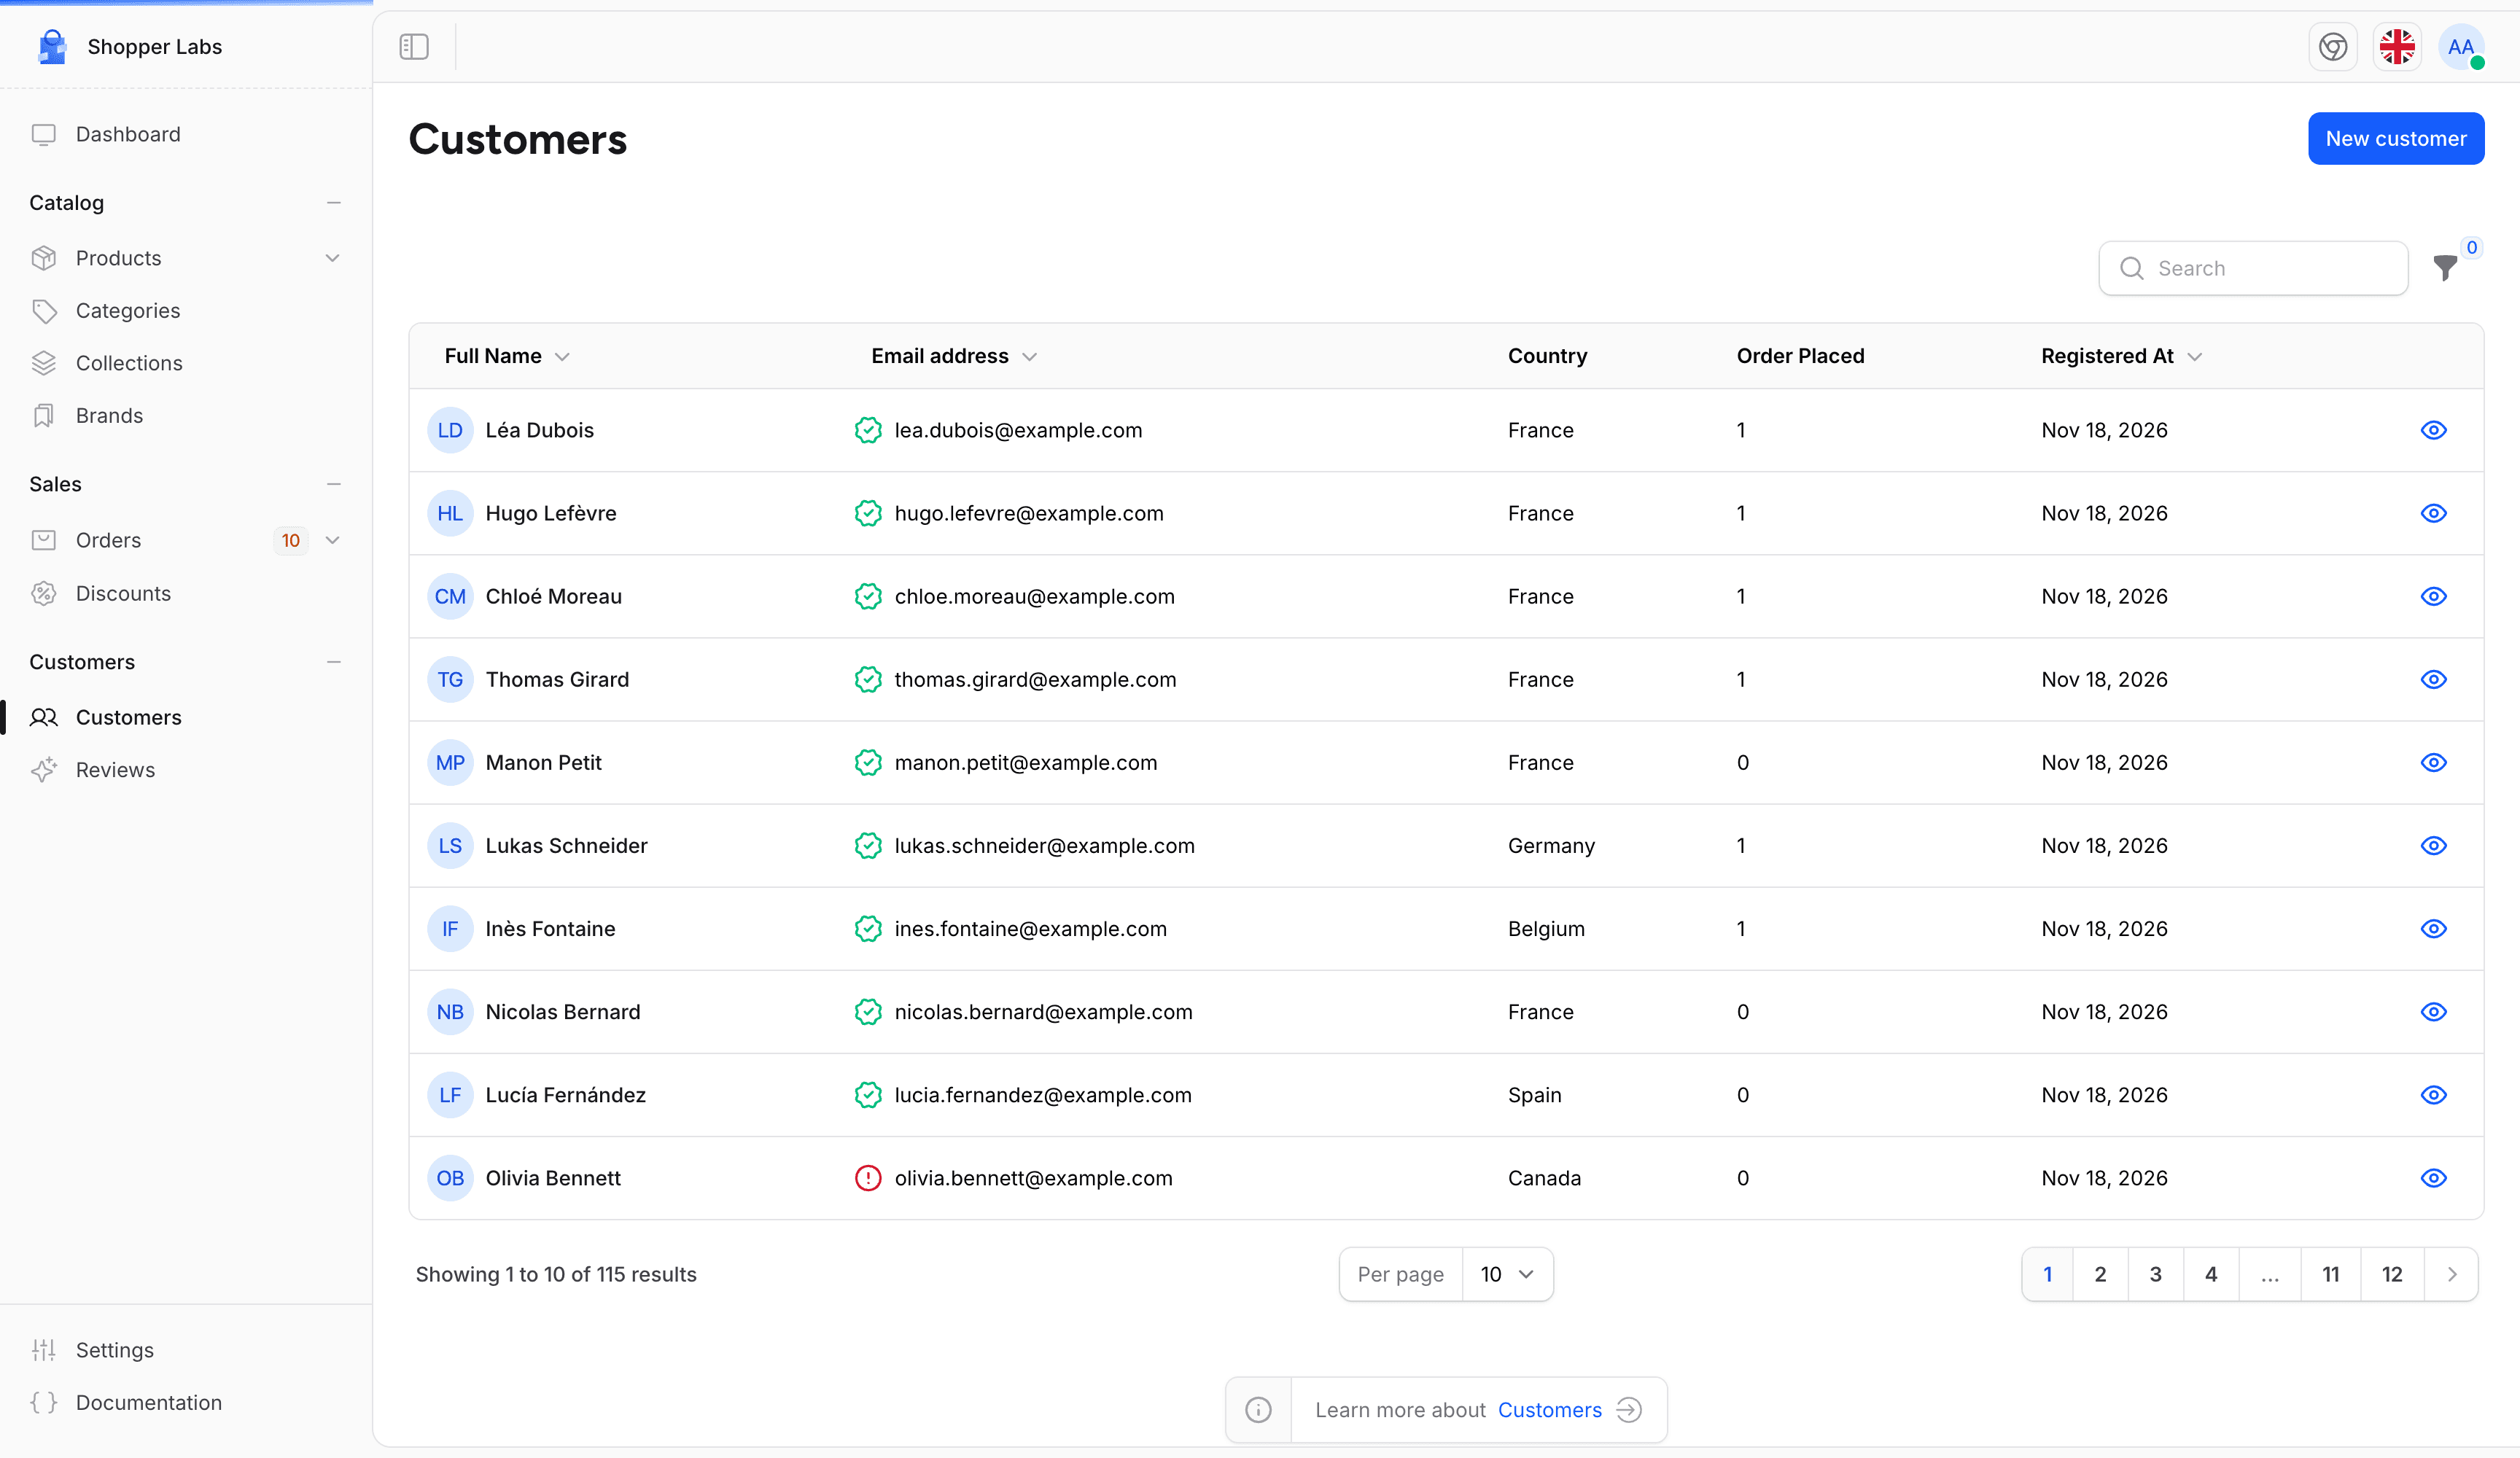
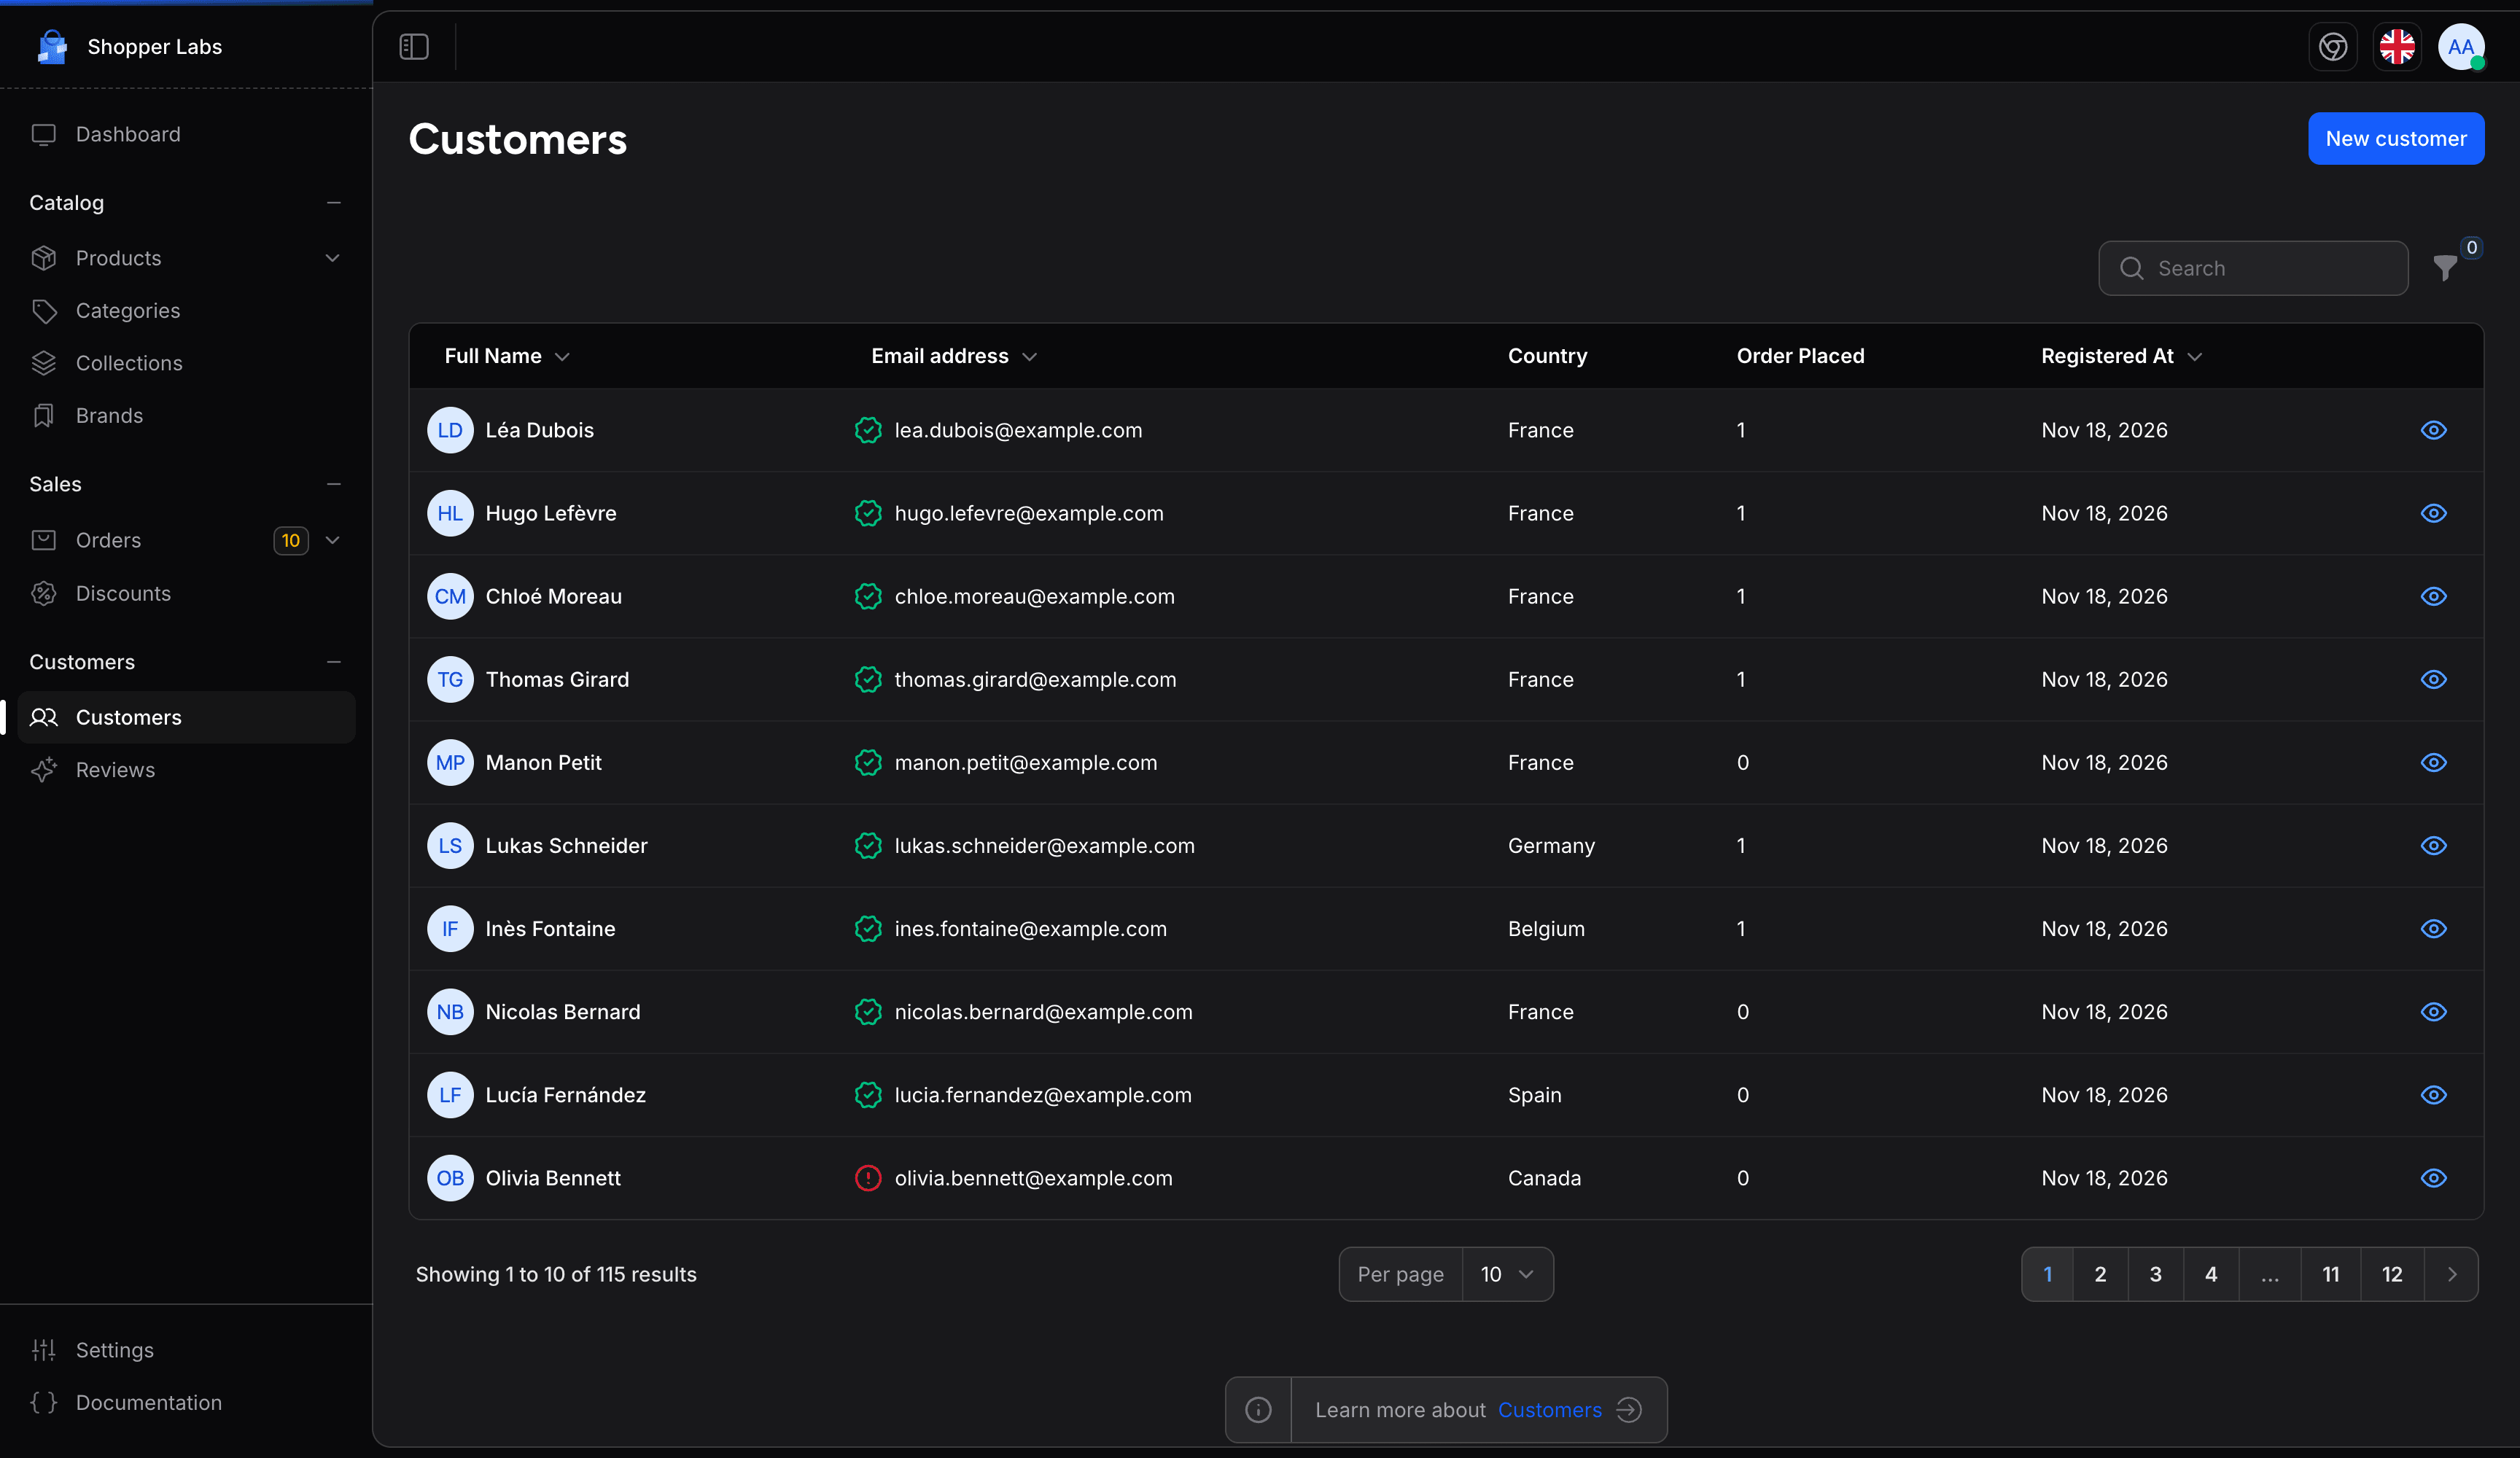
Customer List
The customer list displays:
| Column | Description |
|---|---|
| Full Name | Customer's full name and picture |
| Email address | Contact email address |
| Country | Country of the customer's first address |
| Order Placed | Number of paid orders that are processing or completed |
| Registered At | When they registered |
You can filter the list by E-mail Verified and by registration date.
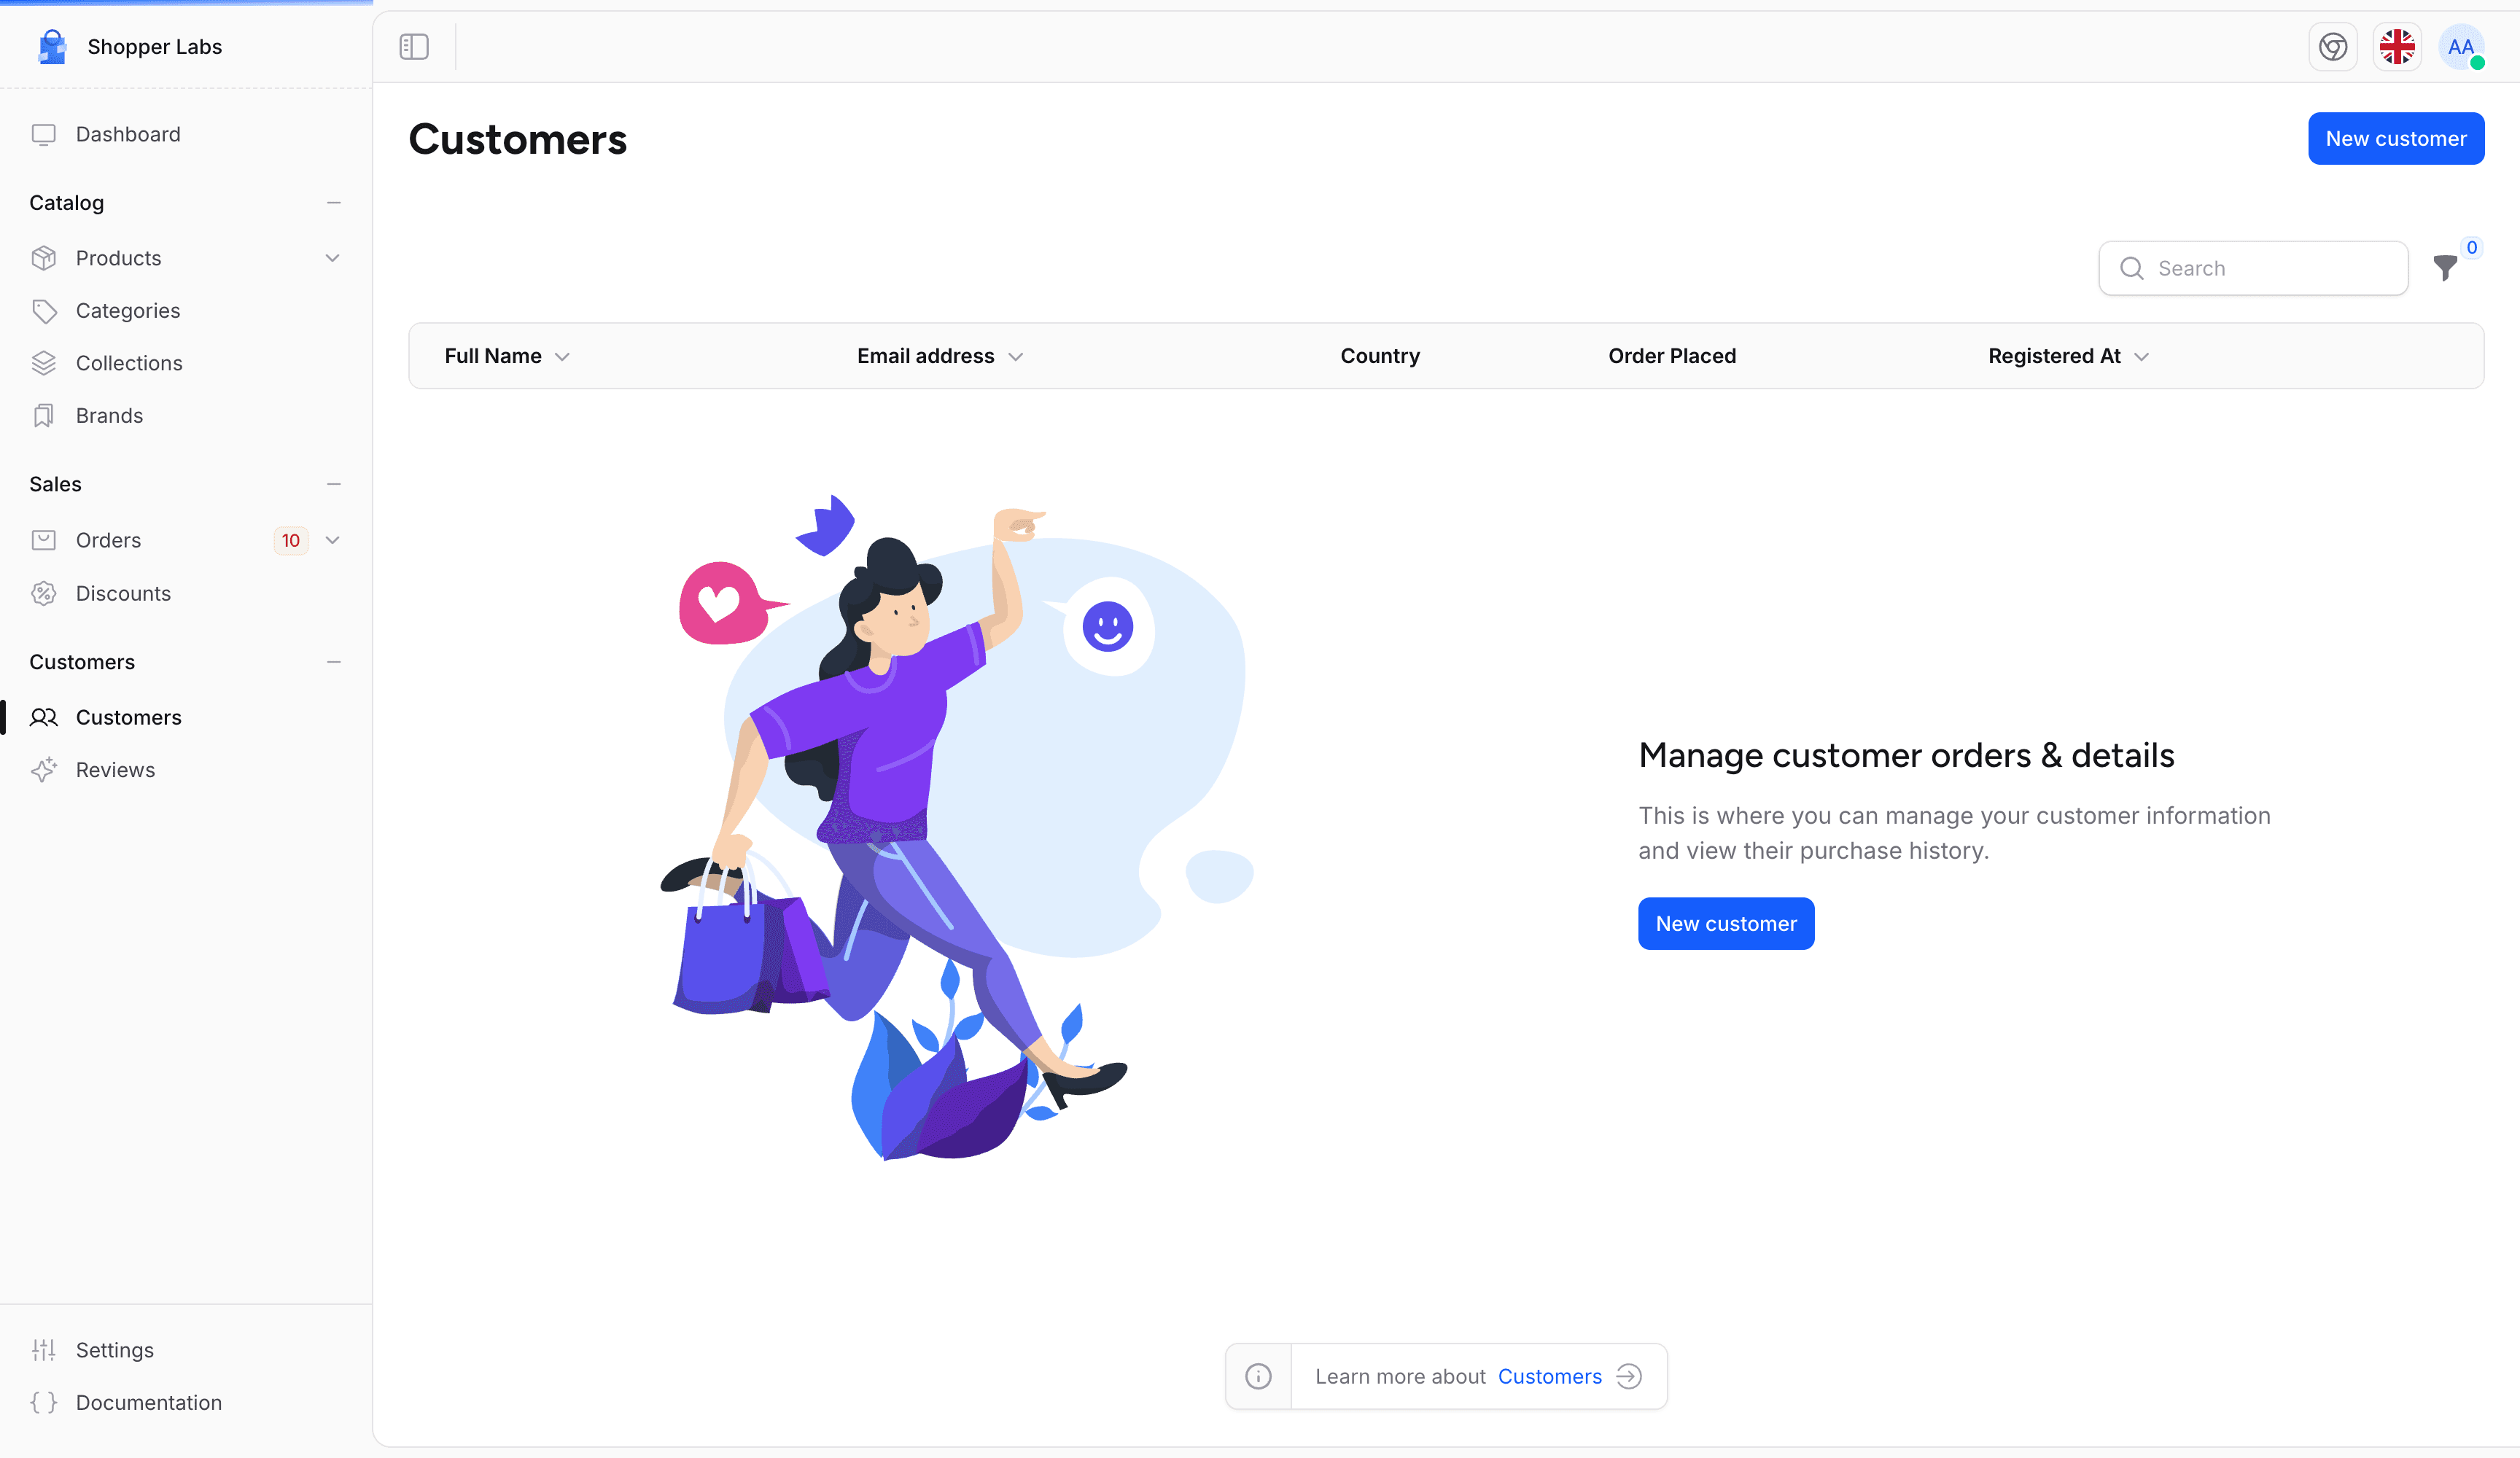
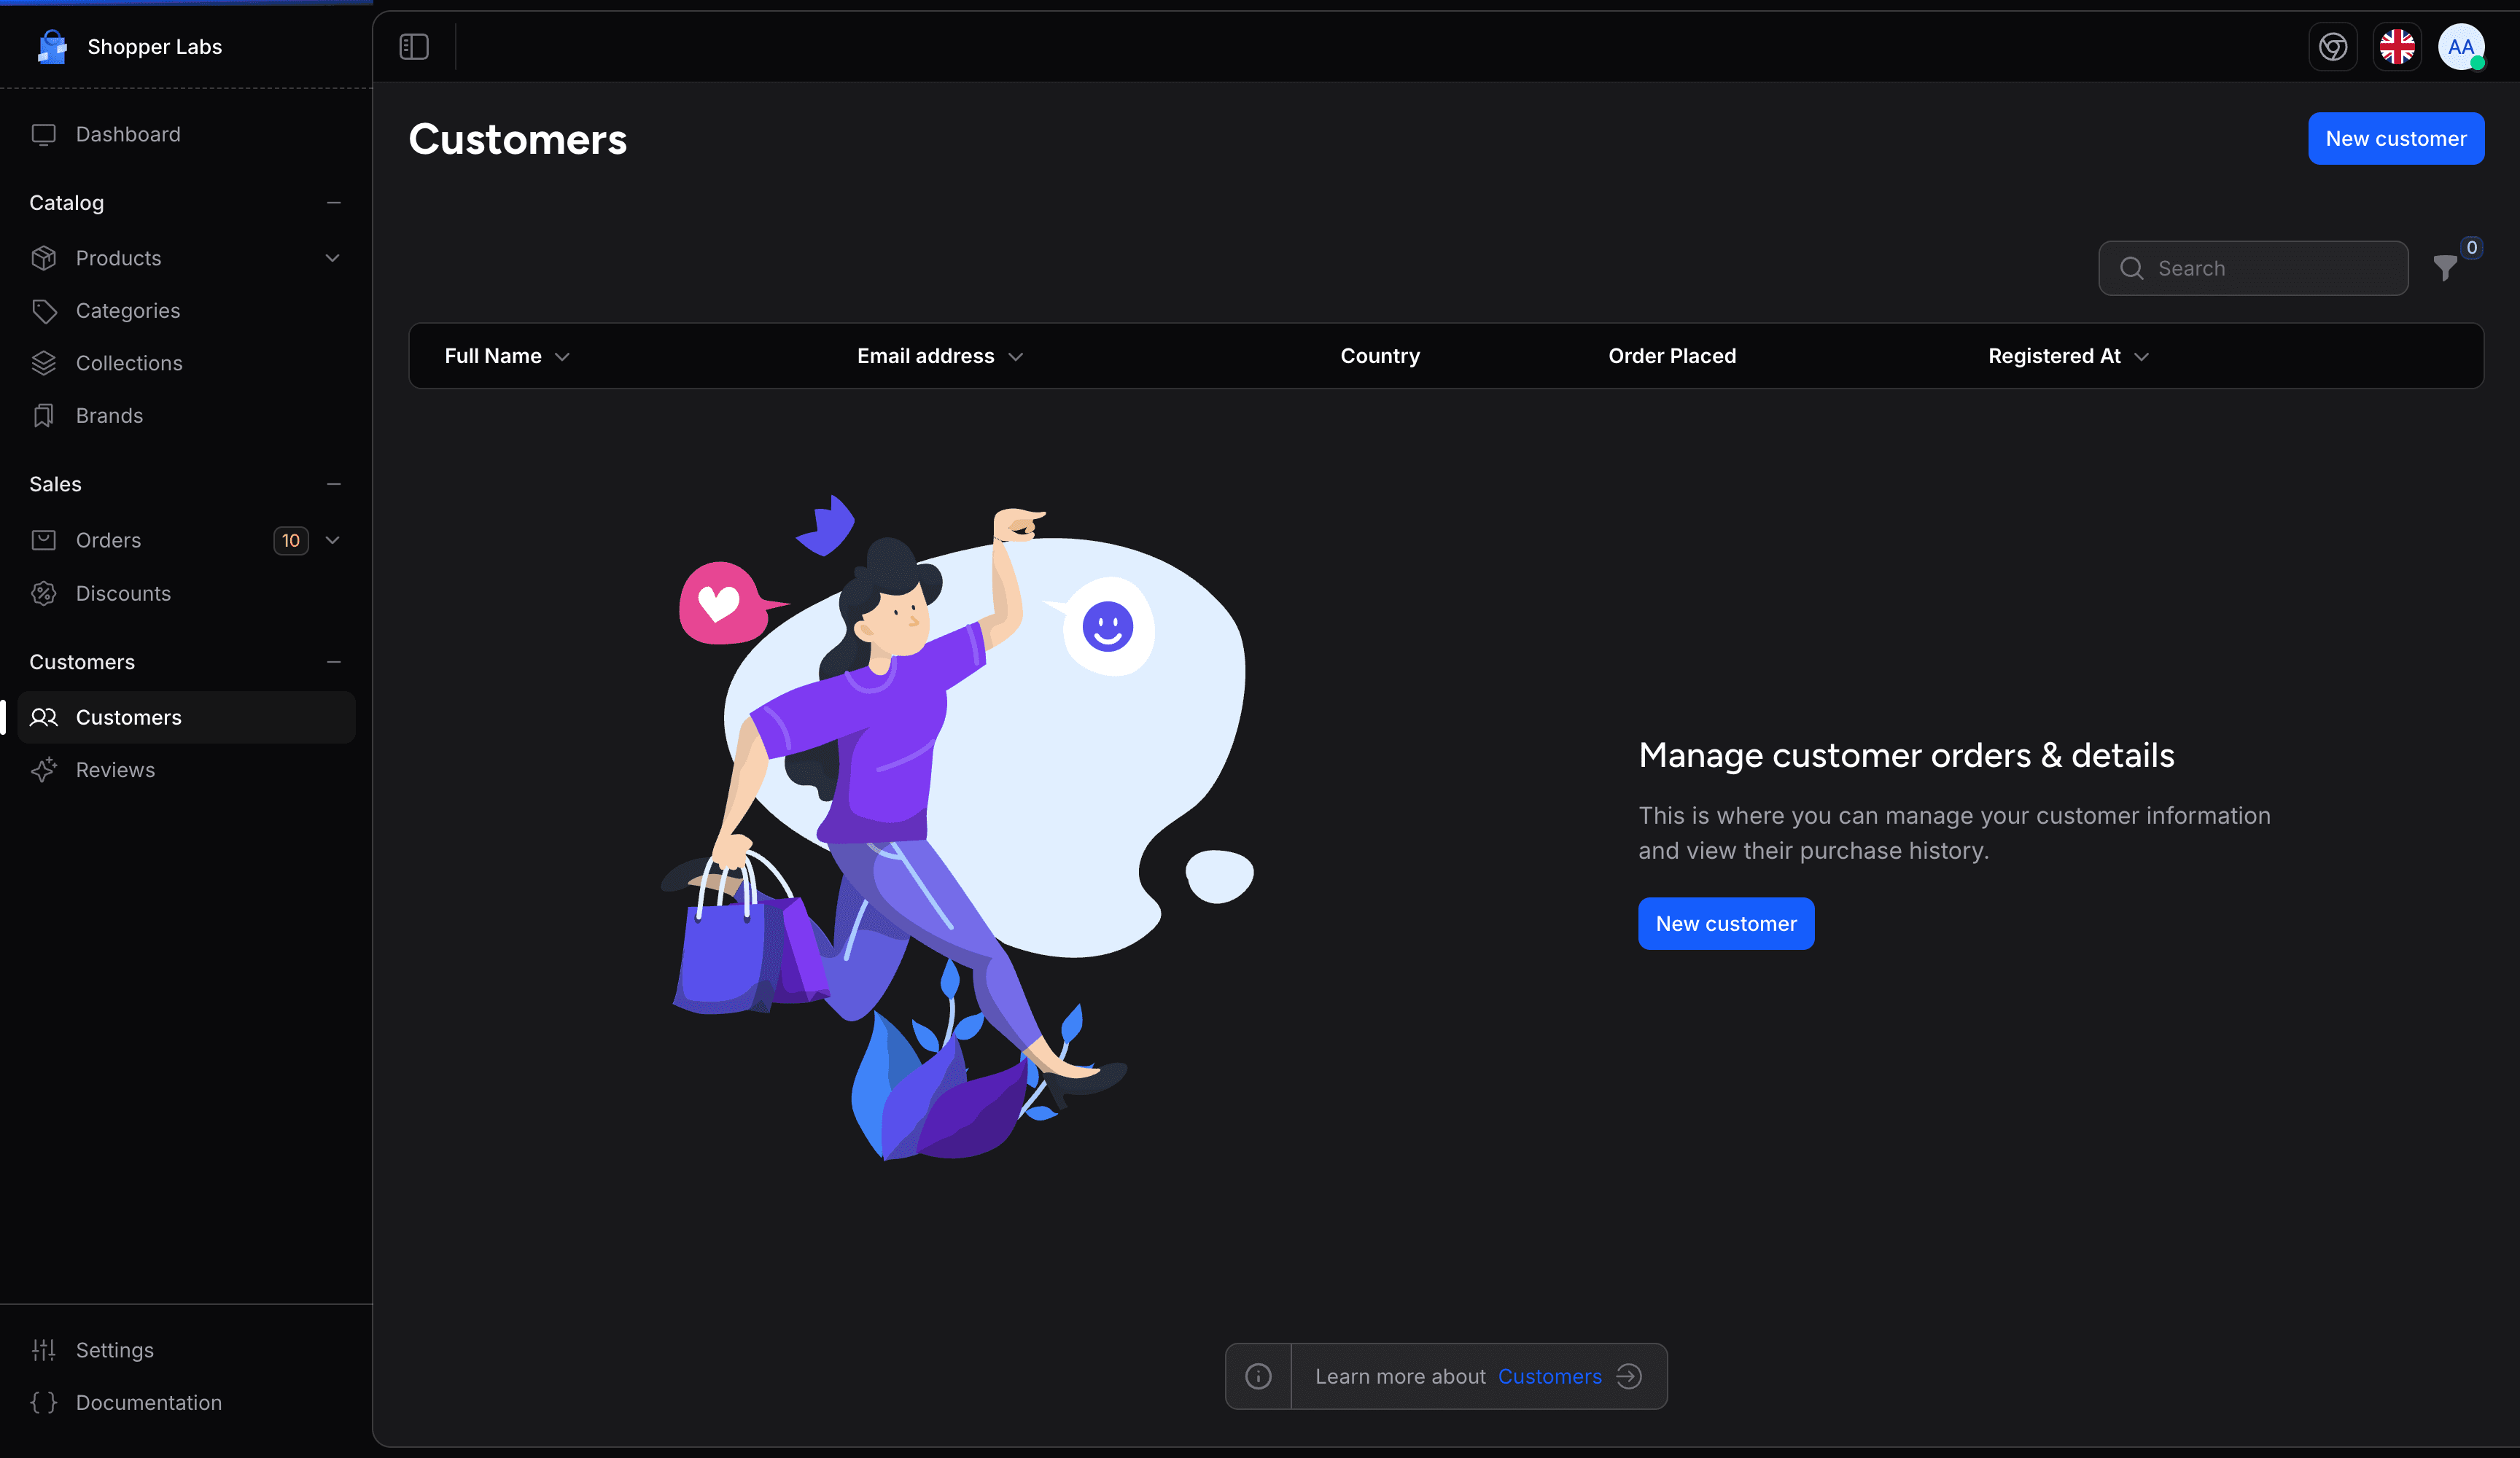
Empty State
If you don't have any customers yet, you'll see a helpful prompt:
Customer Details
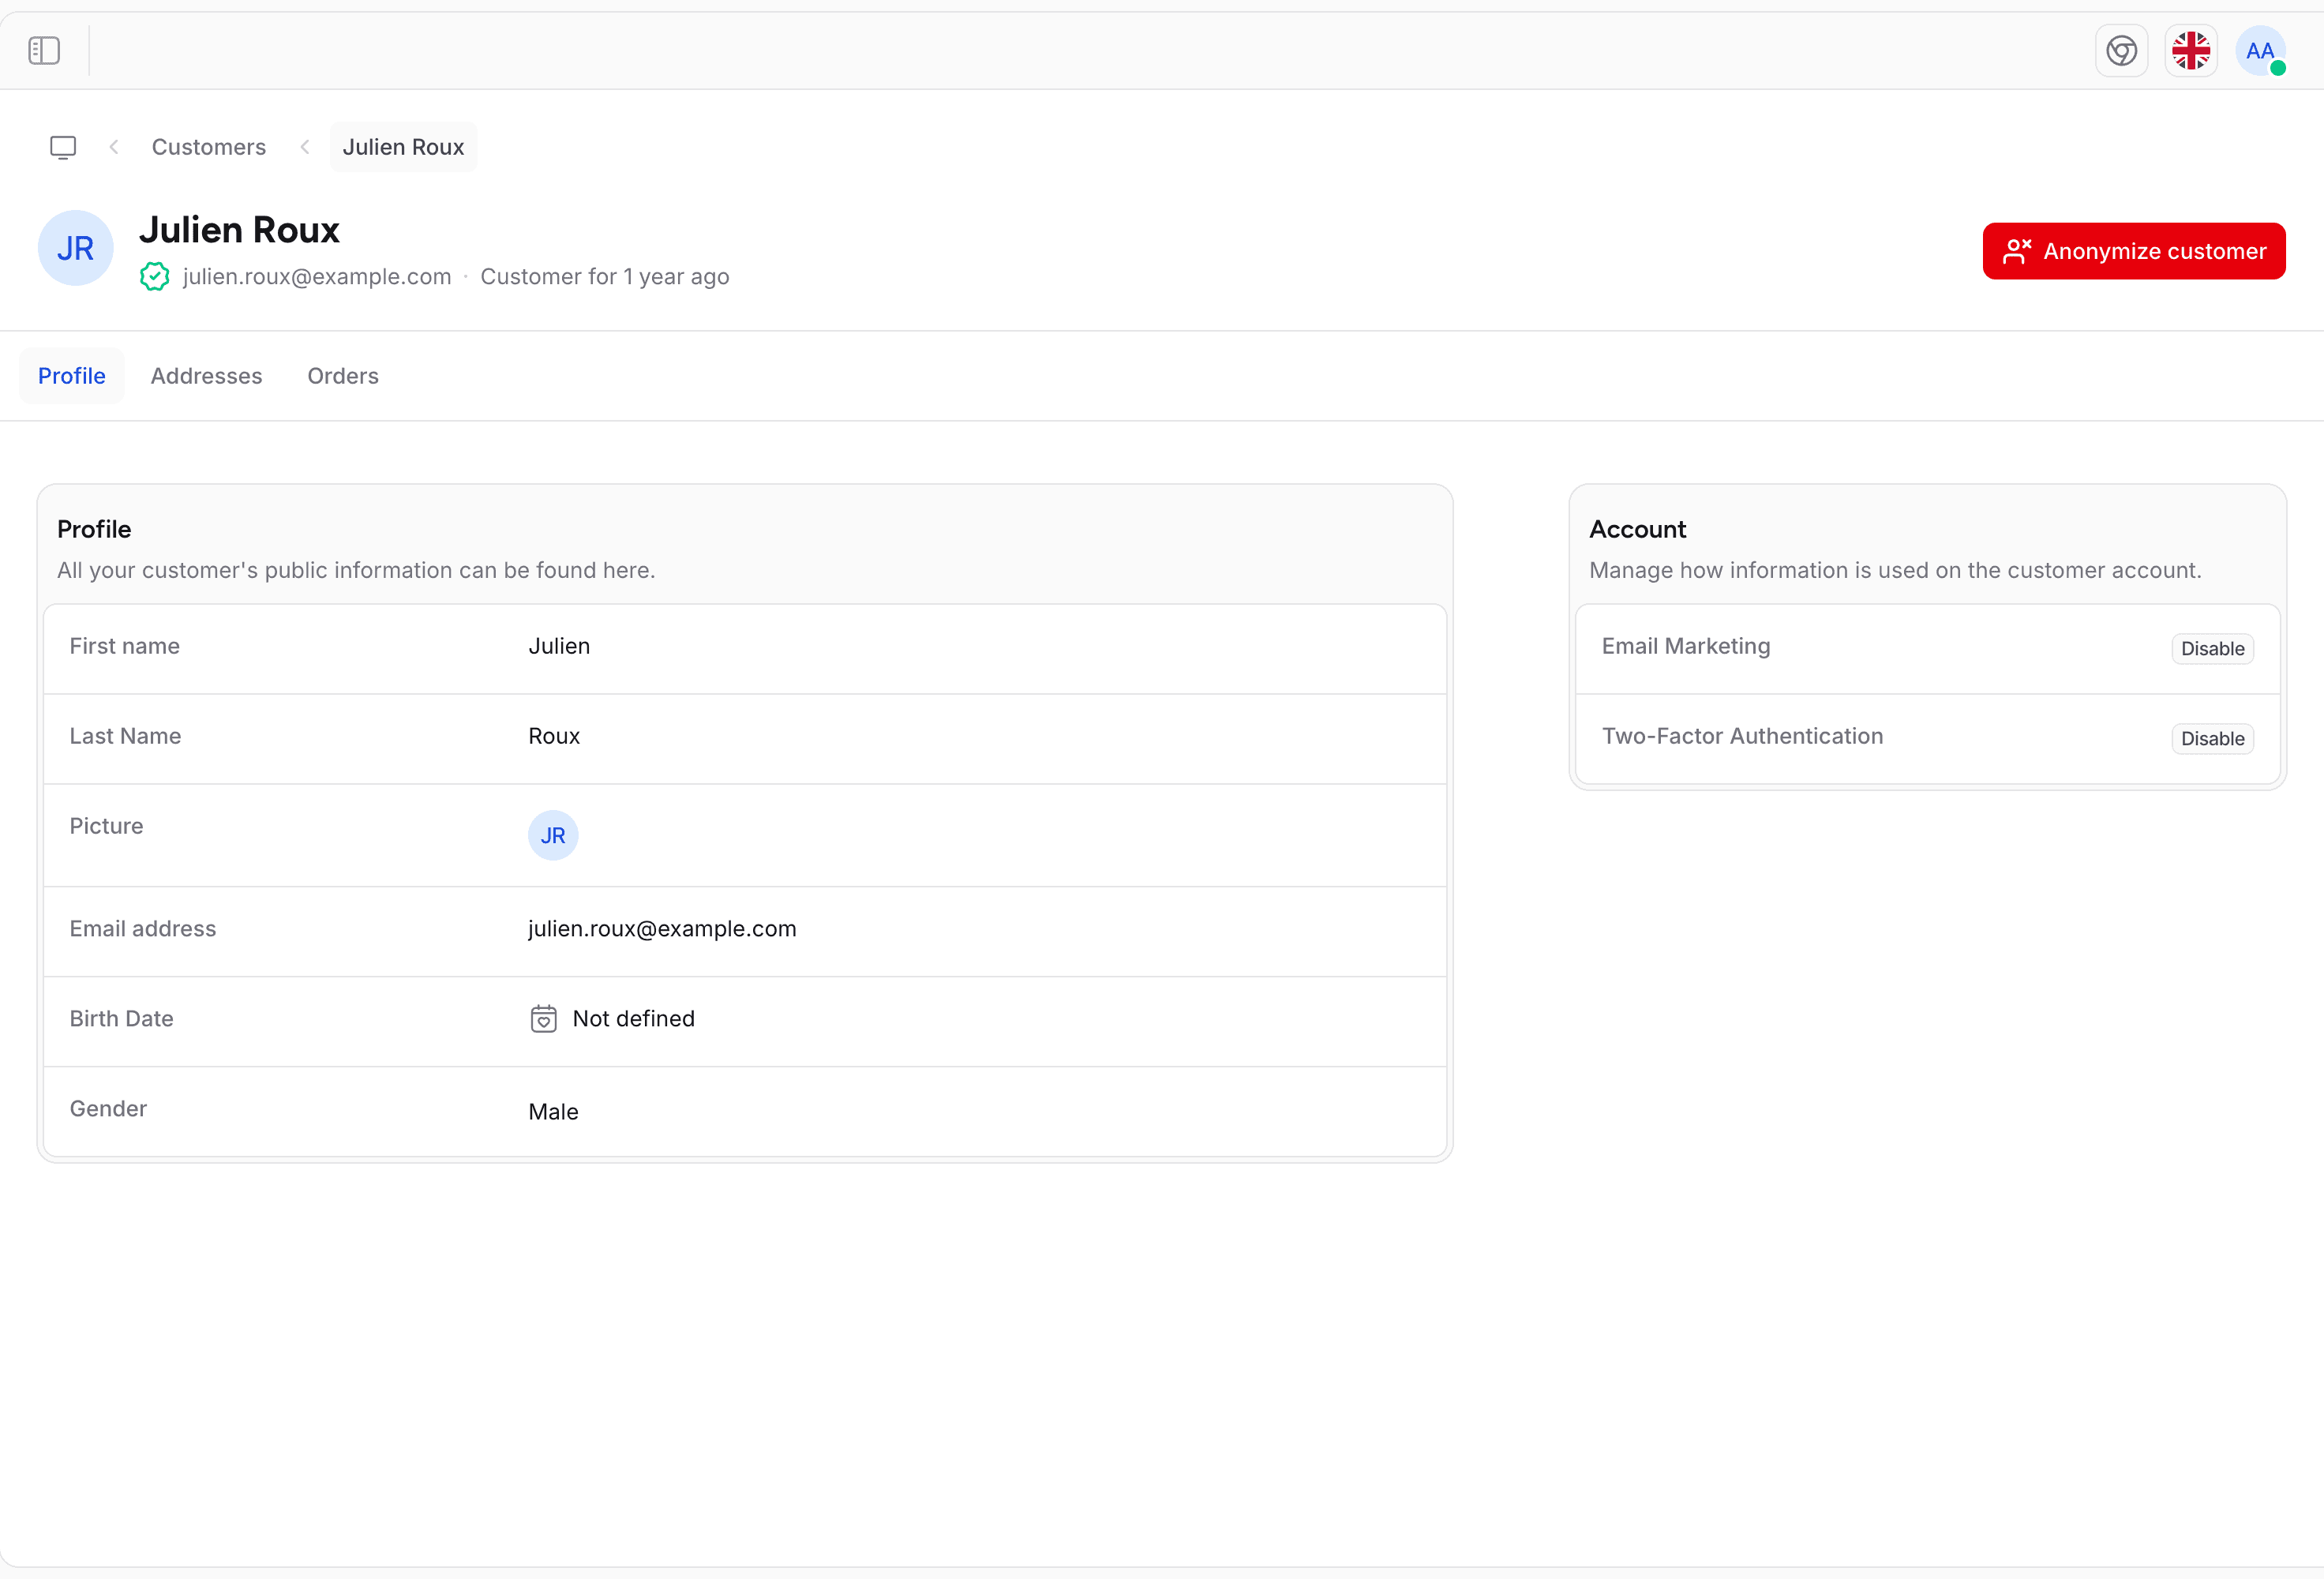
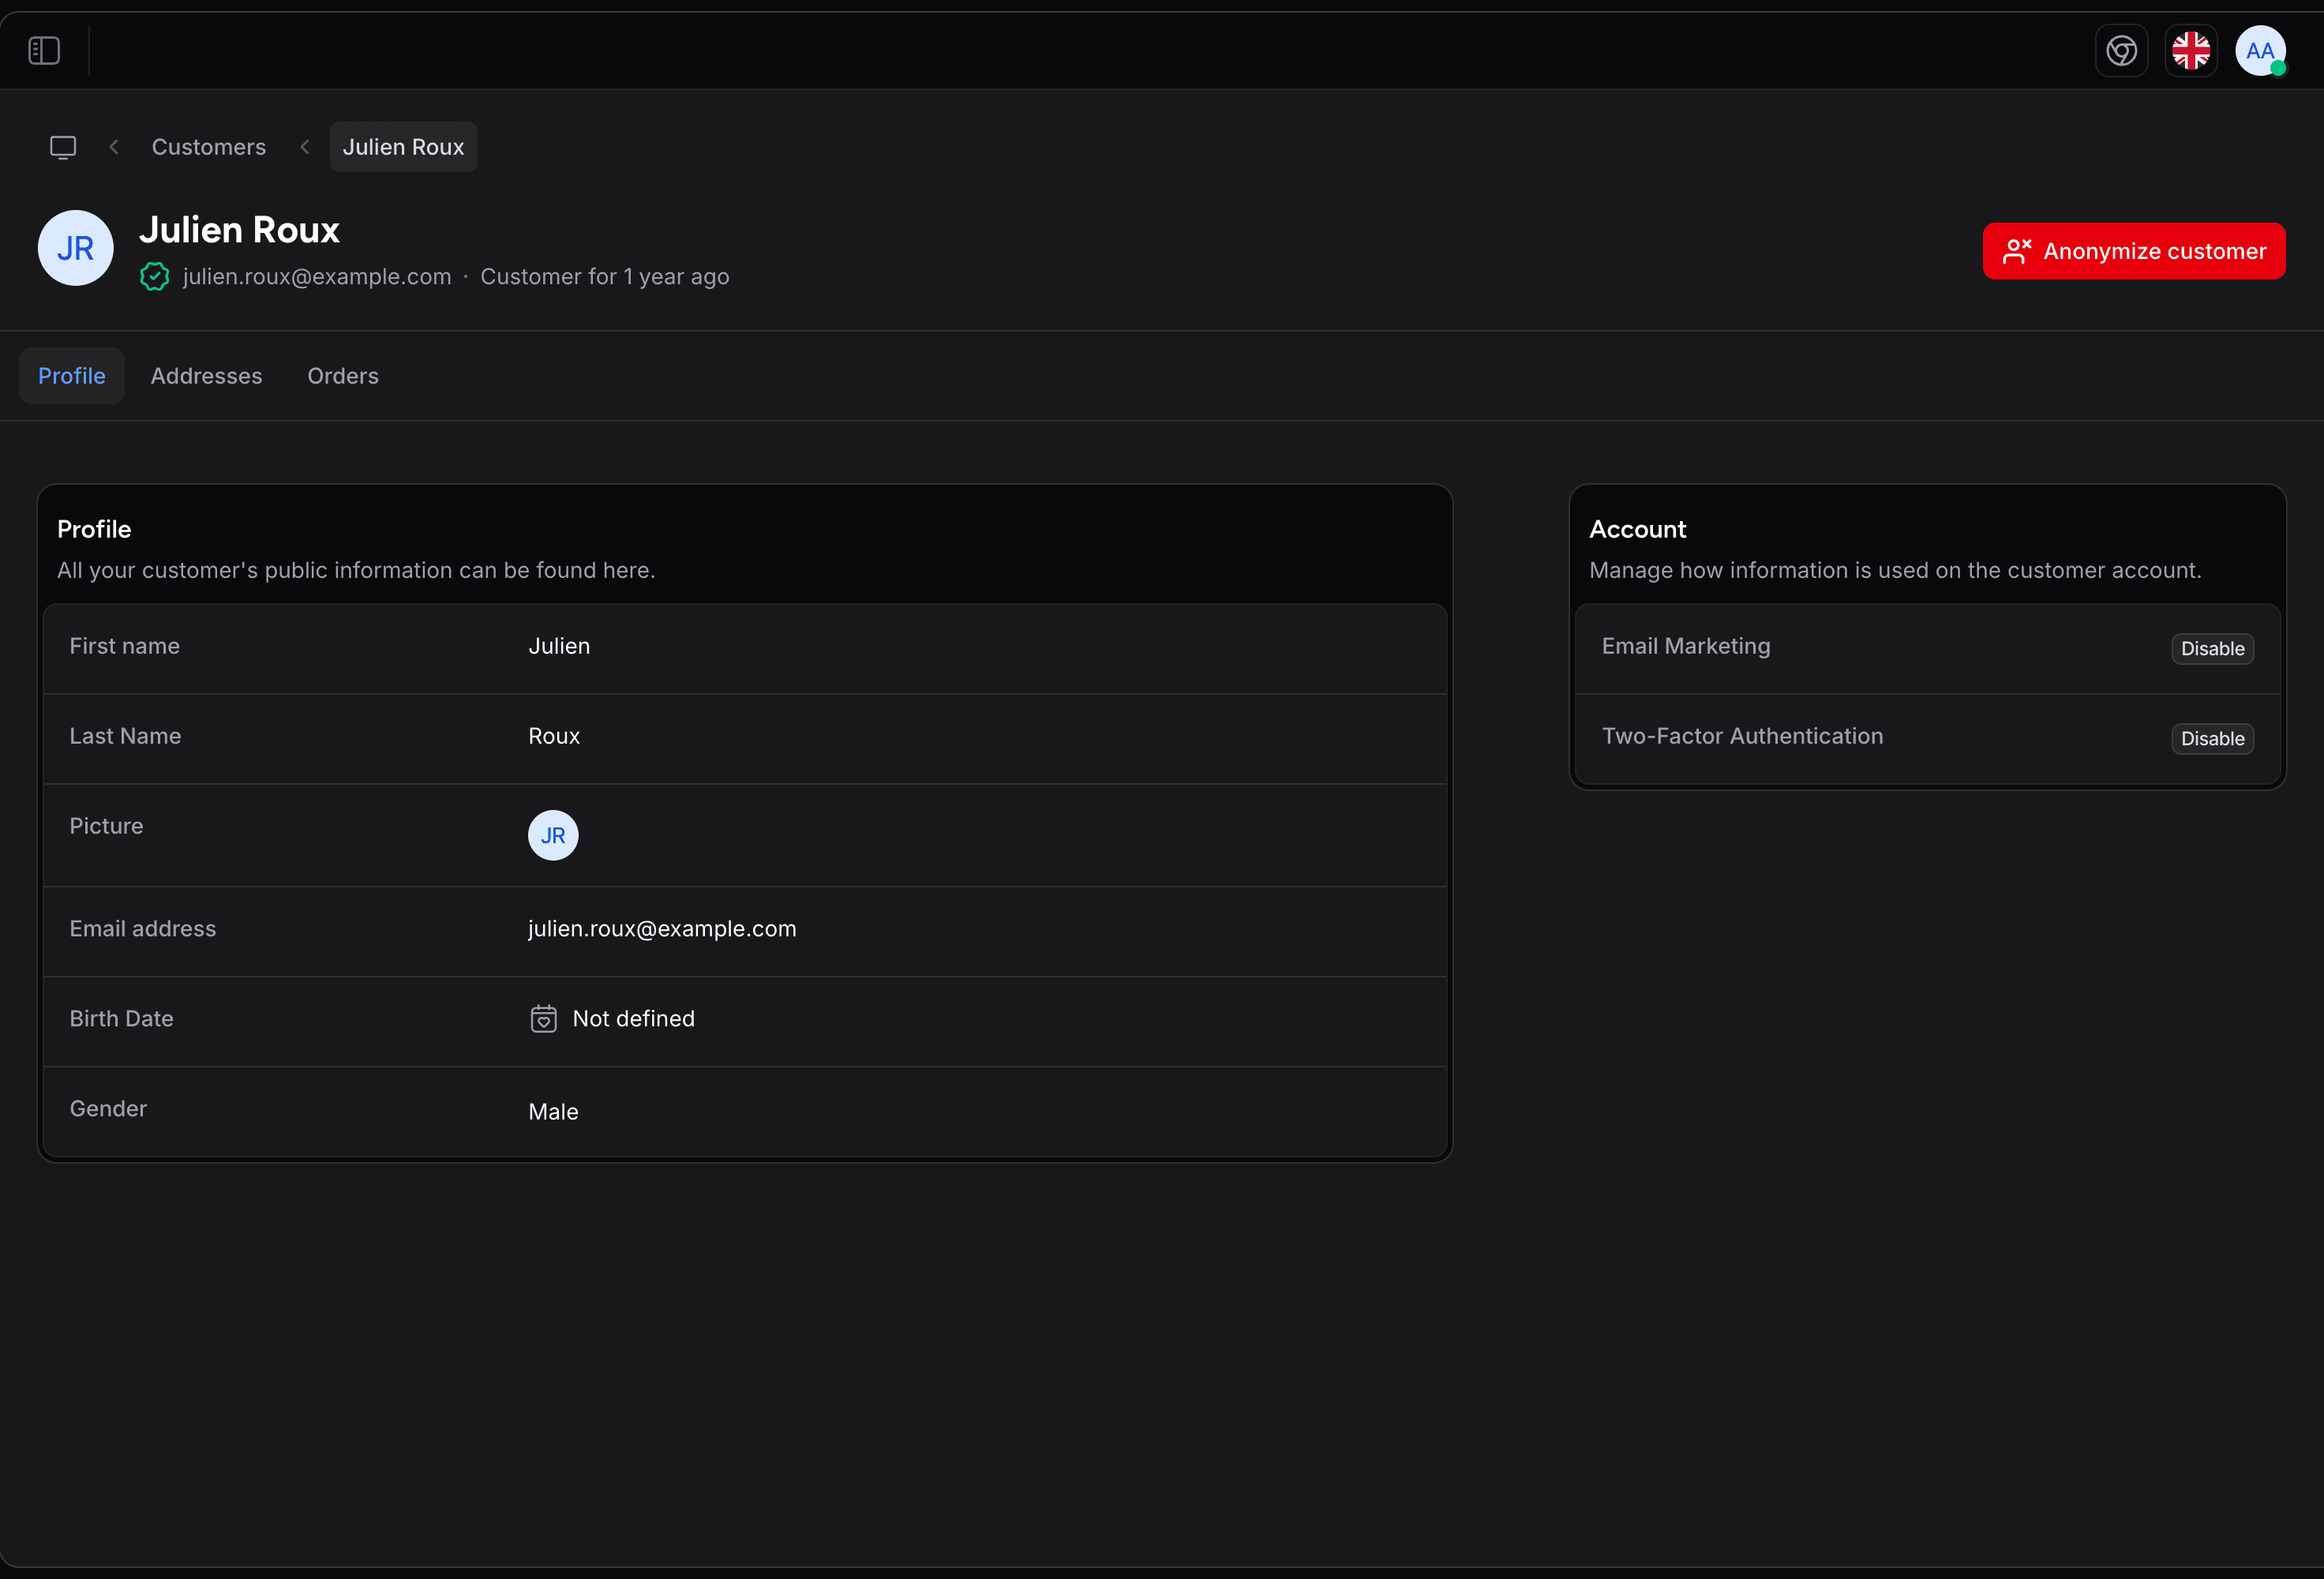
Click a customer's name, or the eye icon (View), to open their profile. The header shows their name, their email (with an icon when the email is verified), how long they have been a customer, and the Anonymize customer button. Below it, the Profile, Addresses, and Orders tabs:
Profile Information
The Profile tab is read-only. It has two cards:
- Profile. First name, last name, picture, email address, birth date, and gender (when set)
- Account. Email Marketing shows whether the customer agreed to receive marketing emails, and Two-Factor Authentication whether they turned it on. Each shows Enable or Disable
The profile has no account status and no notes field. The verified icon next to the email tells you the customer confirmed their email address, and the phone number appears on each address card. For internal comments, use the private notes on each order.
Addresses
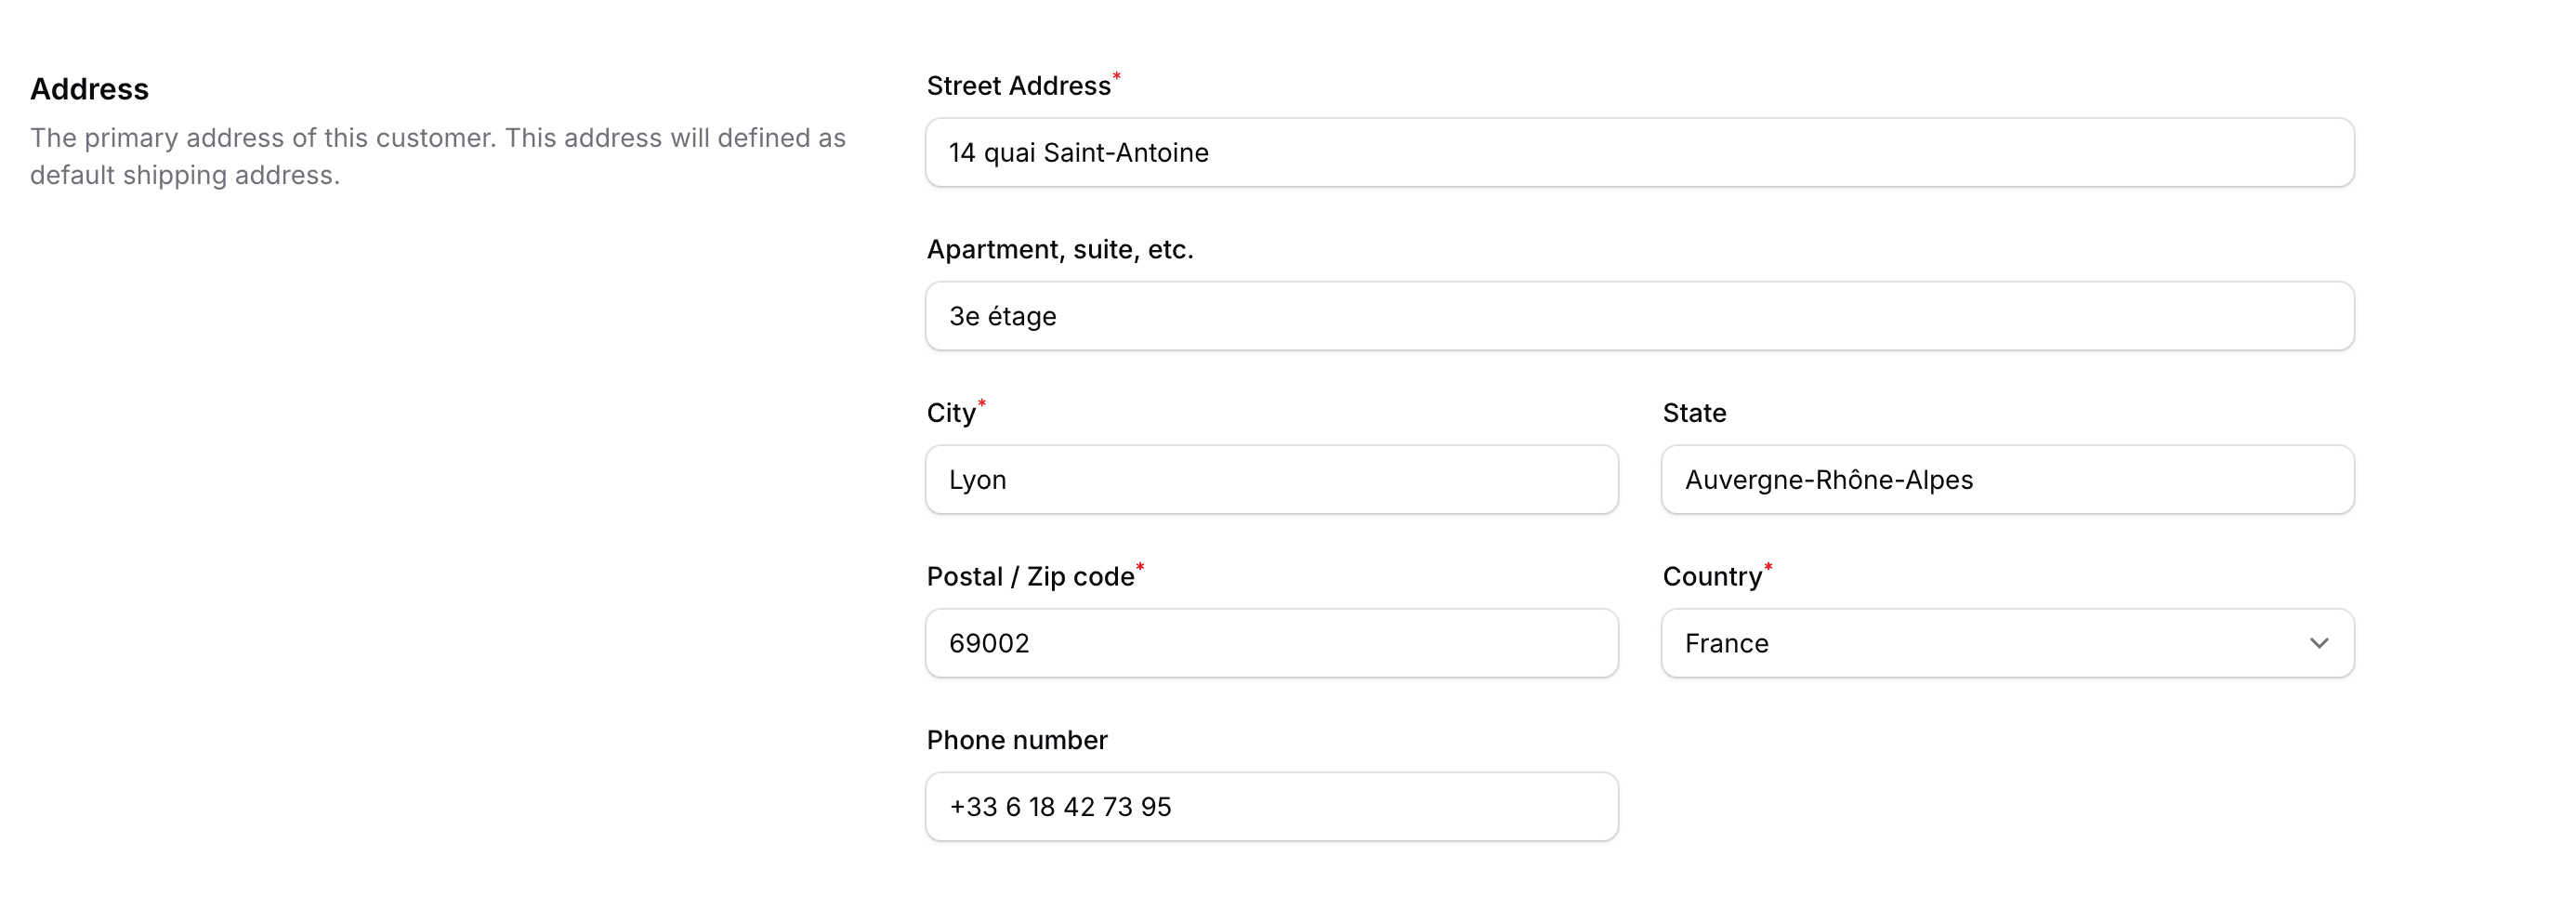
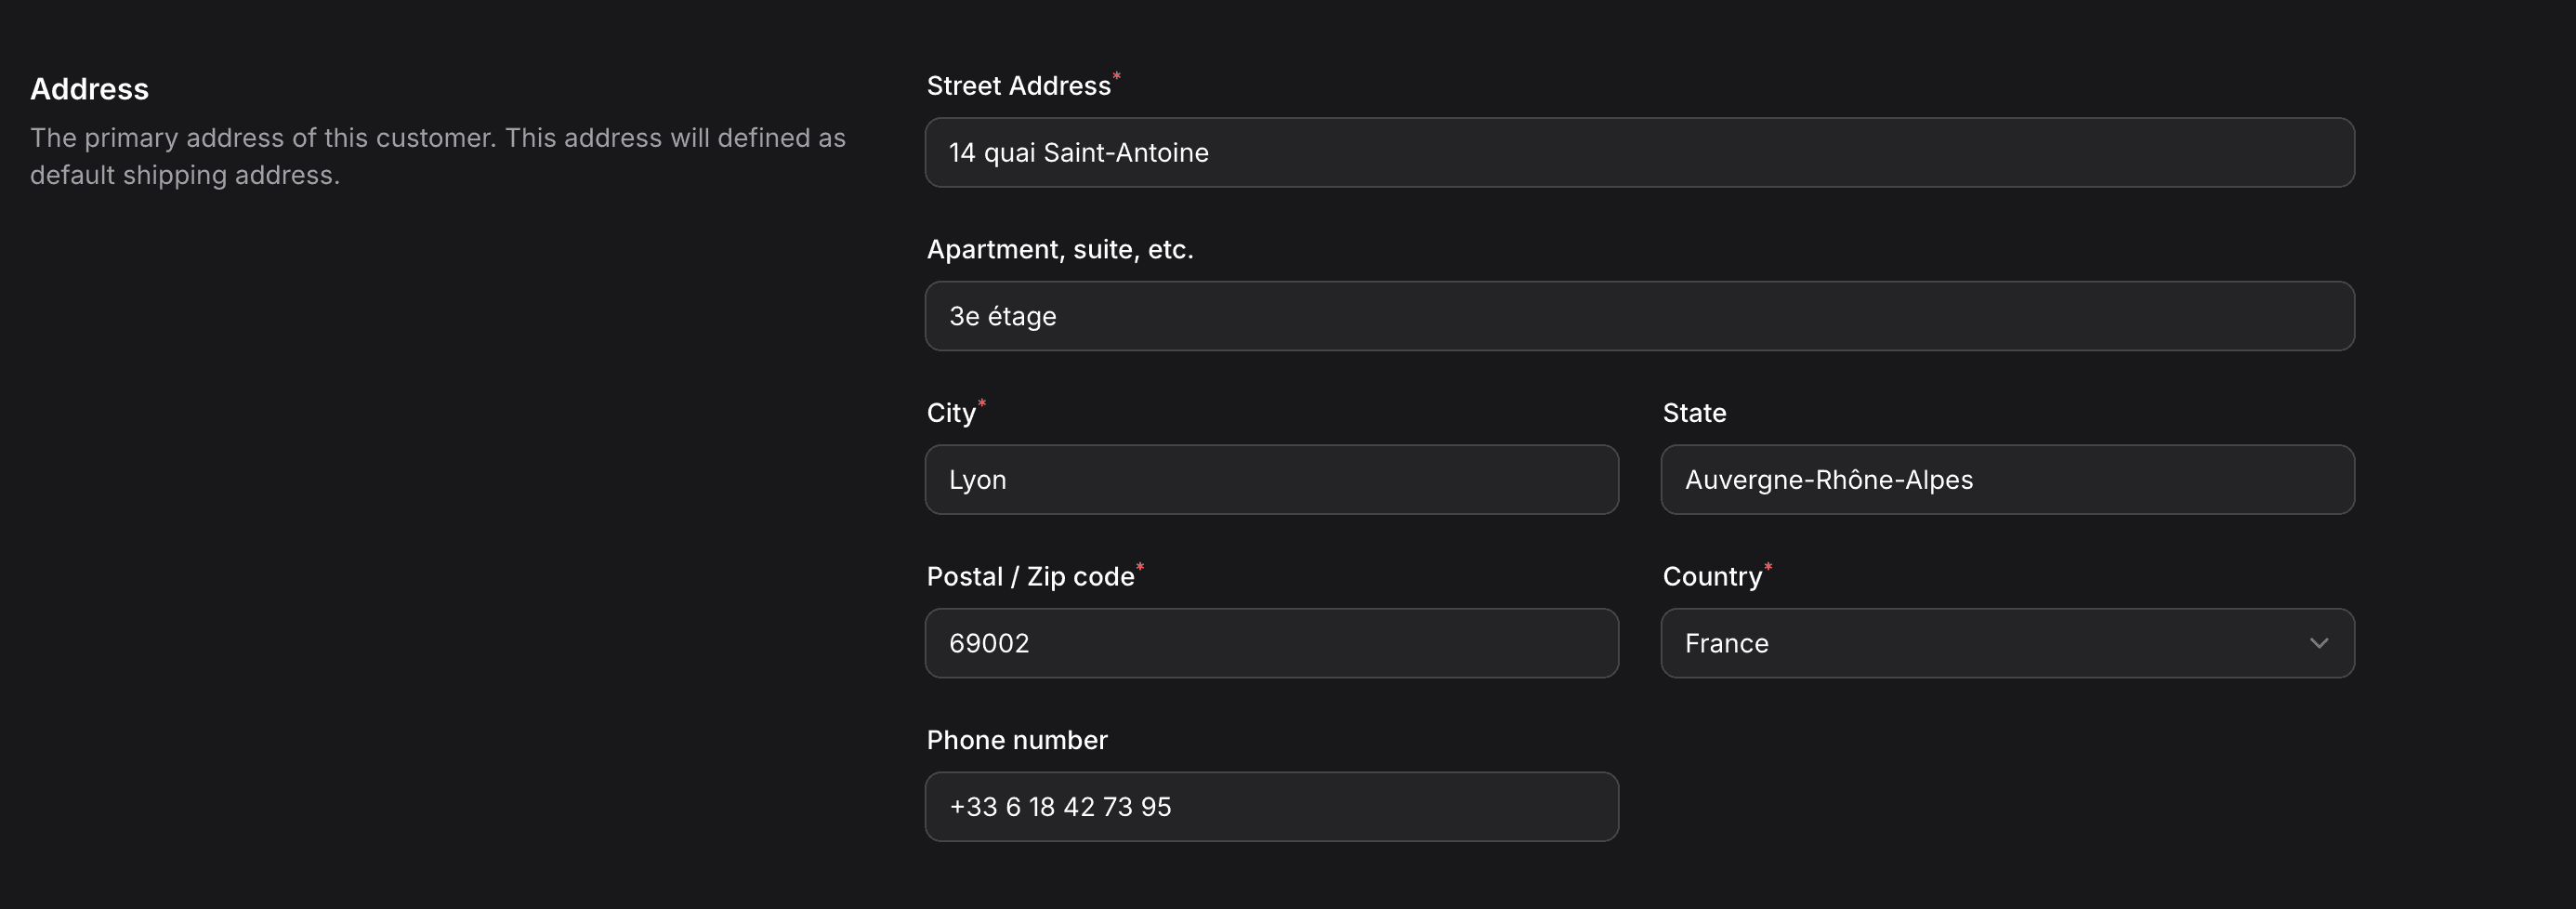
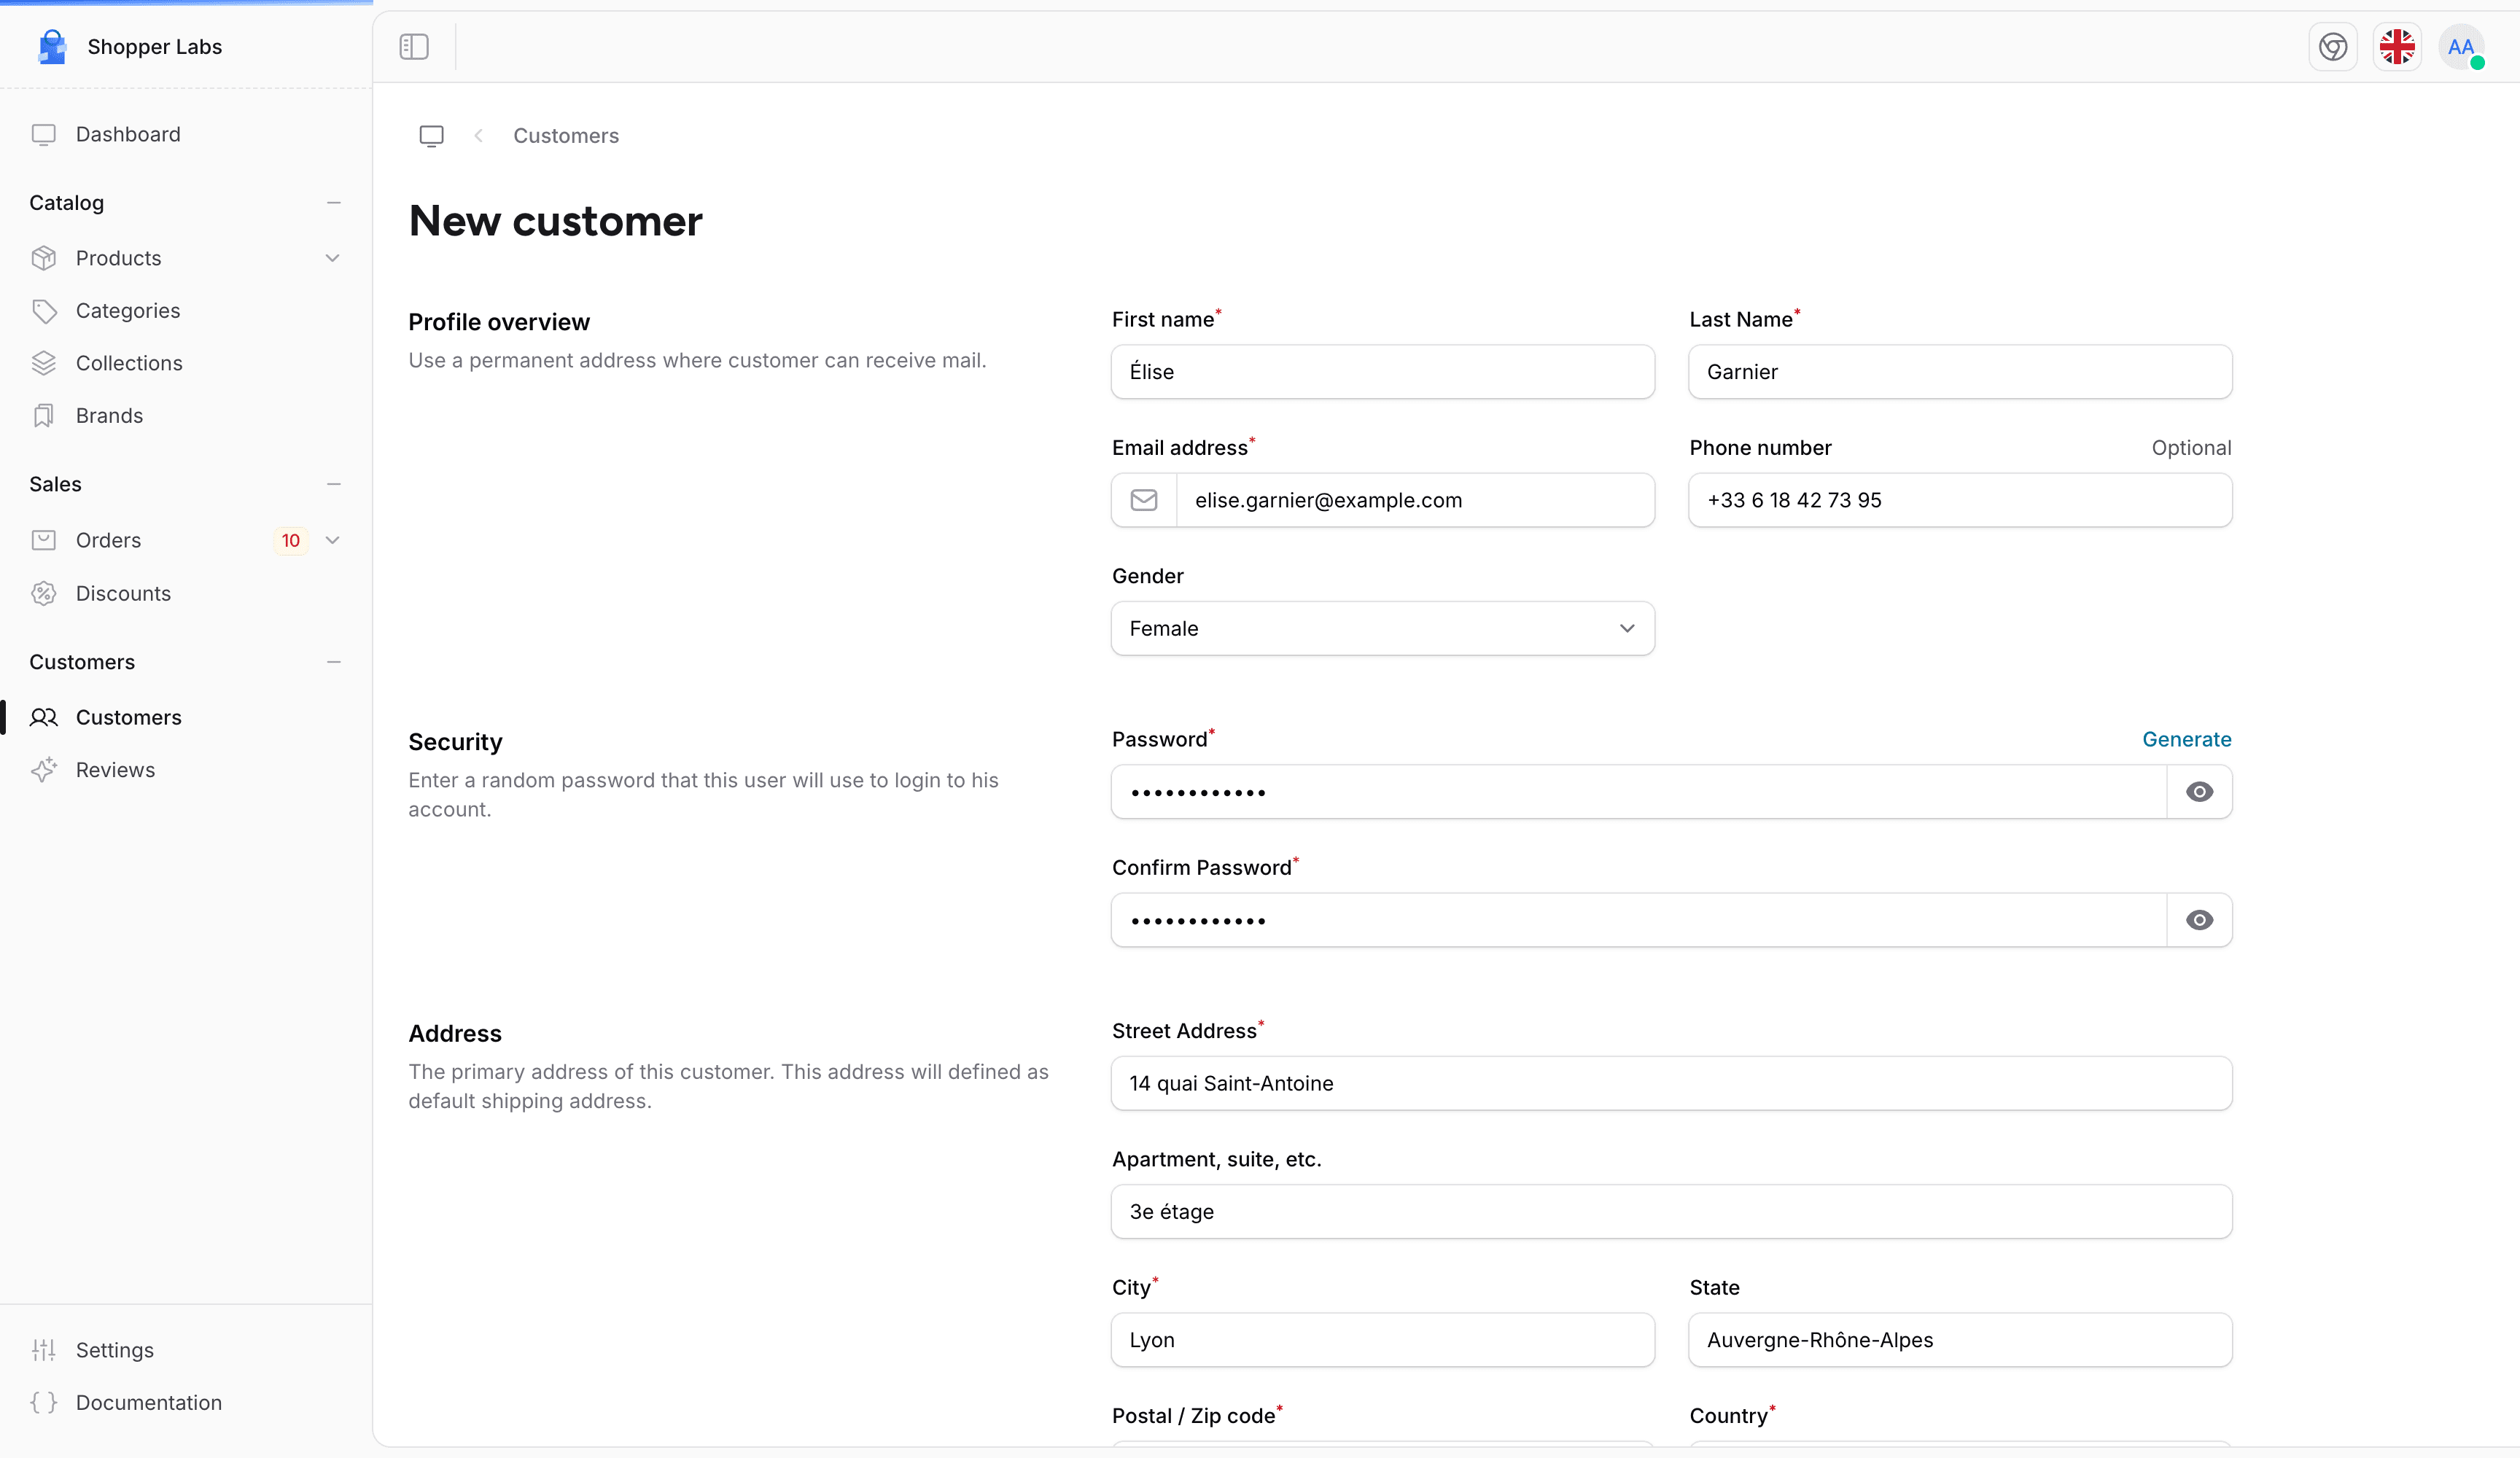
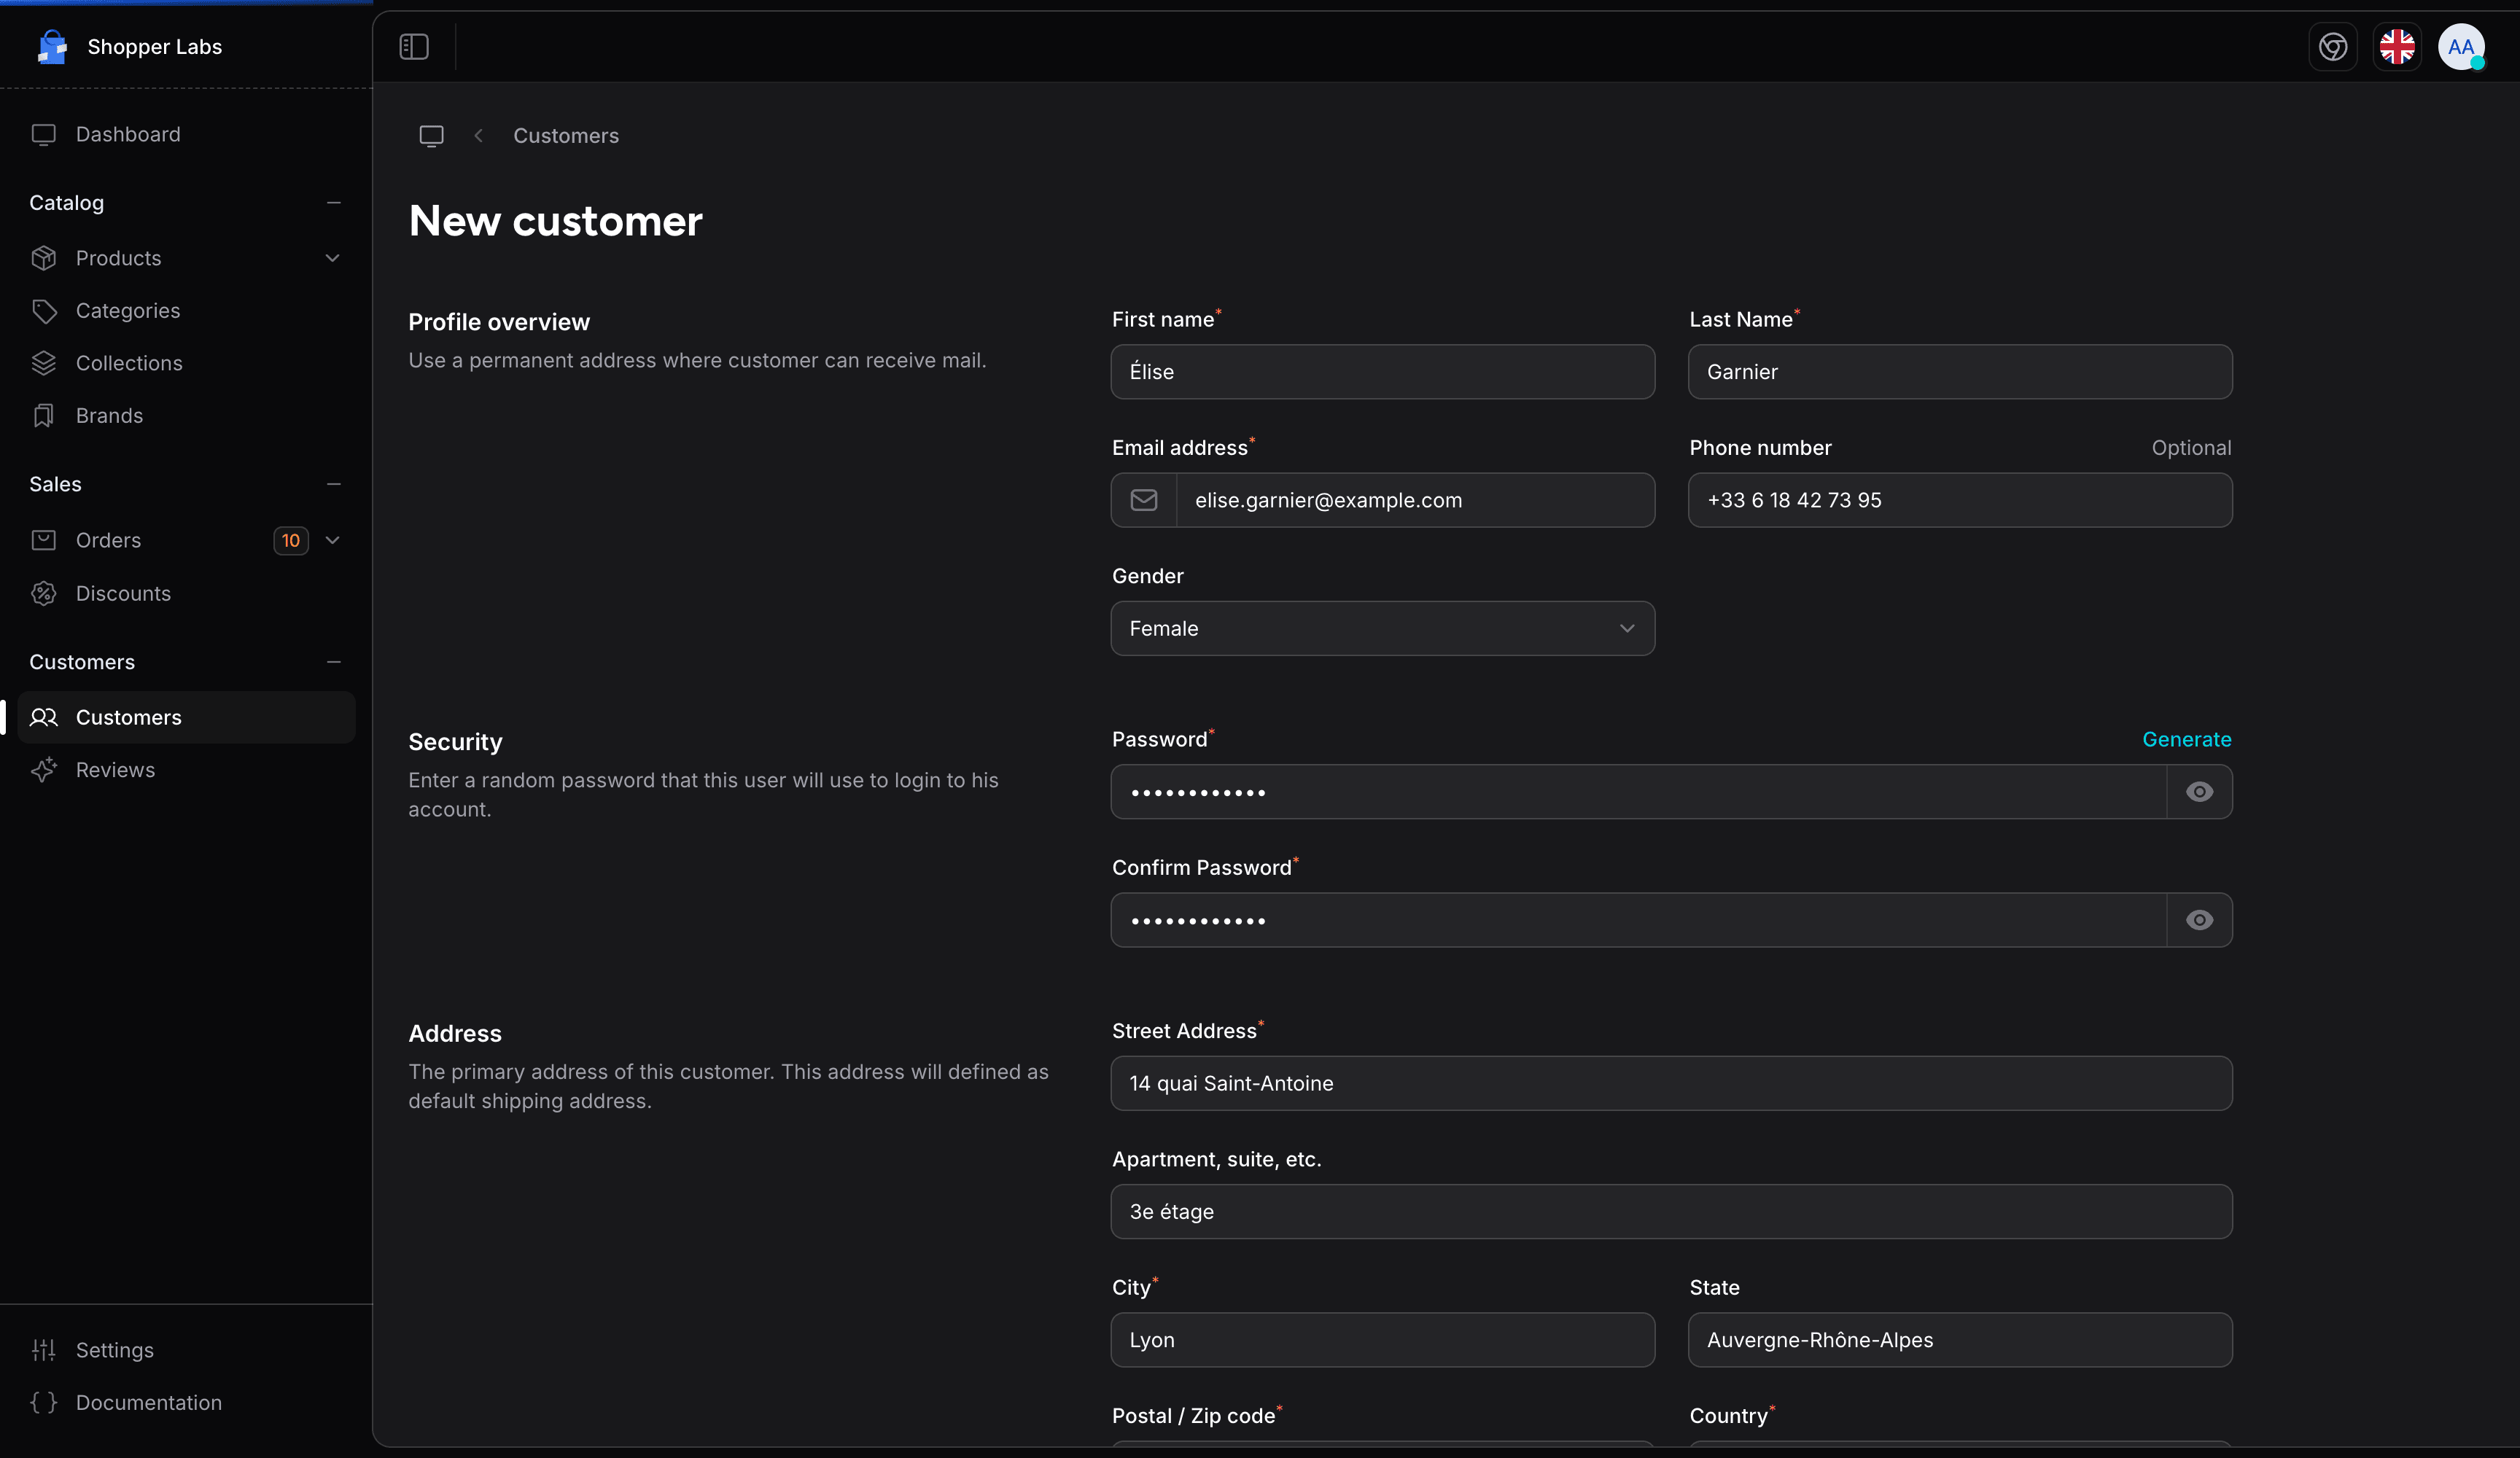
The Addresses tab shows each of the customer's addresses as a card, labelled Shipping Address or Billing Address, with the name, street, postal code, city, country, and phone number. Addresses cannot be edited from the admin. When you create a customer, the Address section of the New customer form records their first address, which becomes their default shipping address:
Customers can have multiple addresses. With the starter kit, they add and remove them from their account on your storefront and choose:
- Default shipping address
- Default billing address
- Additional addresses, kept for later orders
Order History
The Orders tab lists all orders placed by the customer:
- Order numbers and dates
- Order totals
- Payment and shipping status
- Purchased items
Creating a Customer
To manually add a customer:
- Click the New customer button on the Customers page
- Fill in the customer details
- Click Save
Customer Fields
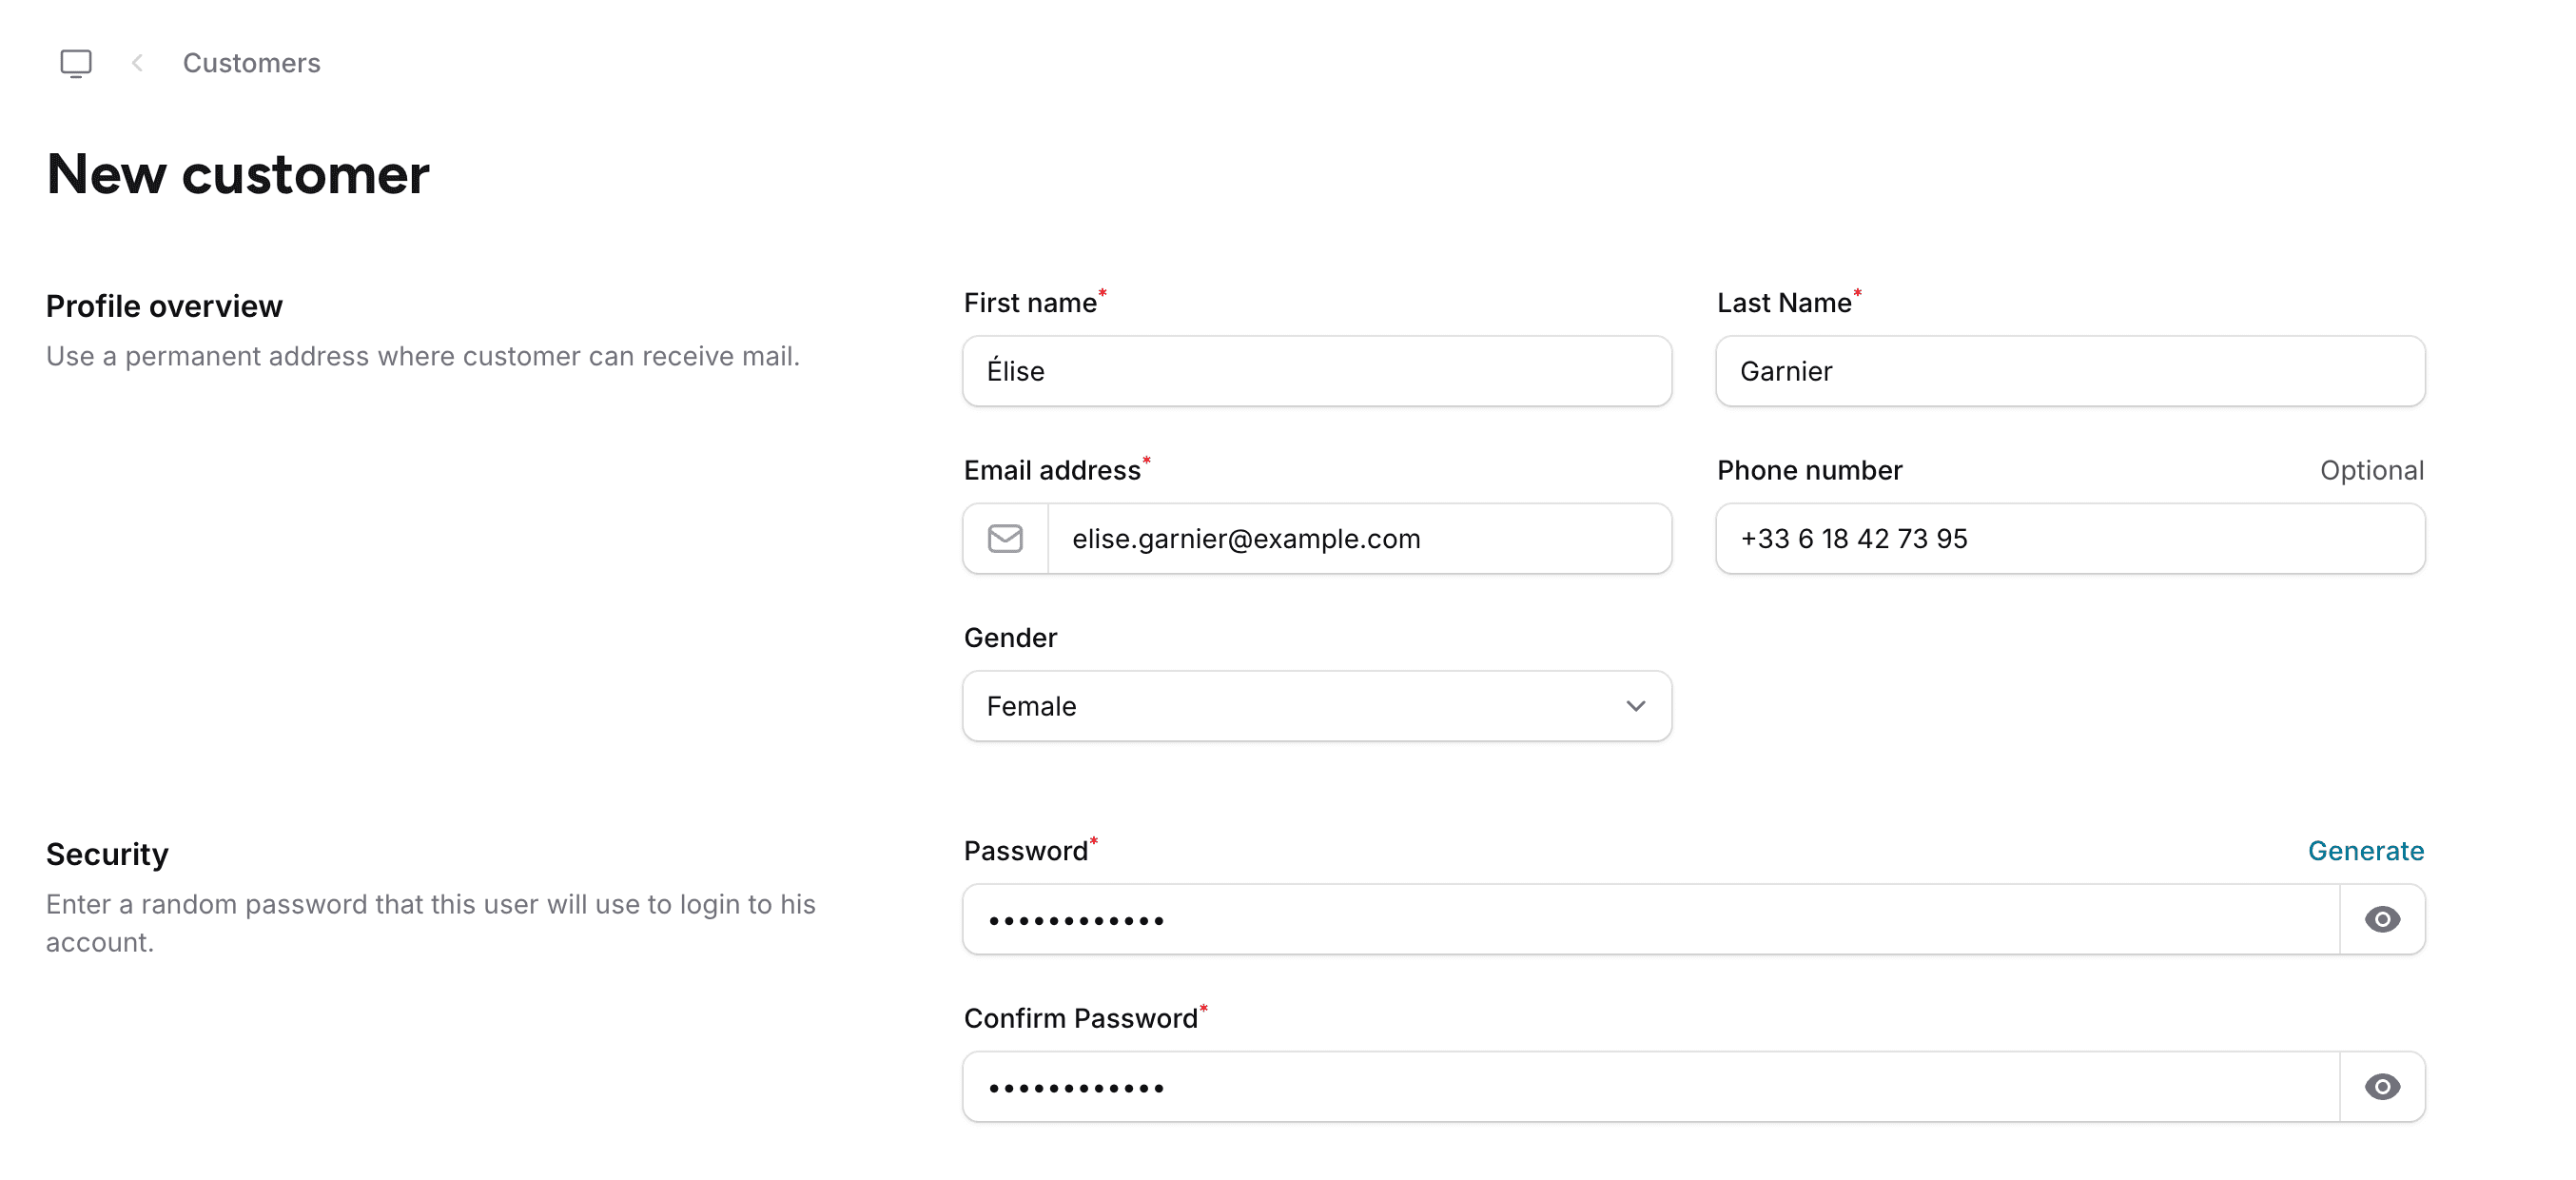
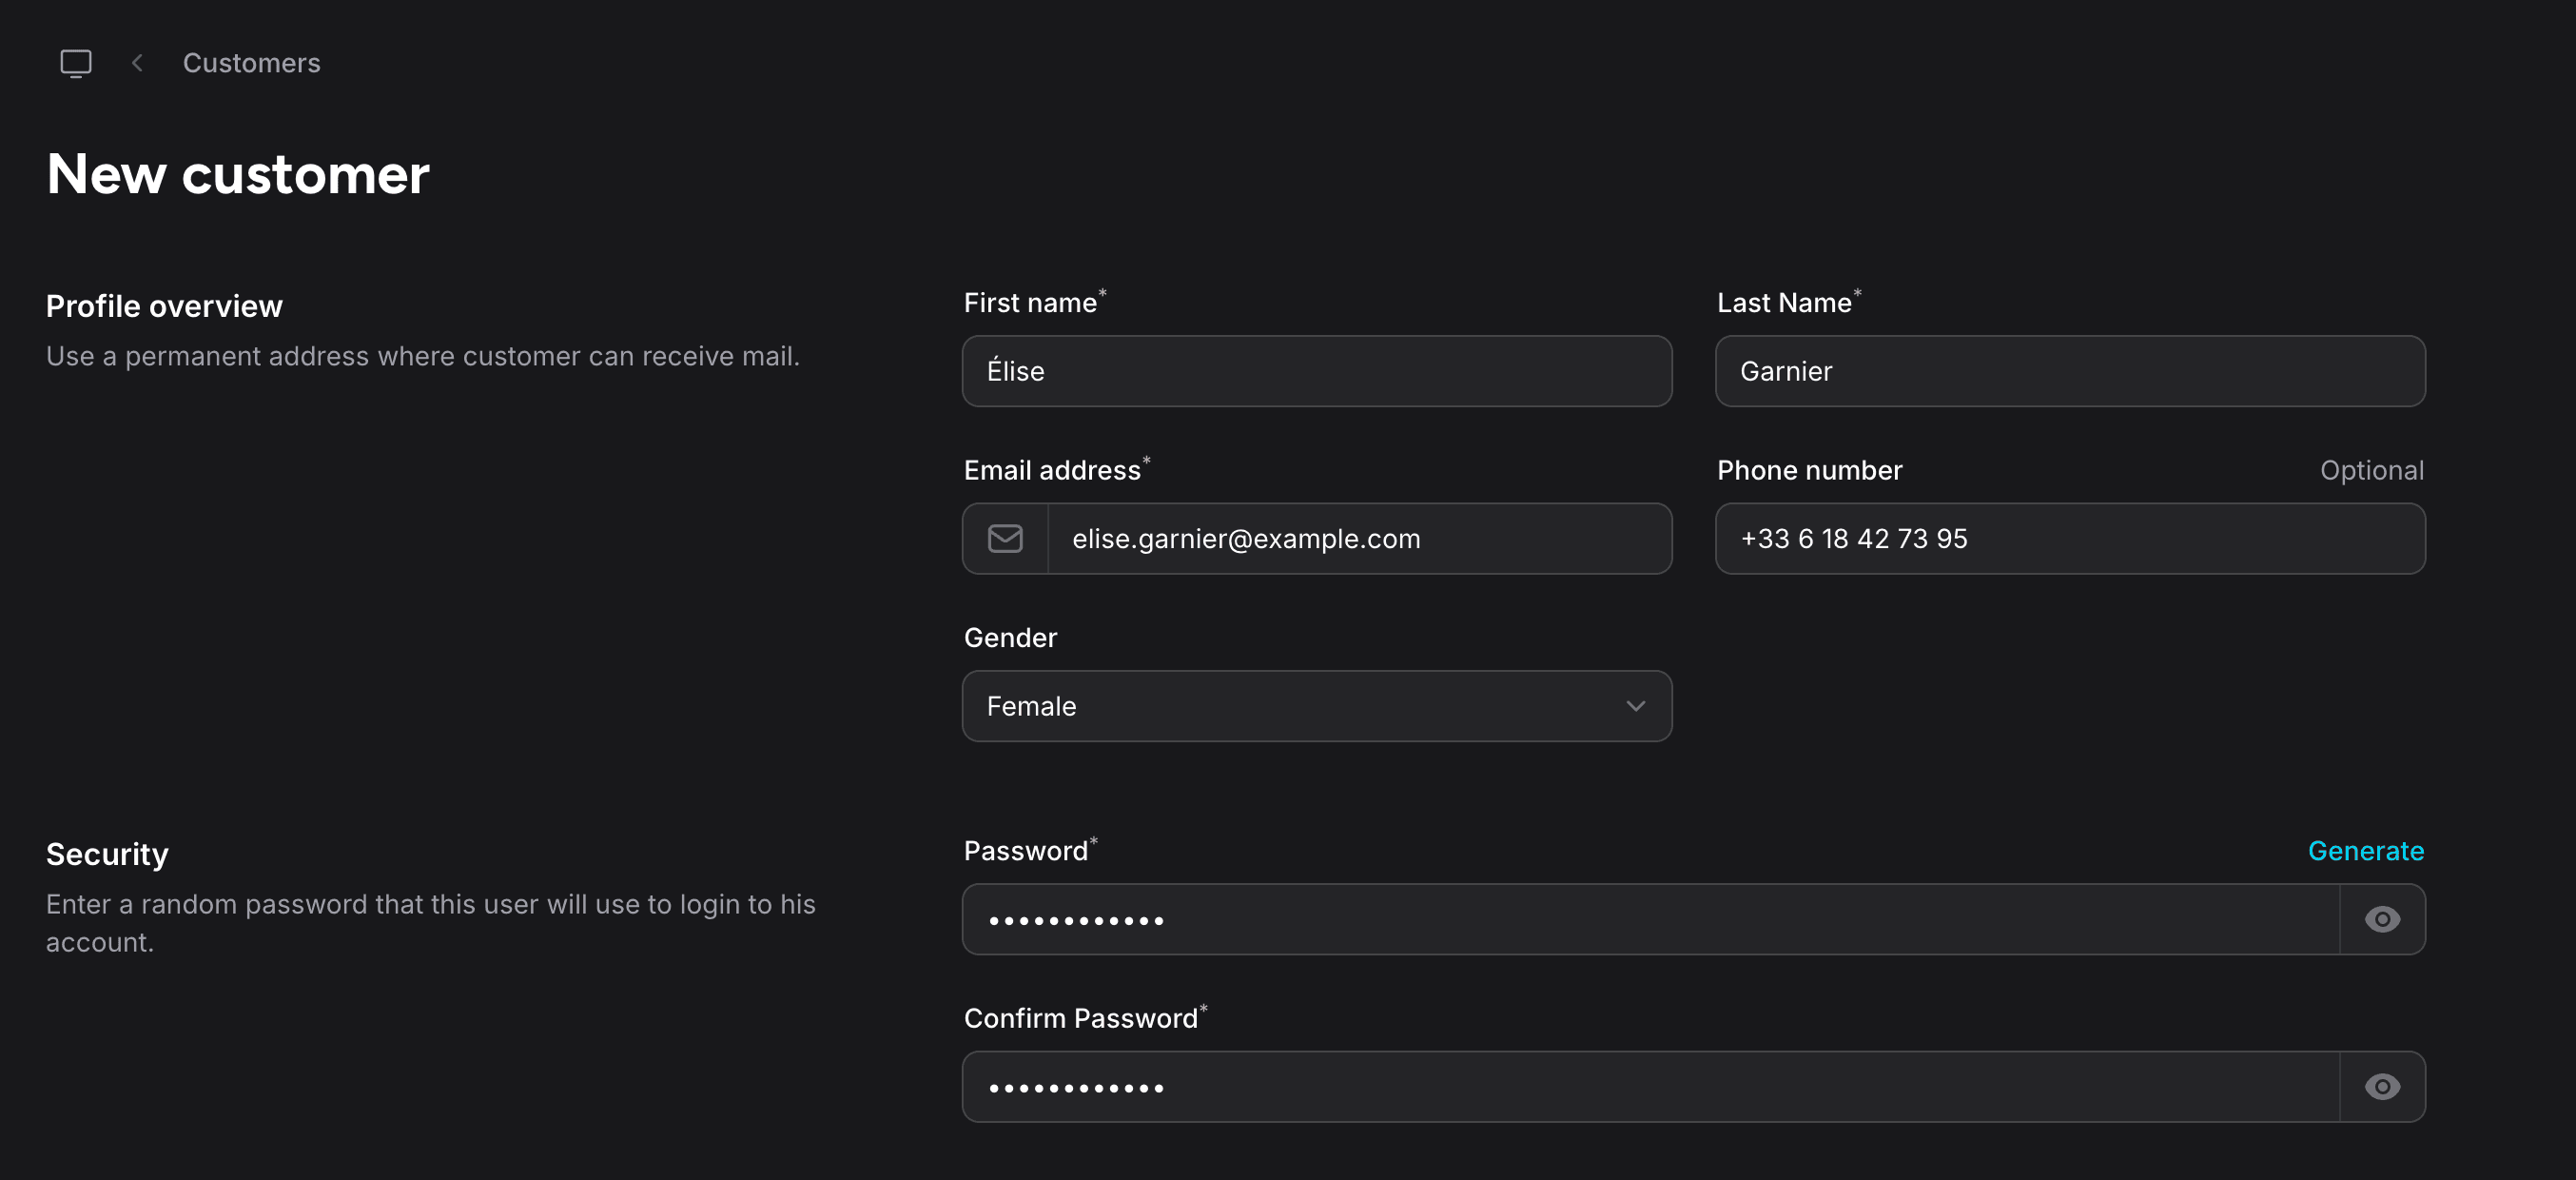
The form has four sections: Profile overview, Security, Address, and Notifications.
| Field | Required | Description |
|---|---|---|
| First name | Yes | Customer's first name |
| Last Name | Yes | Customer's last name |
| Email address | Yes | Unique email address |
| Phone number | No | Contact phone number |
| Gender | No | Male or Female |
| Password | Yes | Account password. Click Generate to fill in a random 12-character password |
| Confirm Password | Yes | The same password again |
| Street Address | Yes | First line of the customer's address |
| Apartment, suite, etc. | No | Second line of the address |
| City | Yes | City |
| State | No | State or region |
| Postal / Zip code | Yes | Postal code |
| Country | Yes | Country |
| Phone number (address) | No | Phone number for this address |
| Customer agreed to receive marketing emails. | No | Records the customer's consent, shown as Email Marketing on their profile |
| Send customer credentials. | No | Emails the customer their email address and password |
The customer's email is marked as verified on creation, and you return to the customer list.
Customer Notification
The admin sends customers one email: their login credentials. When you create a customer, the Notifications section of the form has two checkboxes:


With Send customer credentials. checked, the customer receives a welcome email ("Welcome to" followed by your store name) with their email address and password, a Browse the website button, and a reminder to change the password after logging in. Customer agreed to receive marketing emails. sends nothing: it only records consent.
Other emails customers expect do not come from the admin:
- Order confirmations: not sent by Shopper; your developer adds them to your store
- Shipping updates: not sent by Shopper; your developer adds them to your store
- Marketing emails: sent from your own email marketing tool, to customers whose profile shows Email Marketing enabled
- Password resets: sent by the starter kit's login pages, along with the email verification message
Customer Account (Storefront)
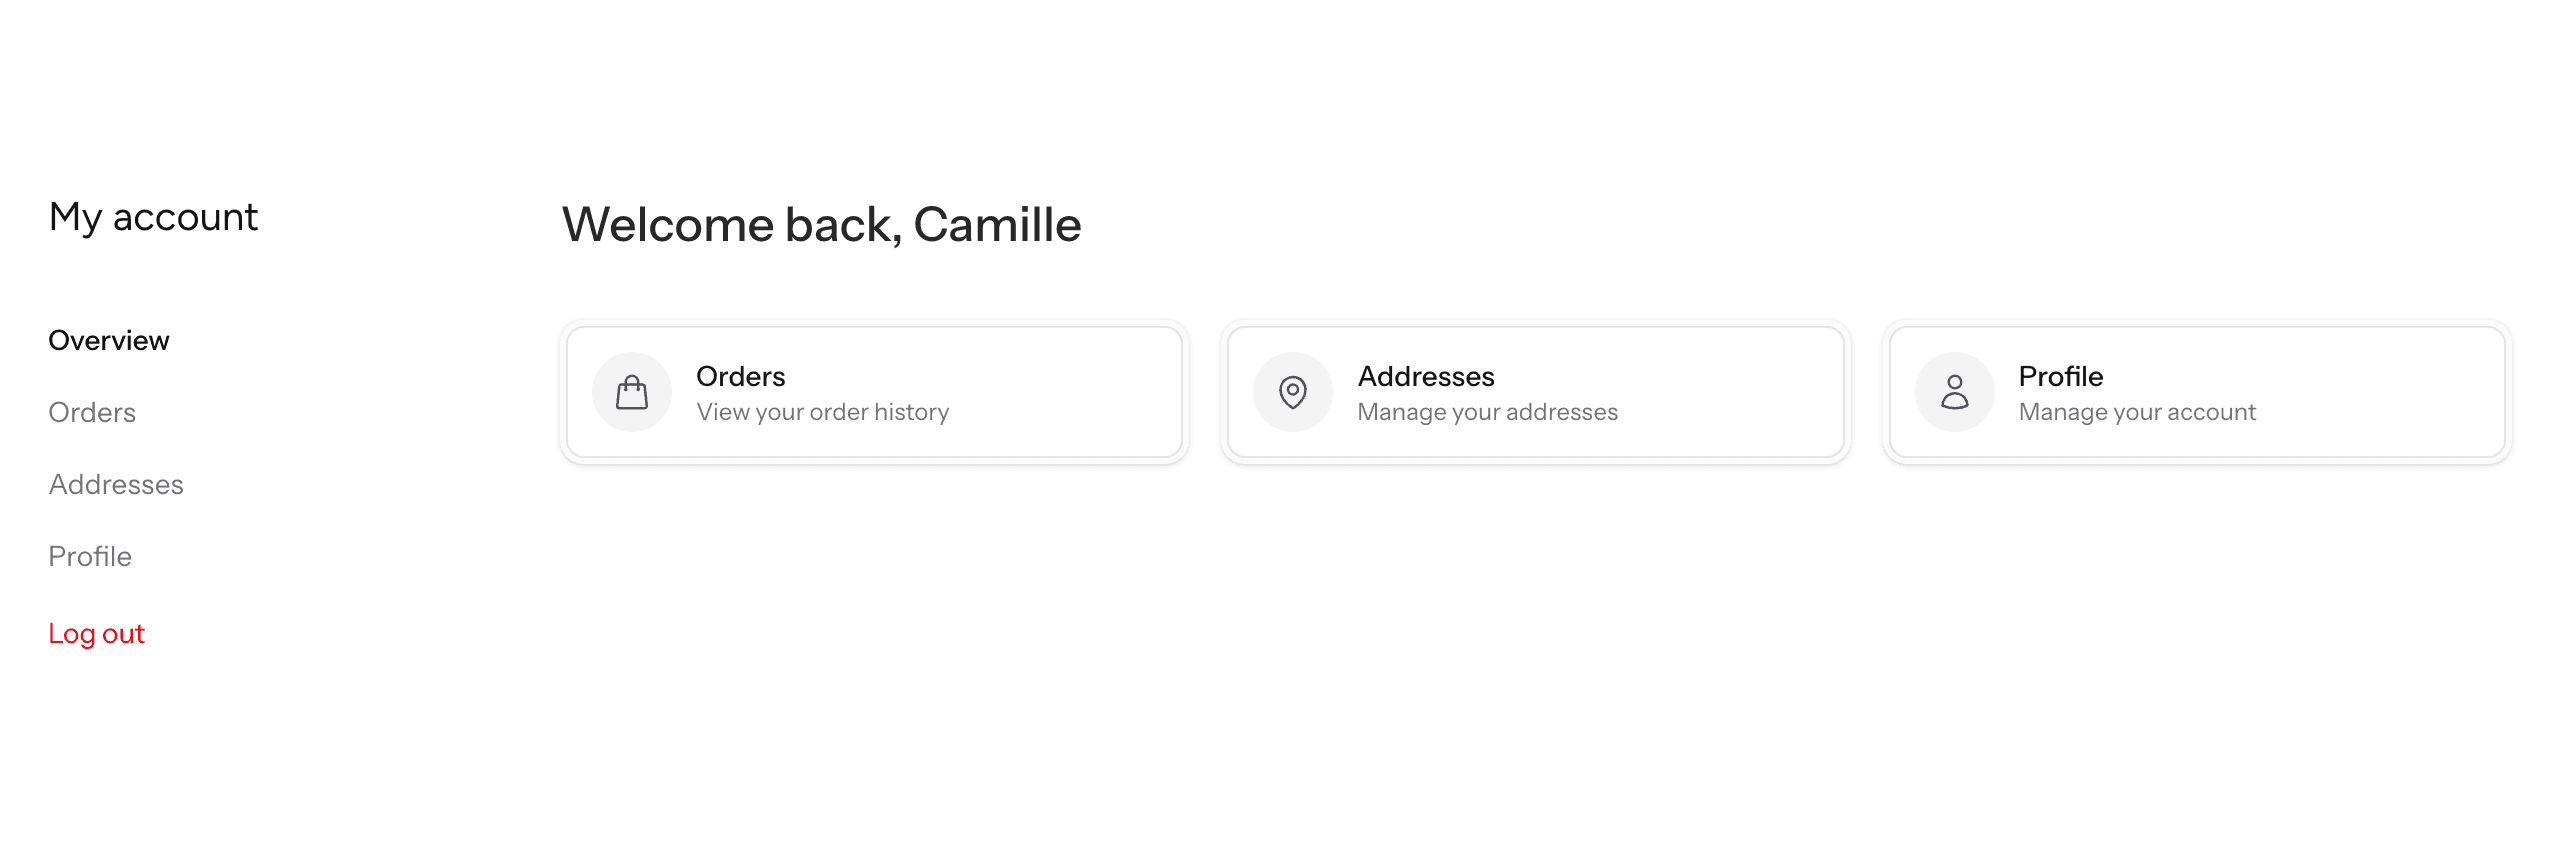
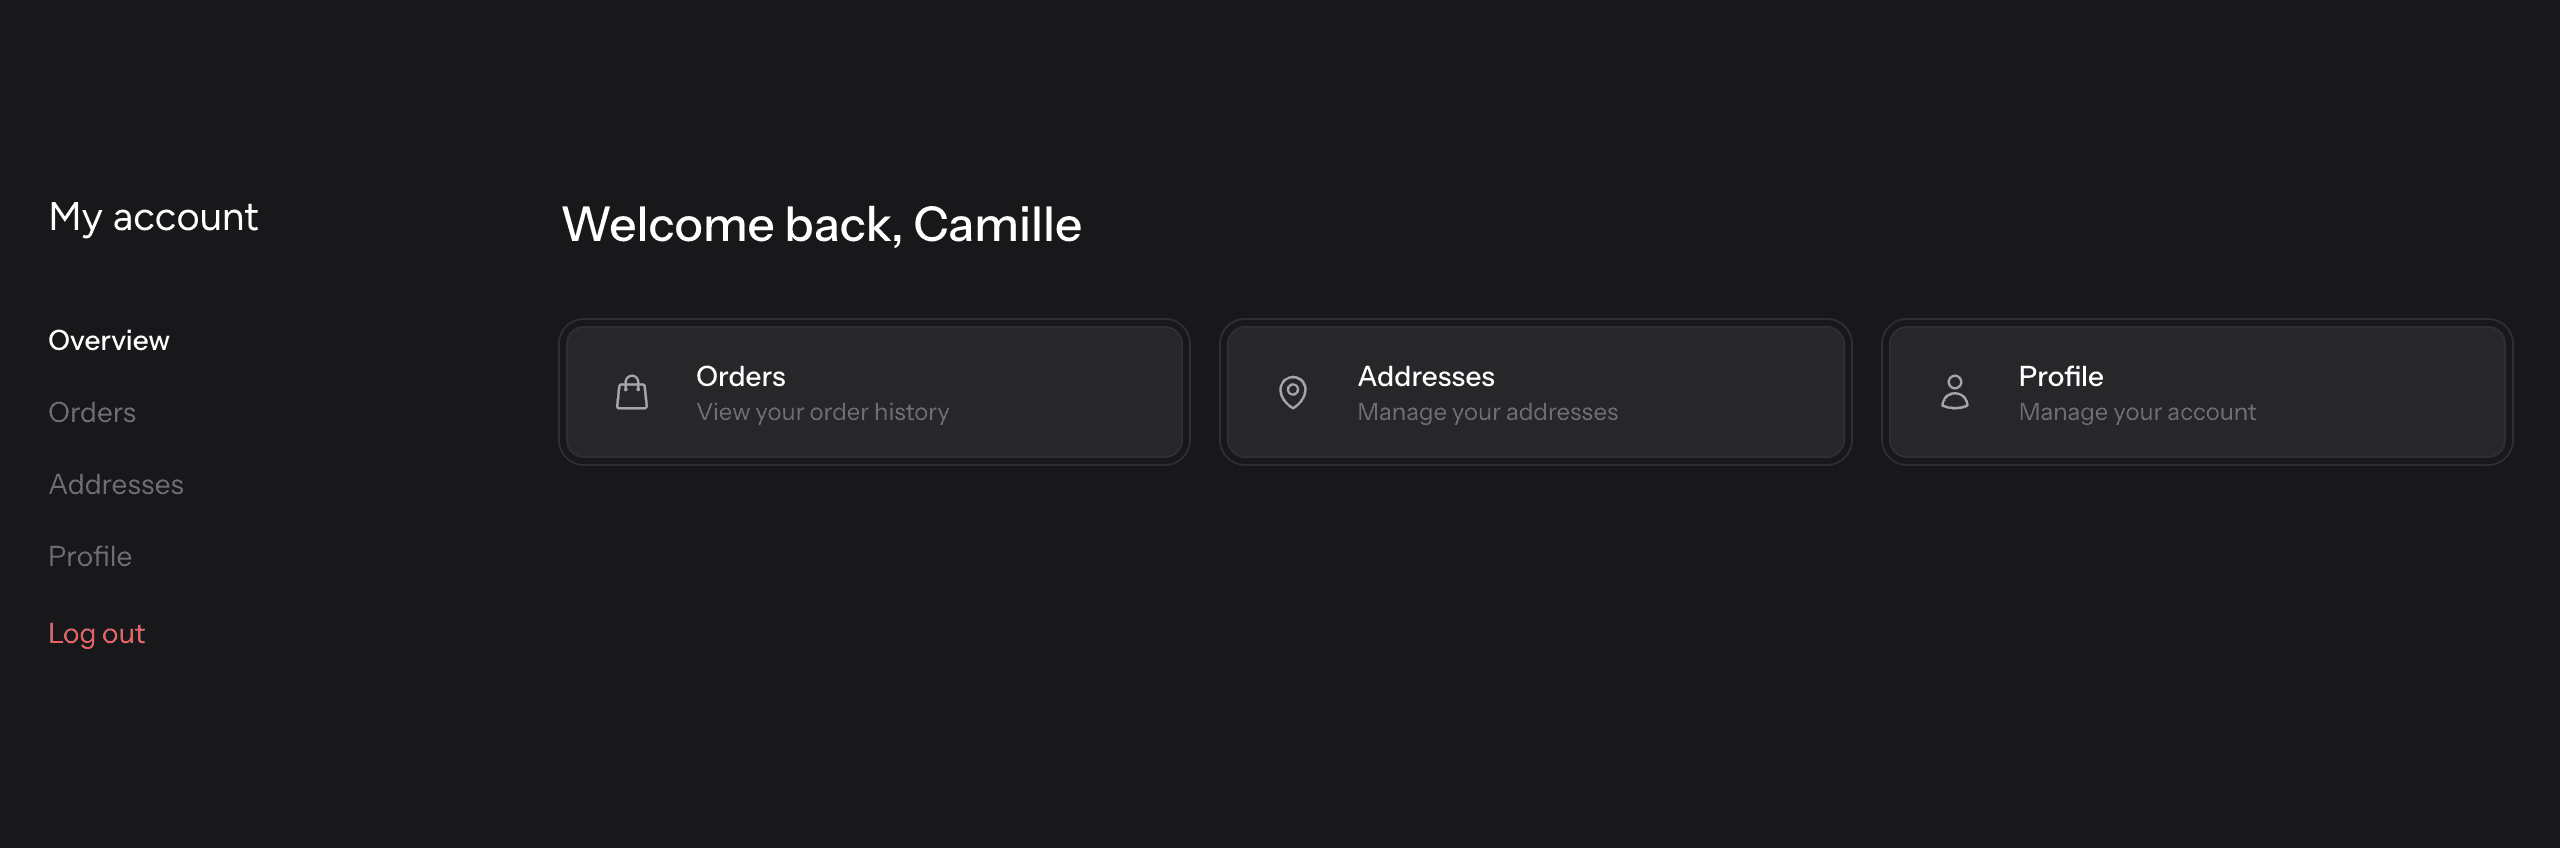
Customers can manage their own accounts on your storefront. With the starter kit, their account page welcomes them by first name and links to Orders, Addresses, and Profile:
They can:
- Update personal information (first name, last name, gender, and email) under Profile
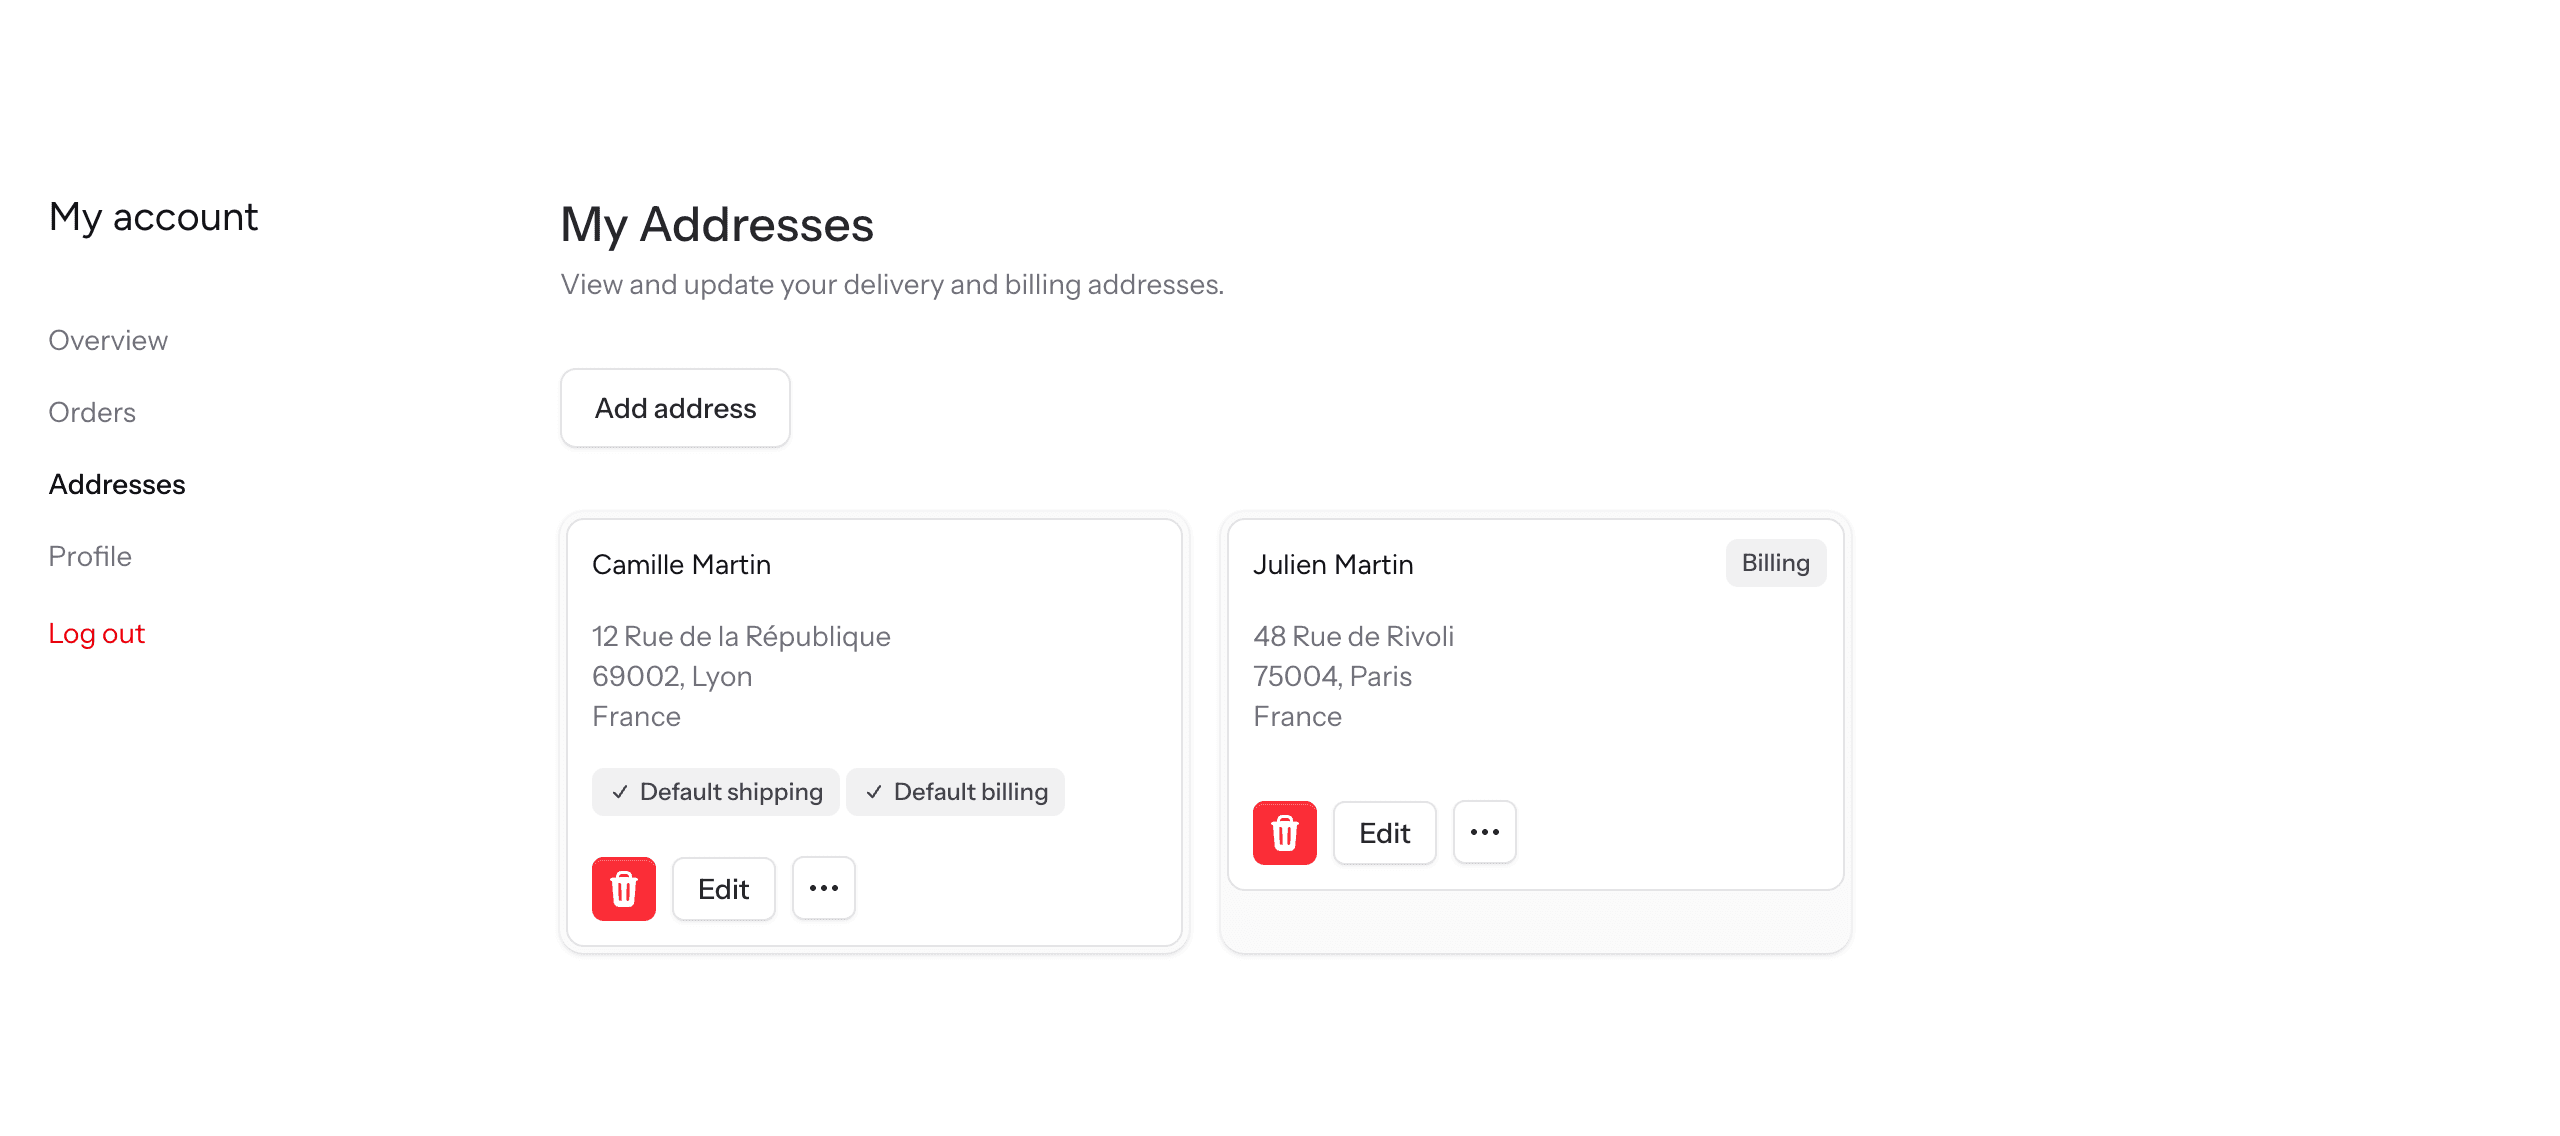
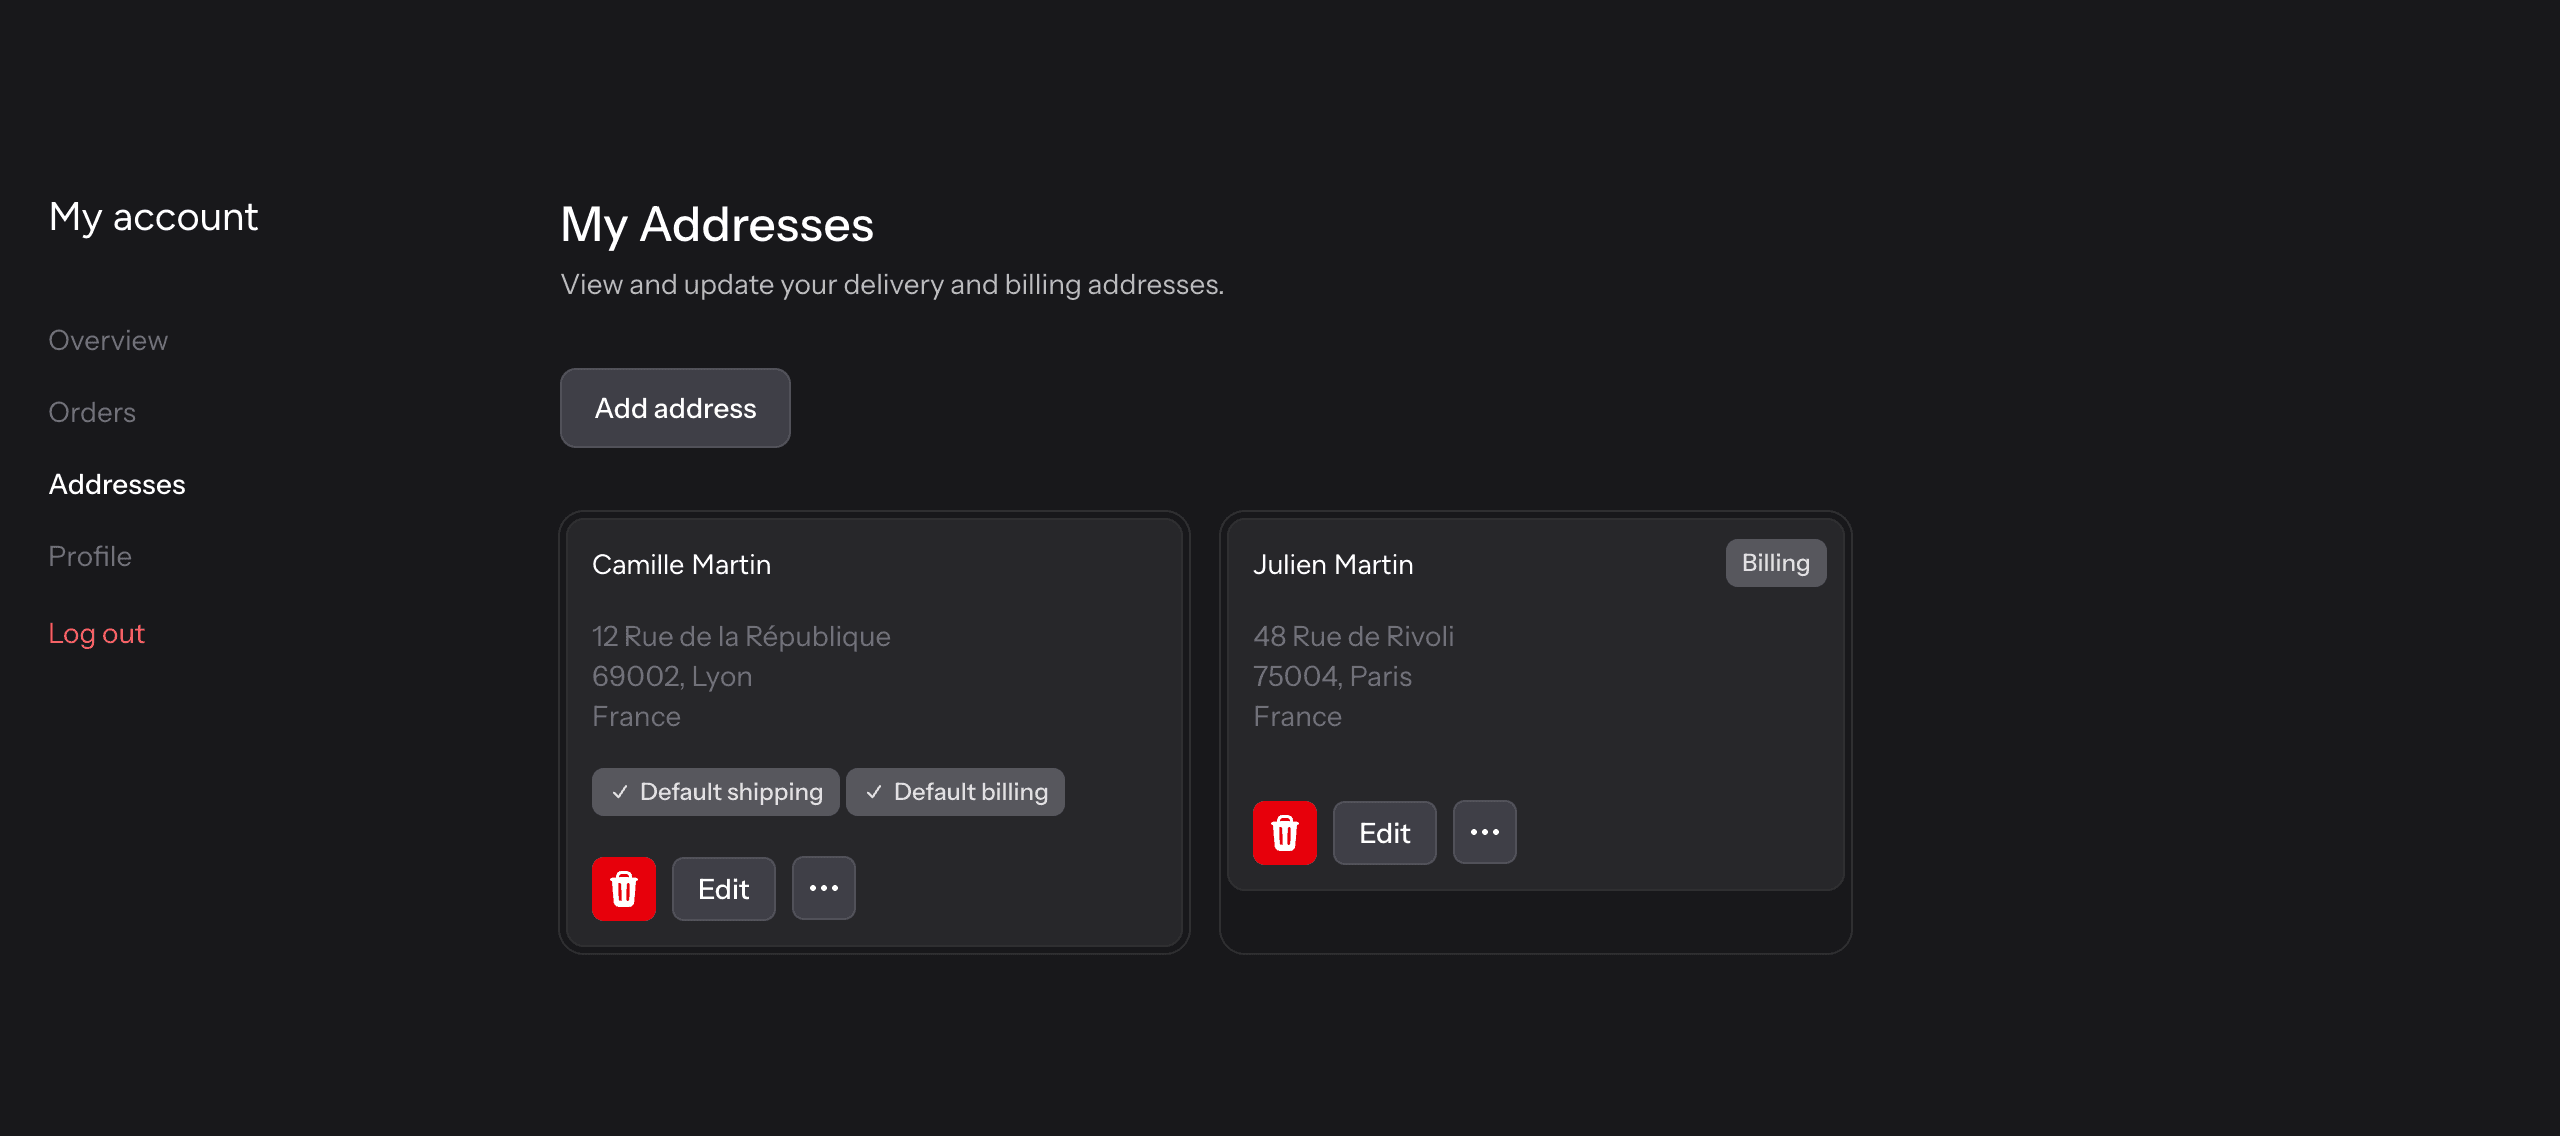
- Manage addresses under Addresses: add, remove, and set a default shipping or billing address
- View order history under Orders
- Change password and turn on two-factor authentication in the Security settings
Customer Authentication
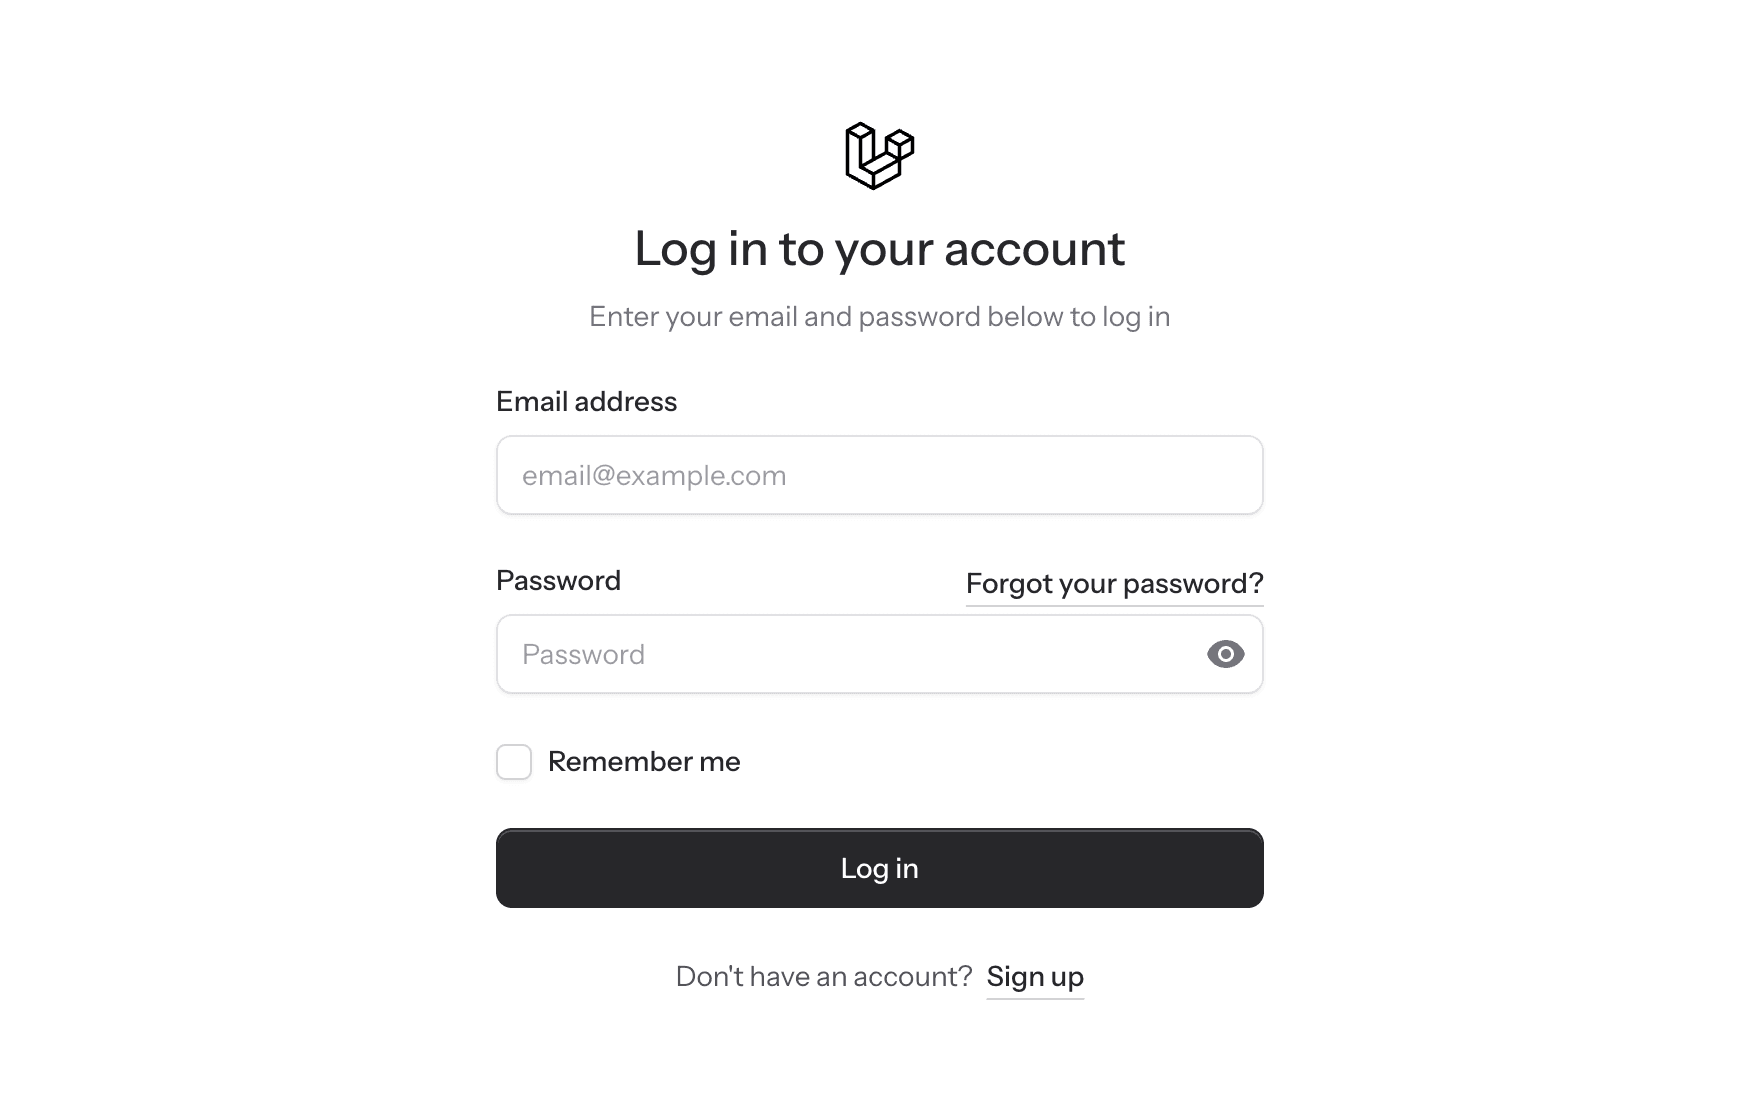
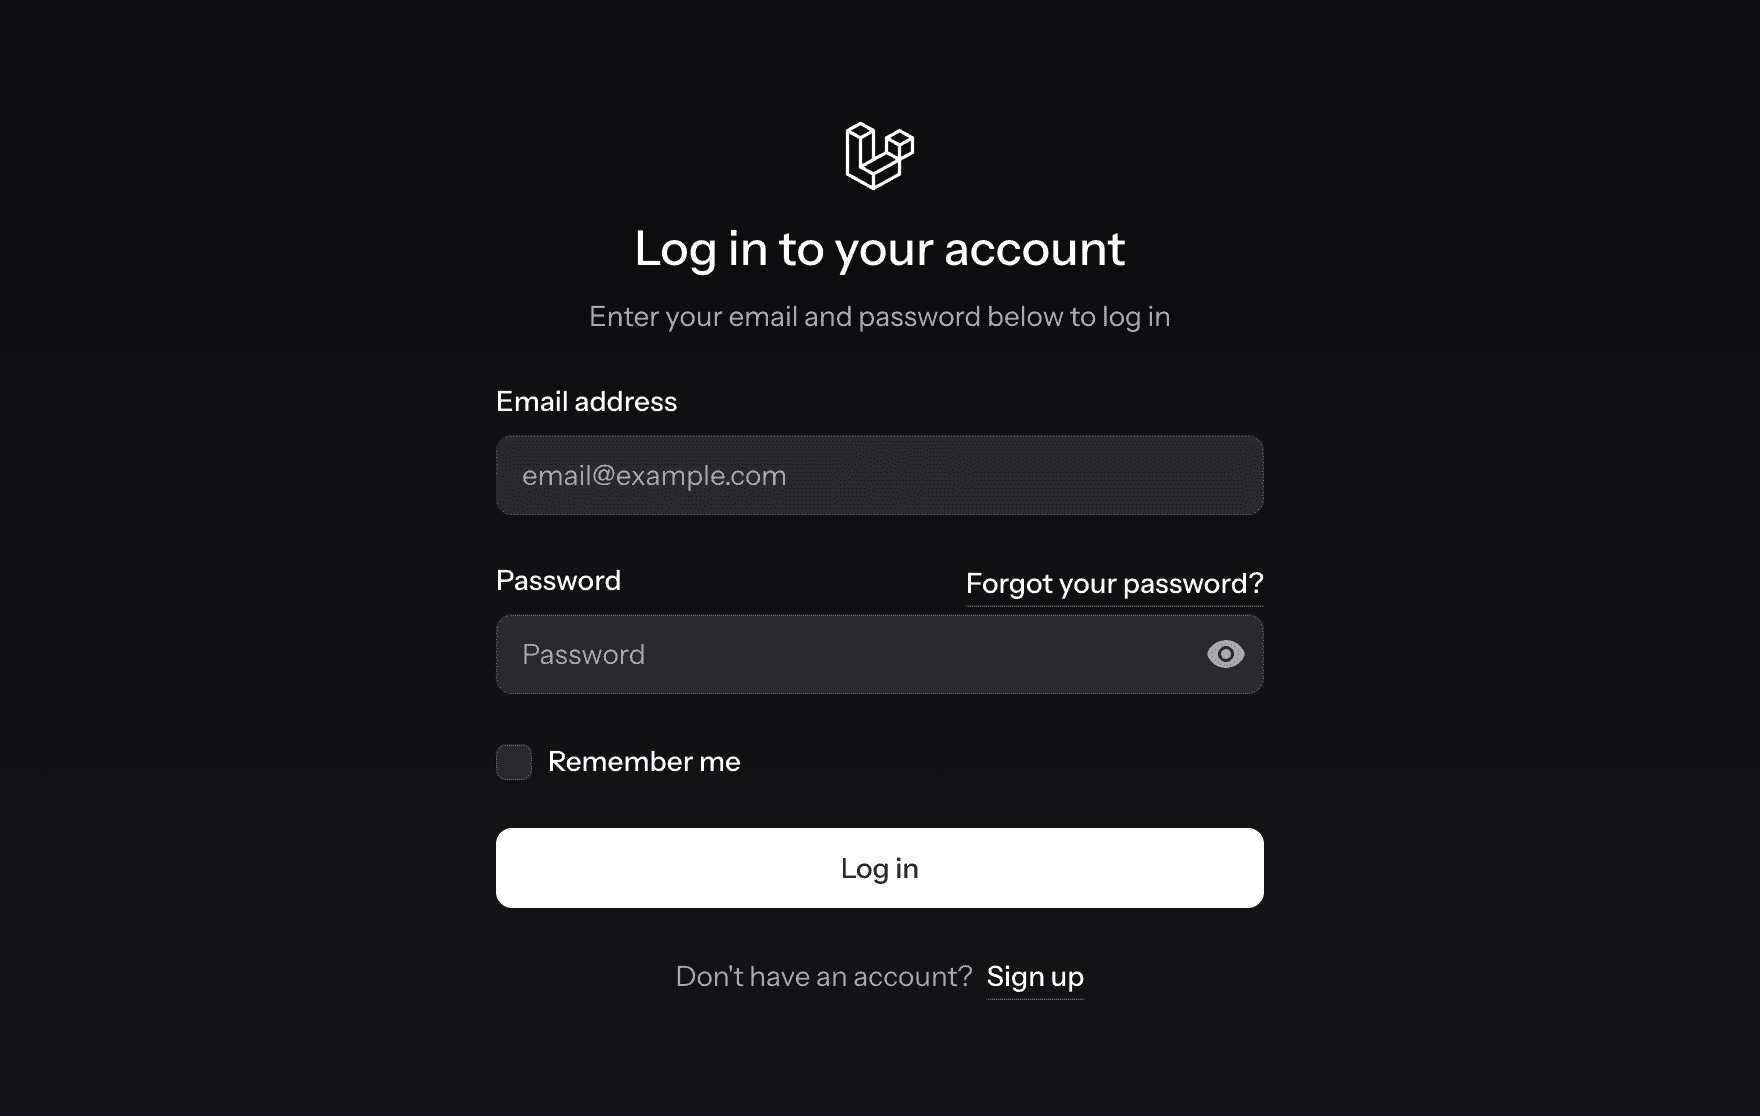
Customers register and log in through your storefront. With the starter kit, they create an account with their last name, first name, email address, and password (Create account), then log in with their email address and password (Log in). The login page also offers Remember me and a Forgot your password? link:
Best Practices
Protect Data
Handle customer data responsibly and comply with privacy laws.
Segment Customers
Check the Email Marketing consent on each profile to know who agreed to receive your marketing emails.
Track Behavior
Monitor purchasing patterns to understand your audience.
Stay Connected
Maintain communication to build loyalty.
Customer Data Privacy
If a customer requests their data to be removed (GDPR "right to be forgotten"), you can anonymize their account:
- Go to the customer's profile page
- Click Anonymize customer
- Confirm with Yes, anonymize
This replaces the customer's personal information (name, email, phone, avatar) with anonymous data, clears their birth date and marketing consent, and deletes all their addresses. Order history is preserved for your records, but the customer's identity is removed.
Anonymization cannot be undone. The customer's personal data is permanently replaced. Only use this when a customer explicitly requests data removal.
Encourage customers to create accounts by offering benefits like faster checkout, order tracking, and exclusive offers.
For developer details, see the Customers documentation.
Last updated on
Edit on GitHub