
Managing Tags
Organize products with simple labels for filtering and marketing campaigns.
Tags are flat, flexible labels you attach to products for cross-cutting organization. Unlike categories (which are hierarchical) or collections (which can be rule-based), tags are simple keywords that help you group products across your catalog.
Common uses for tags include seasonal labels ("Summer 2026"), marketing campaigns ("Flash Sale"), product attributes ("Eco-Friendly"), or storefront filters ("New Arrival", "Best Seller").
Accessing Tags
- Click on Products in the sidebar
- Select Tags from the submenu
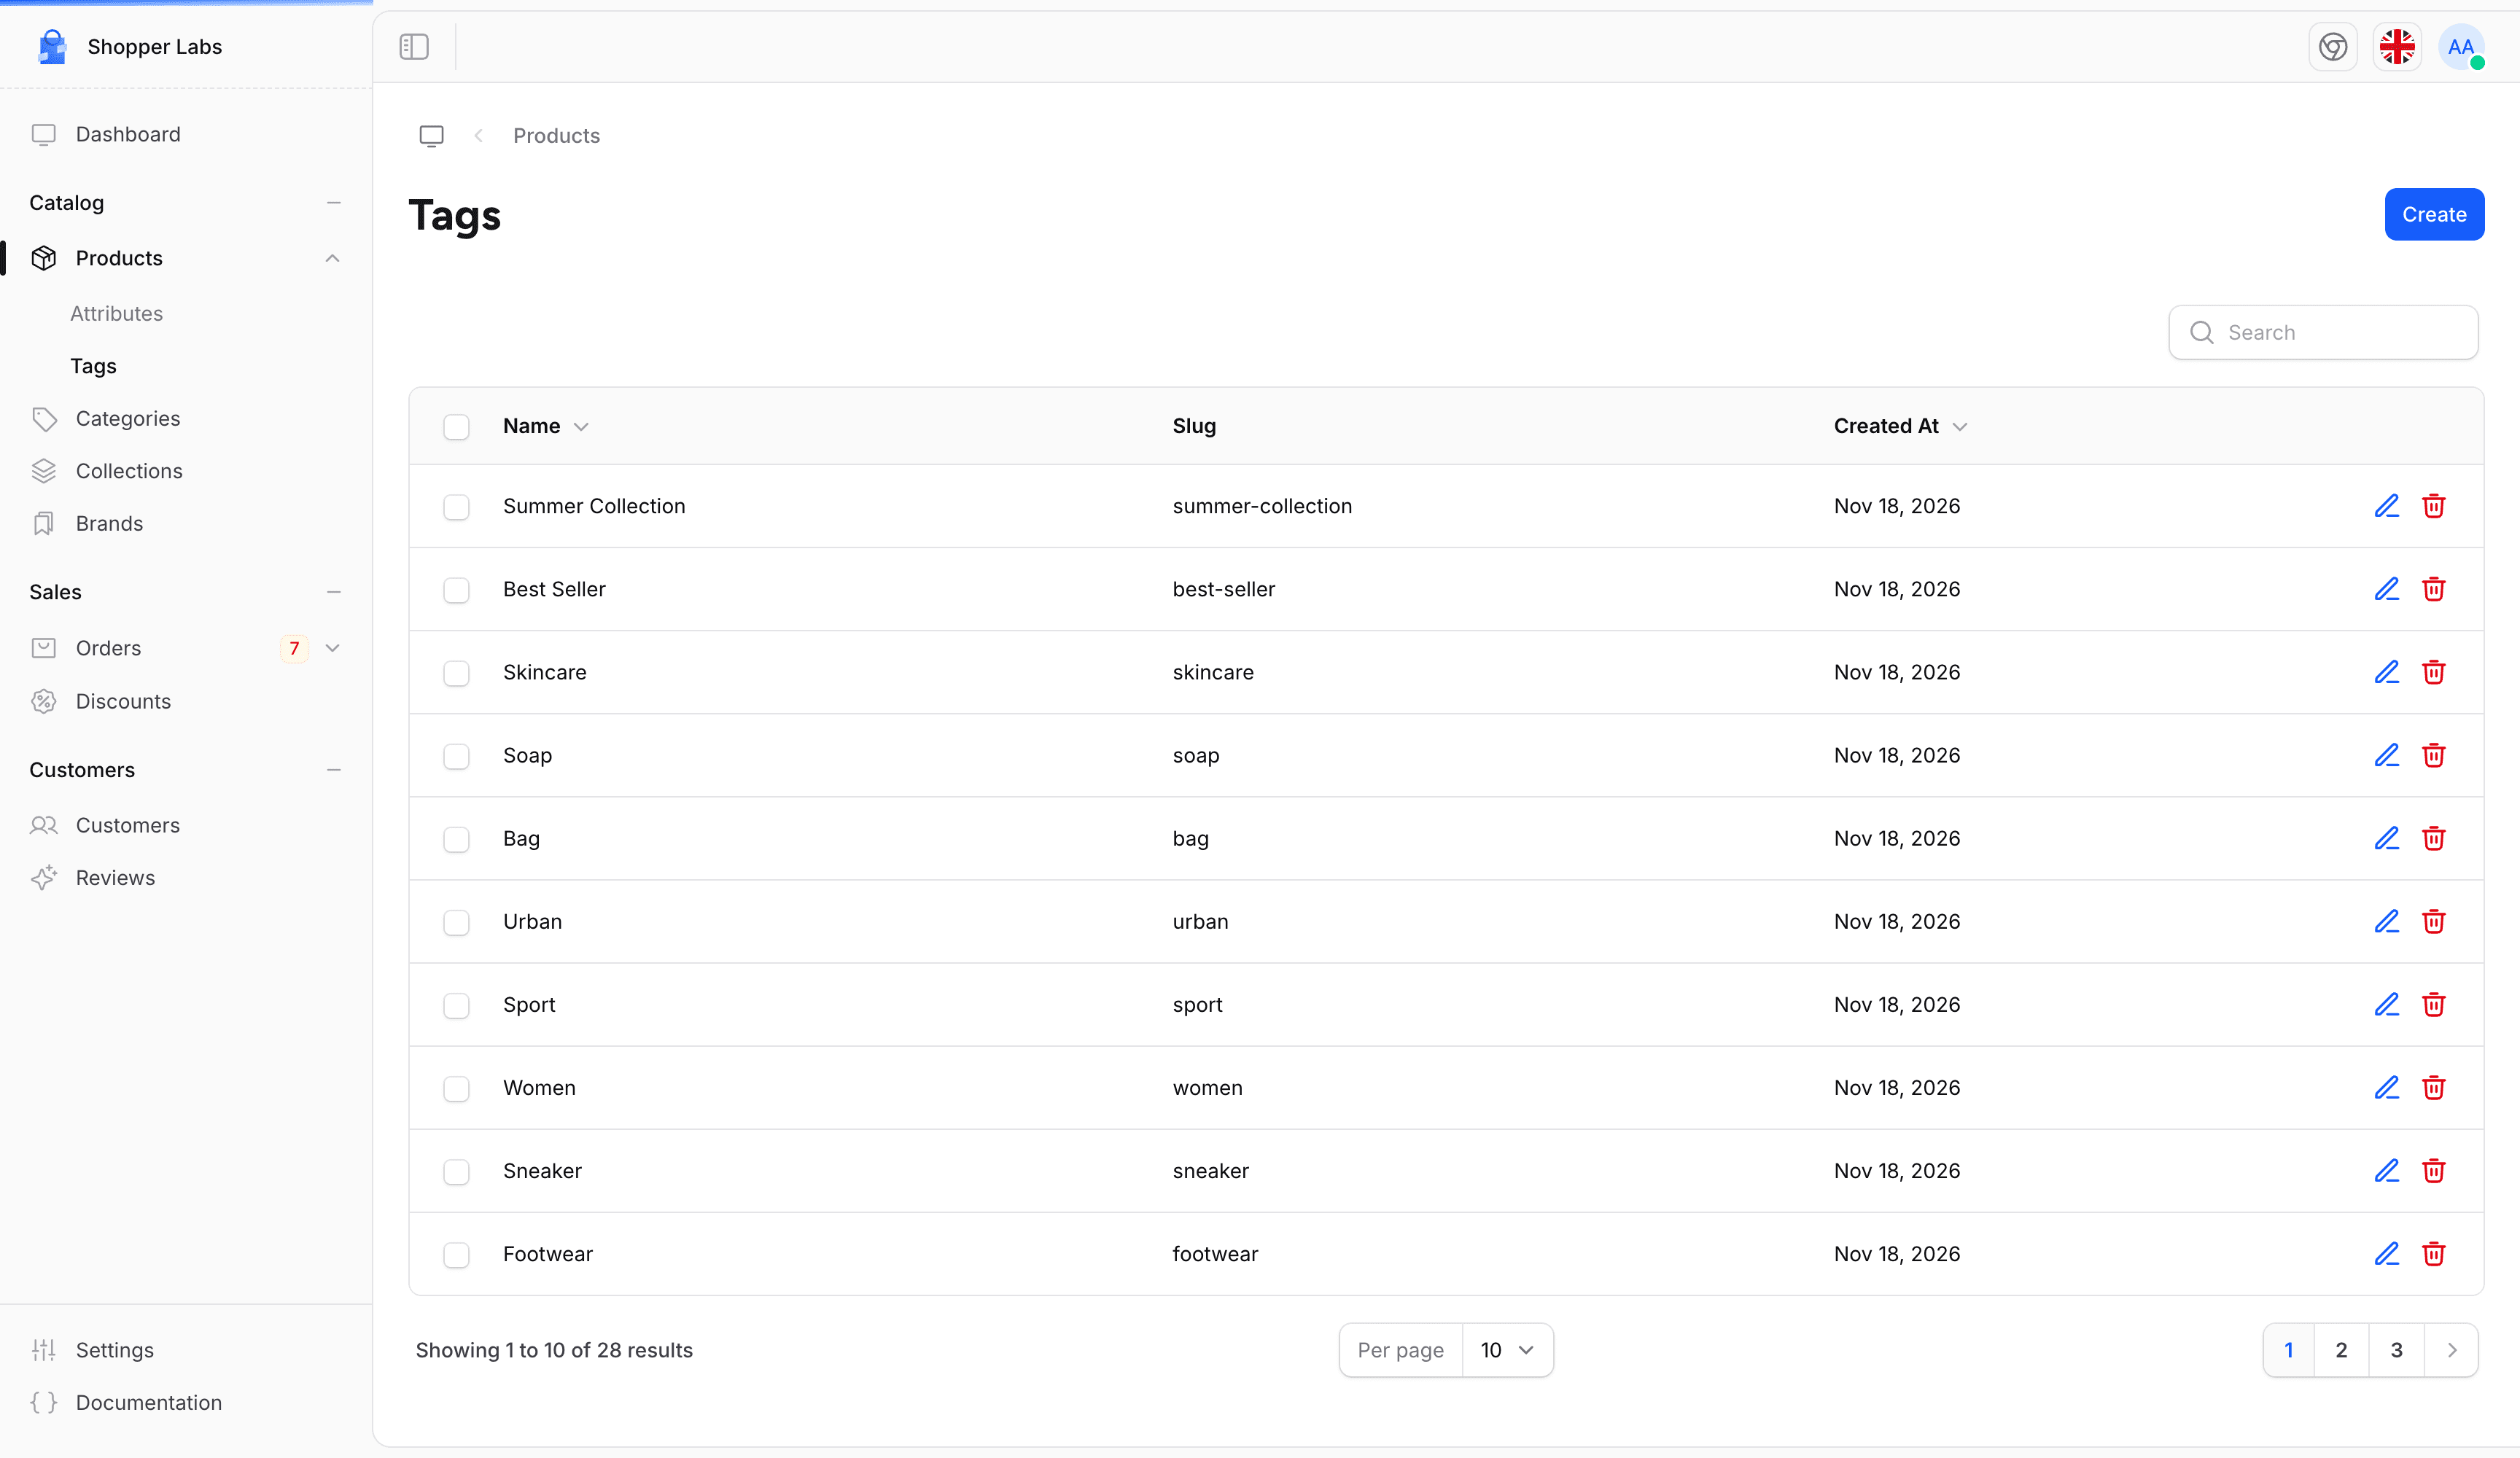
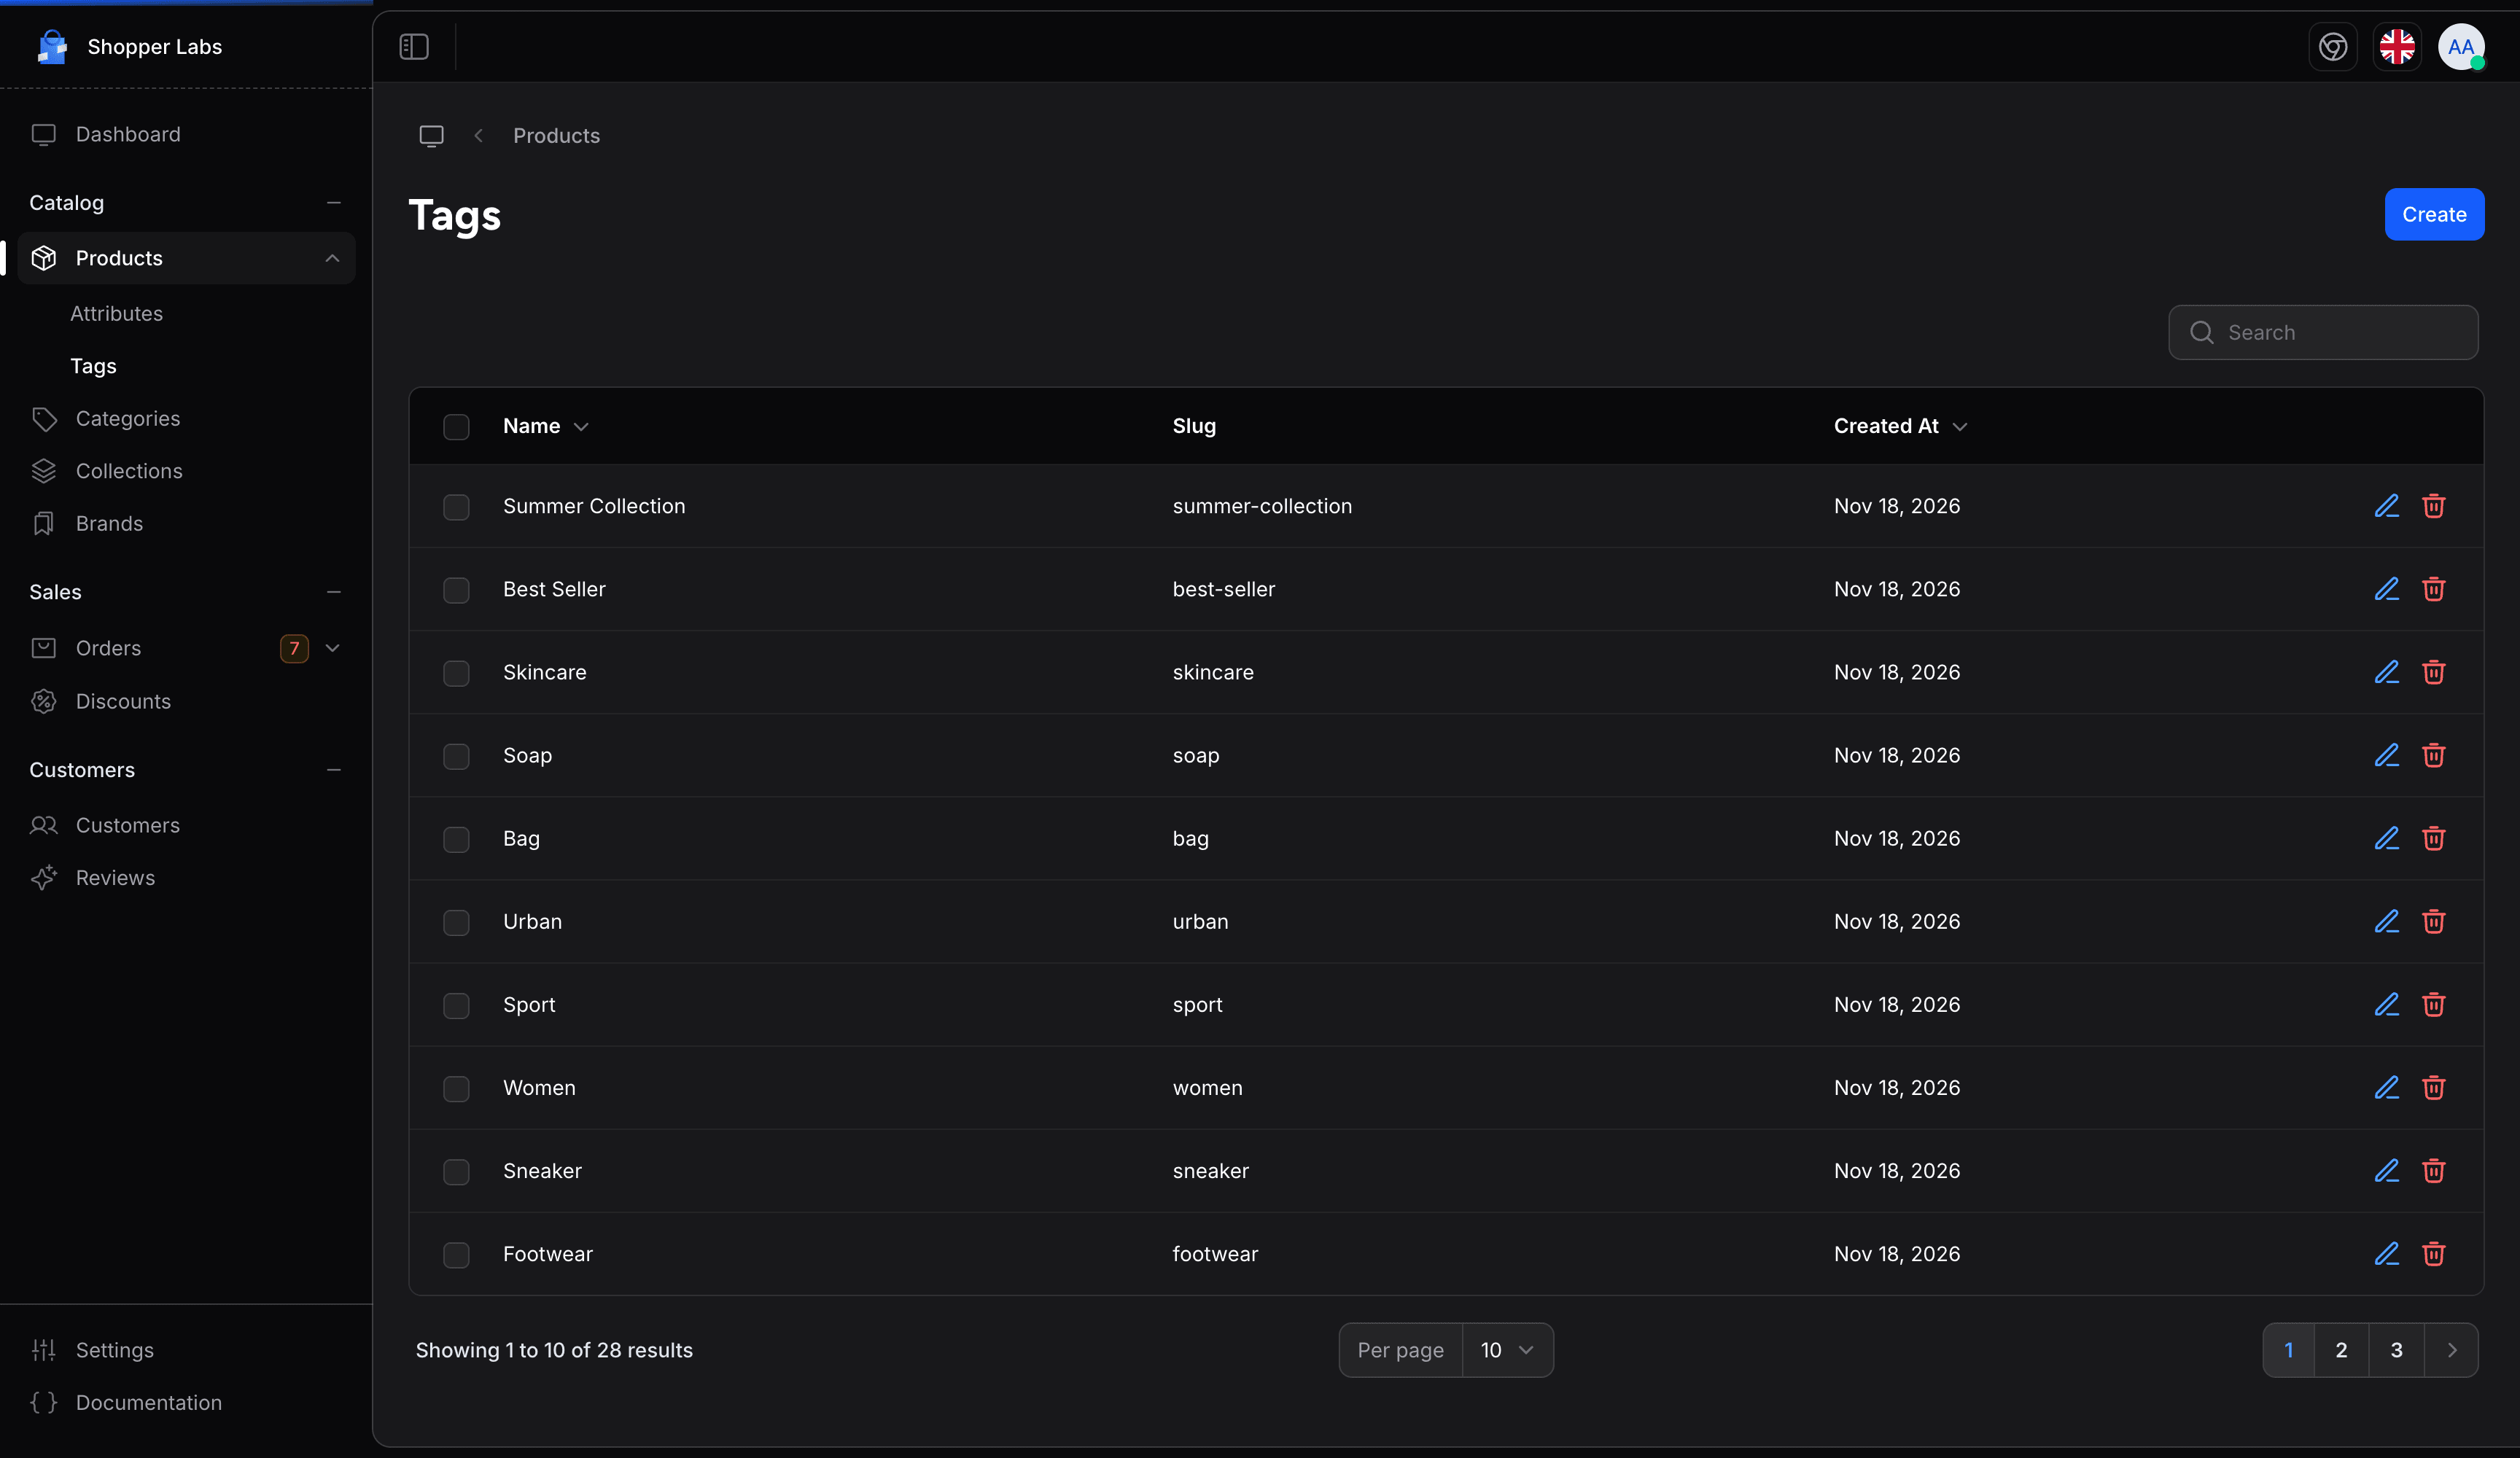
The tags list shows all your tags with their name, slug, and creation date. You can search, edit, and delete tags from this page.
Creating a Tag
To create a new tag:
- Click the Create button
- In the Create tag window, enter the tag name
- Click Submit
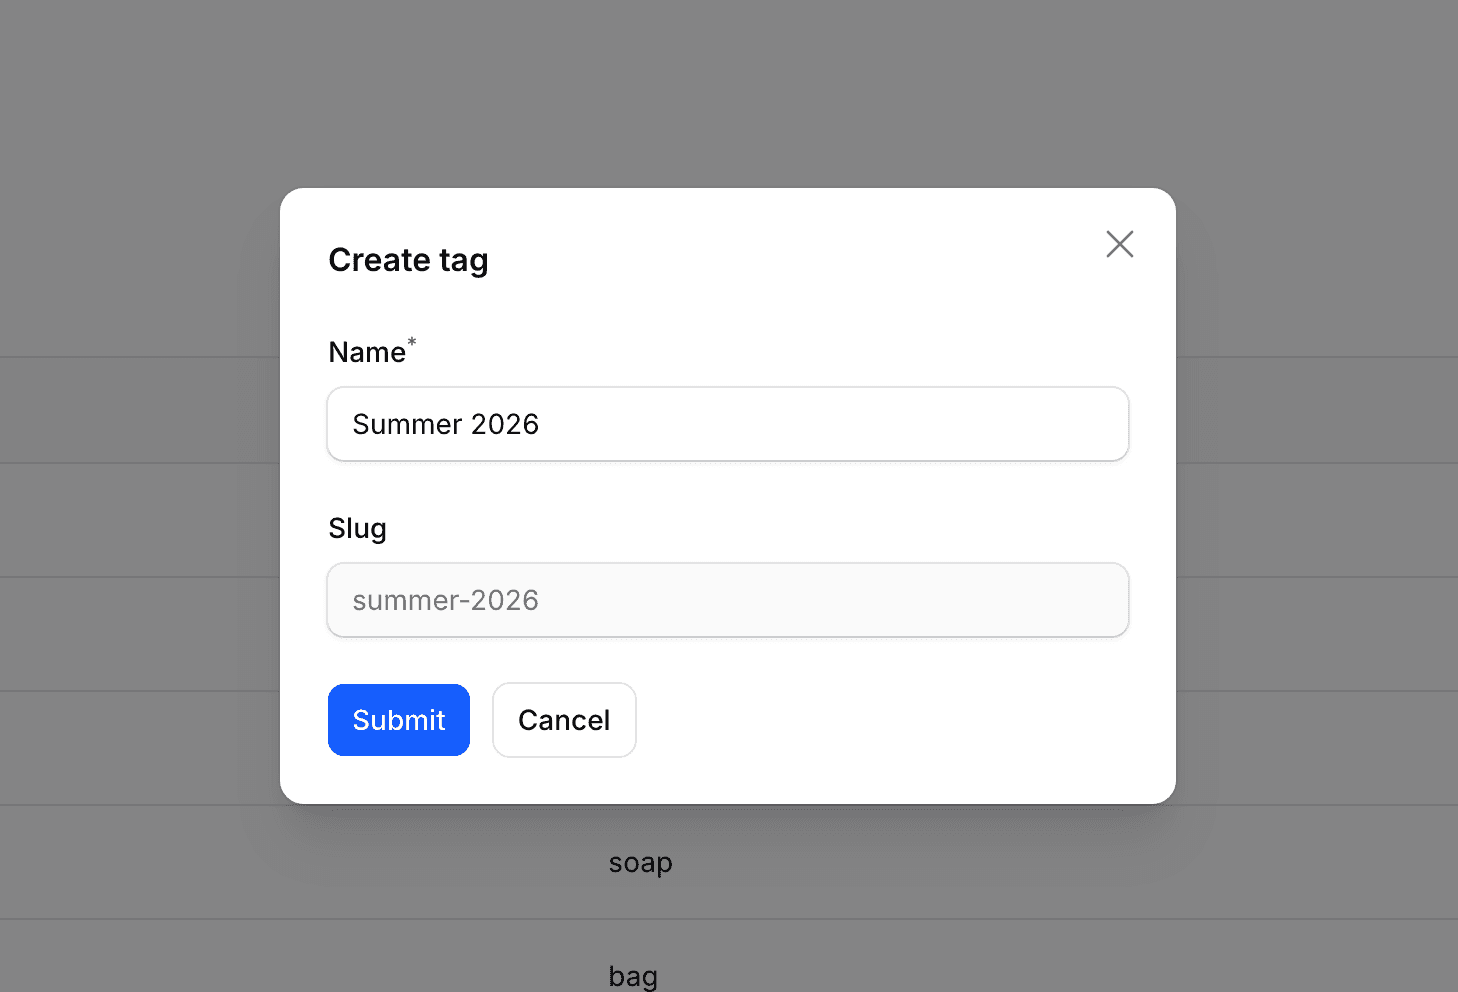
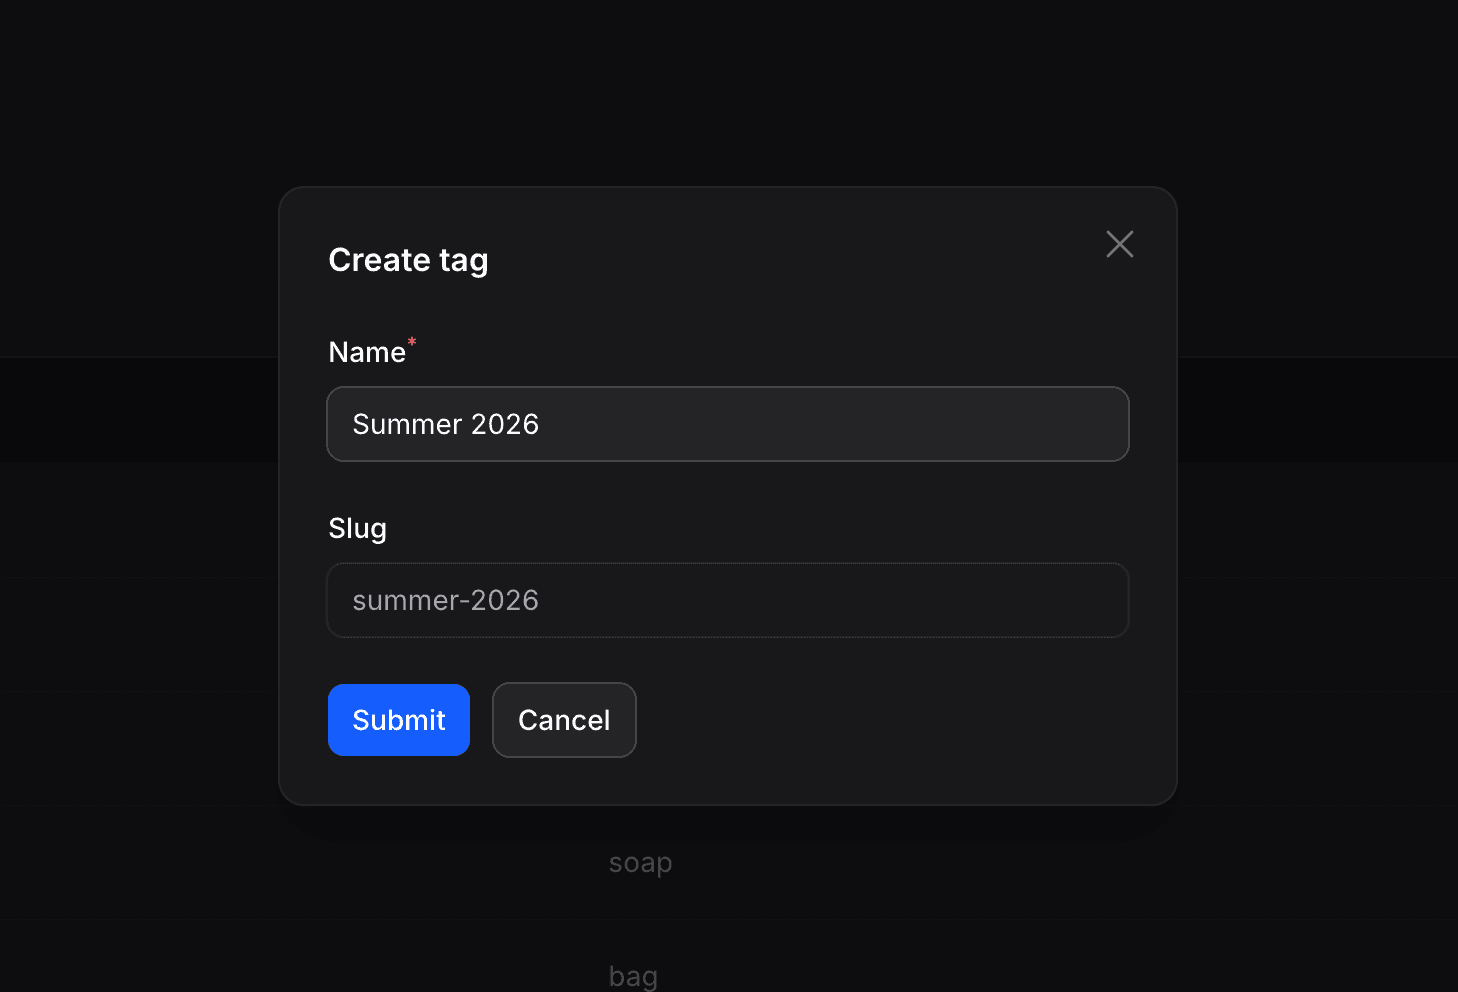
| Field | Required | Description |
|---|---|---|
| Name | Yes | The tag label (e.g., "Summer 2026", "New Arrival") |
| Slug | Auto | Generated automatically from the name. Used in URLs on your storefront. |
The slug is generated automatically from the tag name and cannot be edited manually. Each slug must be unique: if another tag already uses the same slug, the form shows an error and the tag is not created. Choose a different name.
Editing a Tag
To update an existing tag:
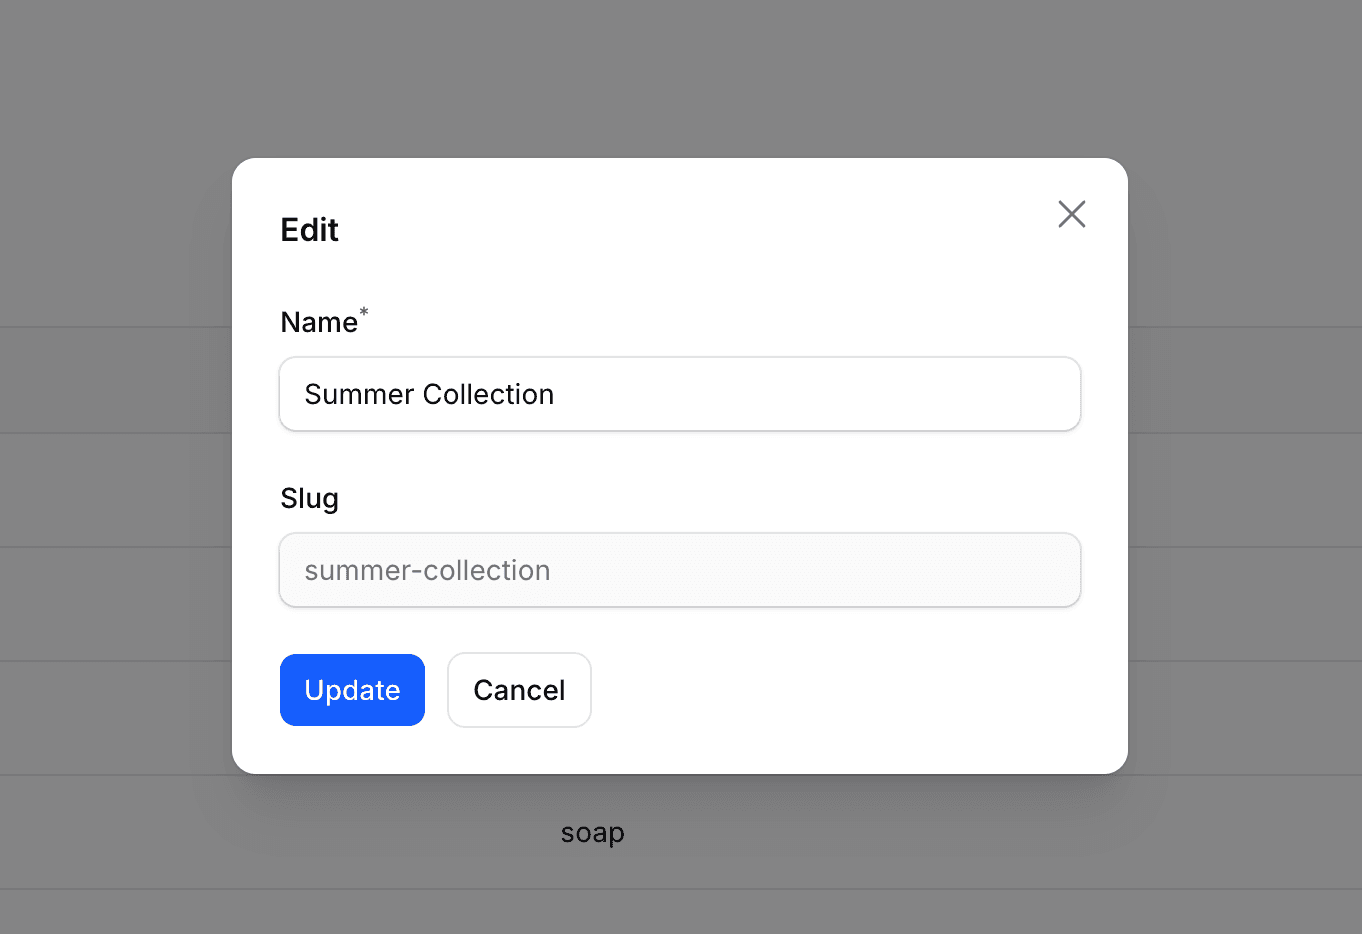
- Click the Edit icon next to the tag
- Modify the name
- Click Update
Renaming a tag keeps its existing slug, so its storefront URLs do not change.
Deleting Tags
To remove a tag:
- Click the Delete icon next to the tag
- Confirm the deletion
You can also select multiple tags and use the bulk delete action to remove several at once.
Deleting a tag removes it from all products that use it. The products themselves are not affected.
Assigning Tags to Products
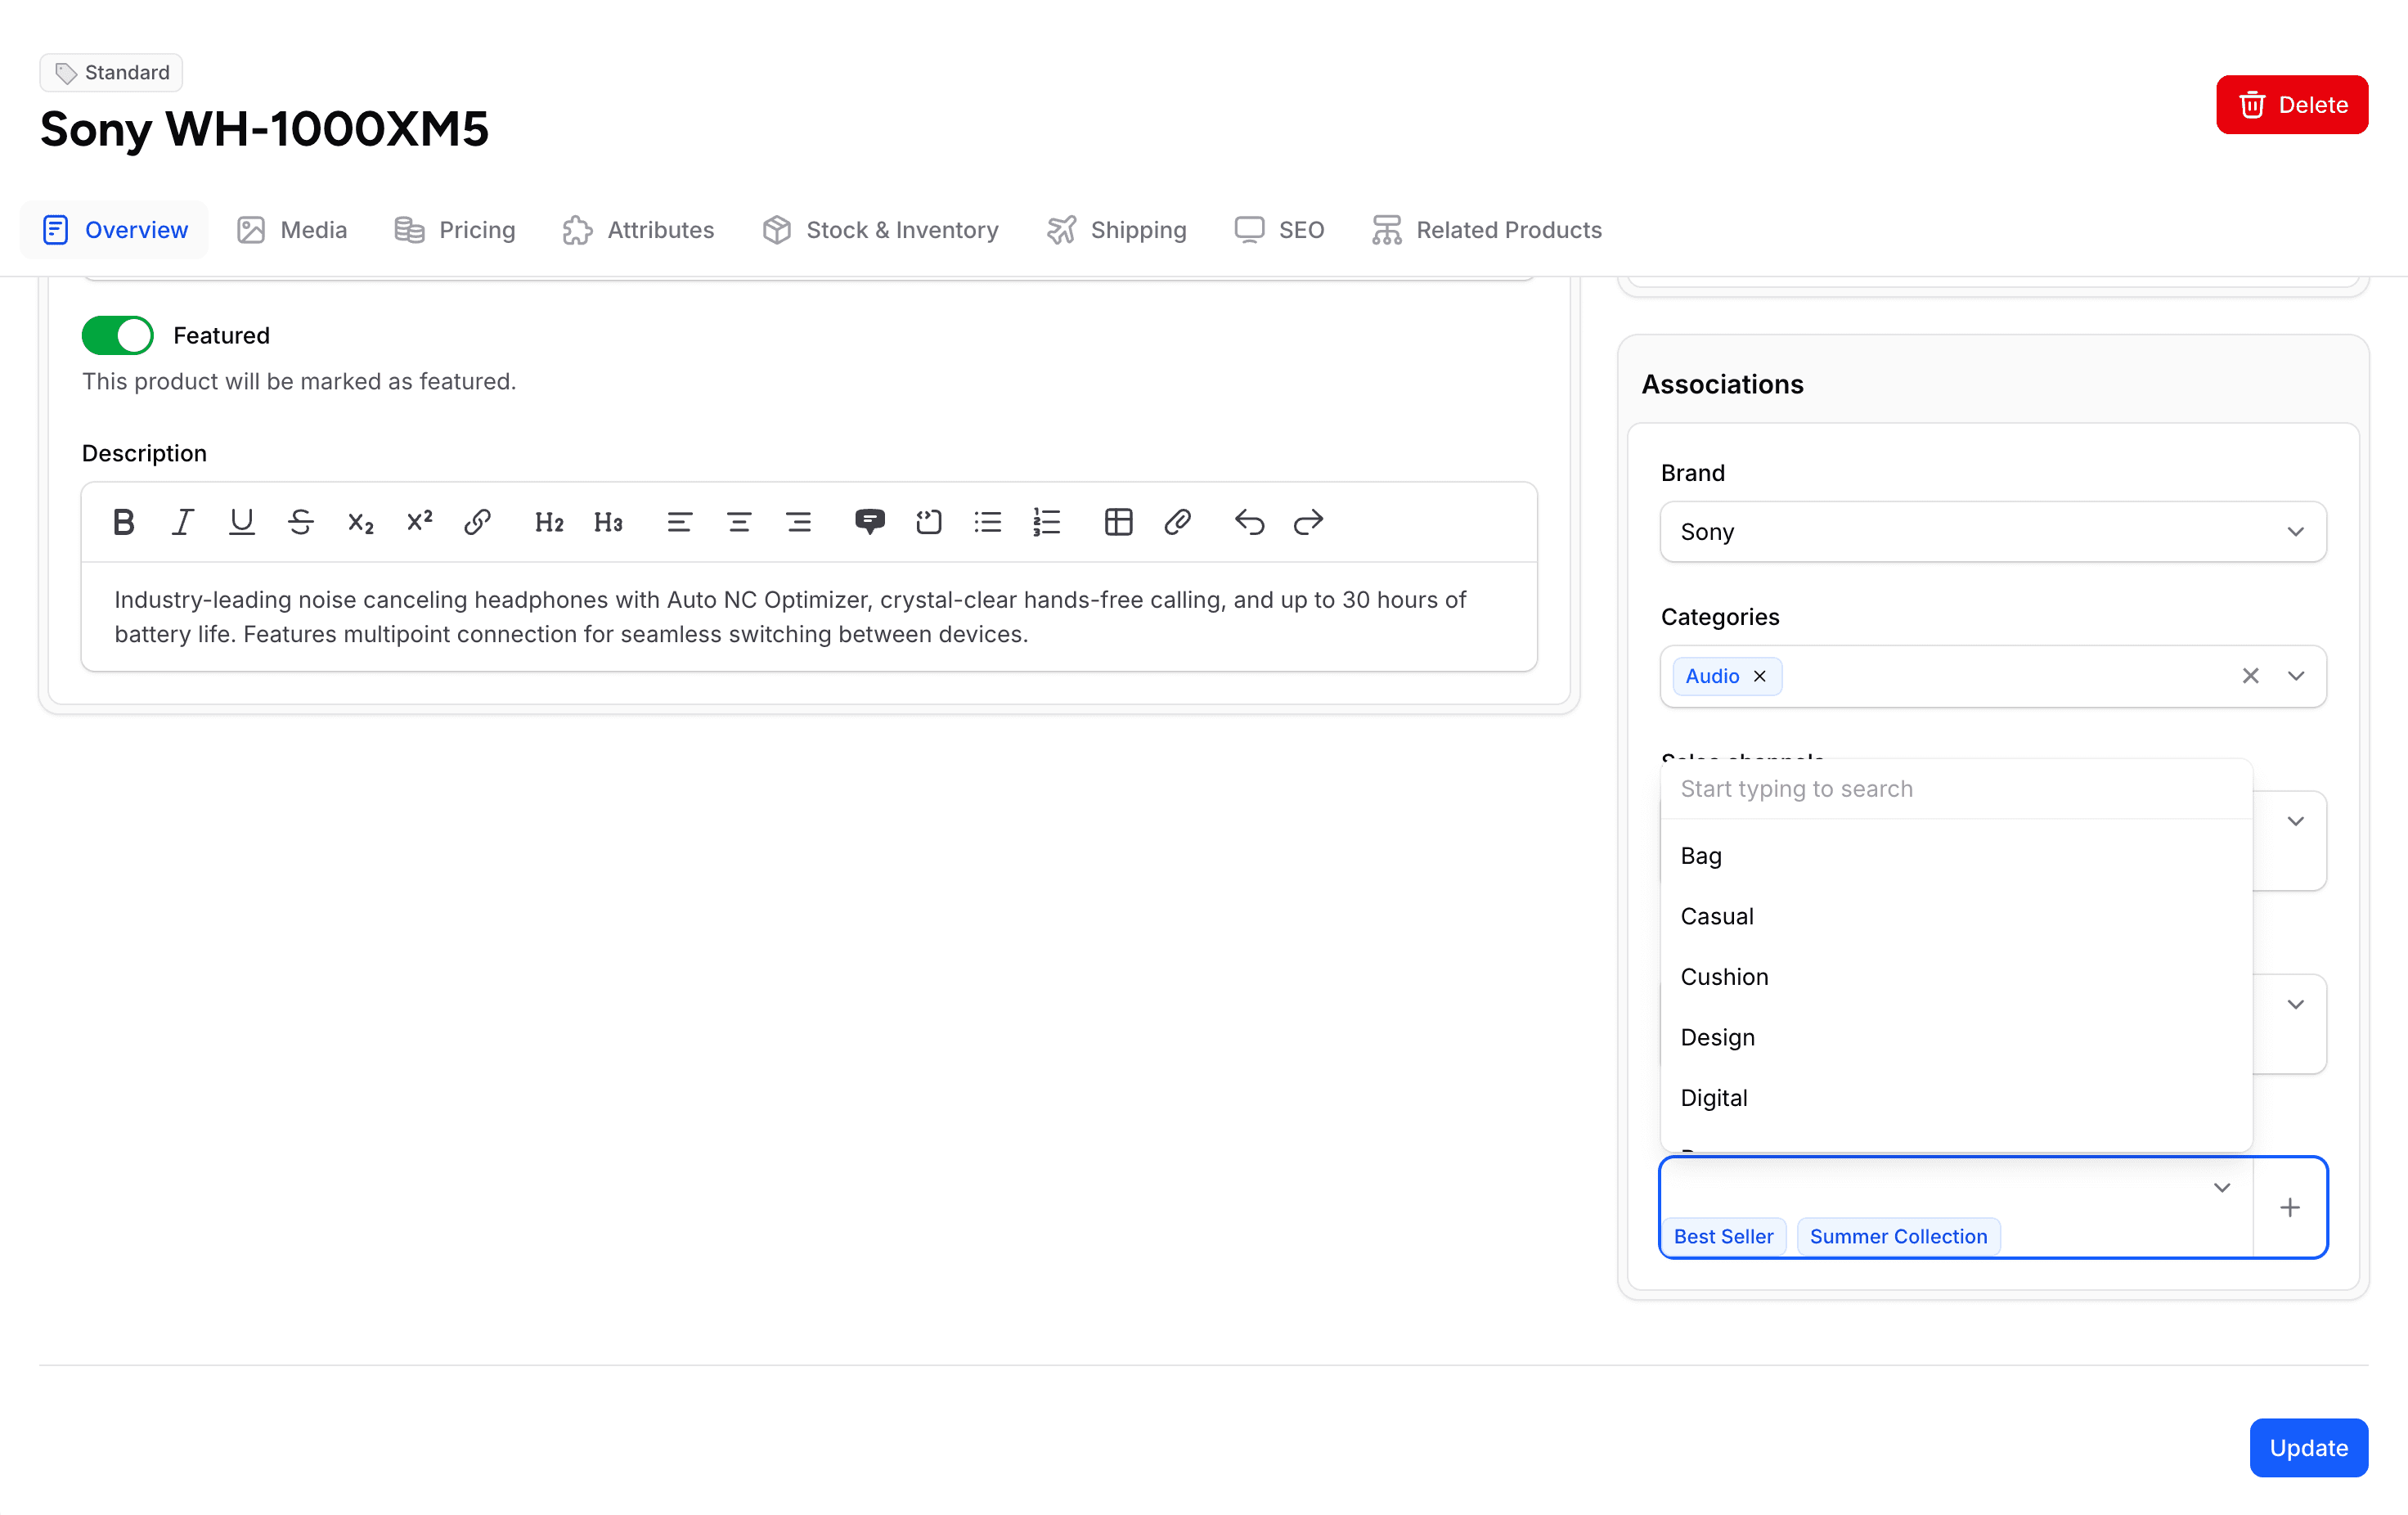
Tags are assigned to products from the product edit form, not from the tags page. When editing a product:
- Go to the product's edit page
- In the Overview tab, find the Tags field in the Associations section
- Select existing tags, or click the + button next to the field to create a new one
- Click Update
You can create new tags directly from the product edit form without going to the Tags page. Click the + button next to the Tags field, enter the name in the Create tag window, then click Create. The new tag is selected in the field: click Update to save the product.
Tags vs Categories vs Collections
| Feature | Tags | Categories | Collections |
|---|---|---|---|
| Structure | Flat labels | Hierarchical tree | Flat groups |
| Assignment | Manual per product | Manual per product | Manual or automatic (rule-based) |
| Best for | Cross-cutting labels, campaigns | Product taxonomy, navigation | Marketing groups, curated lists |
| Example | "Eco-Friendly", "Flash Sale" | Electronics > Computers > Laptops | "Summer Essentials", "Best Sellers" |
Common Tag Strategies
| Strategy | Tags | Use Case |
|---|---|---|
| Seasonal | "Spring 2026", "Summer 2026" | Rotate seasonal products on your storefront |
| Marketing | "Flash Sale", "Clearance" | Highlight promotional products |
| Product traits | "Organic", "Handmade", "Vegan" | Help customers filter by values |
| Internal | "Low Margin", "Restock Soon" | Track products without showing on storefront |
Tags are visible on your storefront if your developer builds filtering based on them. If a tag is for internal use only, you can use it without displaying it to customers.
For developer details on tags, see the Product Tags documentation.
Last updated on
Edit on GitHub