
Setup Store
Configure your store's initial settings, address, currencies, and social links.
After installing Shopper and creating your admin user, log in at /cpanel/login (cpanel is the default value of shopper.admin.prefix, set with SHOPPER_PREFIX). Until the store has an email and a street_address setting, every admin page redirects to the setup wizard at /cpanel/initialize. Only an administrator or a user with the access_setting permission can complete it.
The wizard collects your store's basic information, address, and social links in three steps. Clicking Next saves the fields of the current step. Clicking Save on the last step saves every field, creates your first inventory location in the same database transaction, and opens the dashboard. The wizard does not create the default sales channel: the install command does, as described in Channel.
Settings Model
Store configuration is managed through key-value pairs in the Shopper\Core\Models\Setting model, stored in the sh_settings table (sh_ is the default table prefix). Each setting has a unique key, an optional display name, and a JSON value.
Database Schema
| Column | Type | Nullable | Default | Description |
|---|---|---|---|---|
id | bigint | no | auto | Primary key |
key | string | no | - | Configuration key (unique) |
display_name | string | yes | null | Human-readable label. Shopper sets it from the key each time it saves the setting |
value | json | yes | null | Setting value, stored as JSON and decoded on read (array cast): a list of IDs comes back as an array, a store name as a string |
locked | boolean | no | false | Set to true by every admin save except the wizard's Next button, which saves with false and skips settings that are already locked. Hidden from the model's array and JSON output |
created_at | timestamp | yes | null | Creation timestamp |
updated_at | timestamp | yes | null | Last update timestamp |
Retrieving Settings
To retrieve the value of a key, call the shopper_setting() helper with the key. It returns null when the key does not exist:
shopper_setting('name');The value is cached for one day under the key shopper-setting.{$key}. Shopper clears that cache entry each time the admin panel saves the key. The second parameter, withCache, defaults to true. With false, the value read from the database is cached for one second instead of one day, but a value already in the cache is still returned:
shopper_setting('name', withCache: false);If you change a Setting row in your own code, forget its cache entry so the next call reads the new value. For default_currency_id, also forget shopper-setting.default_currency, where shopper_currency() keeps the currency code for one hour:
use Illuminate\Support\Facades\Cache;
use Shopper\Core\Models\Setting;

Setting::query()->updateOrCreate(
    ['key' => 'email'],
    ['value' => 'orders@acme-store.com'],
);

Cache::forget('shopper-setting.email');
Store
When you launch your store the first important thing to do is to fill in the information about this store. Your customers and the different services you might use need to know the information about your store.
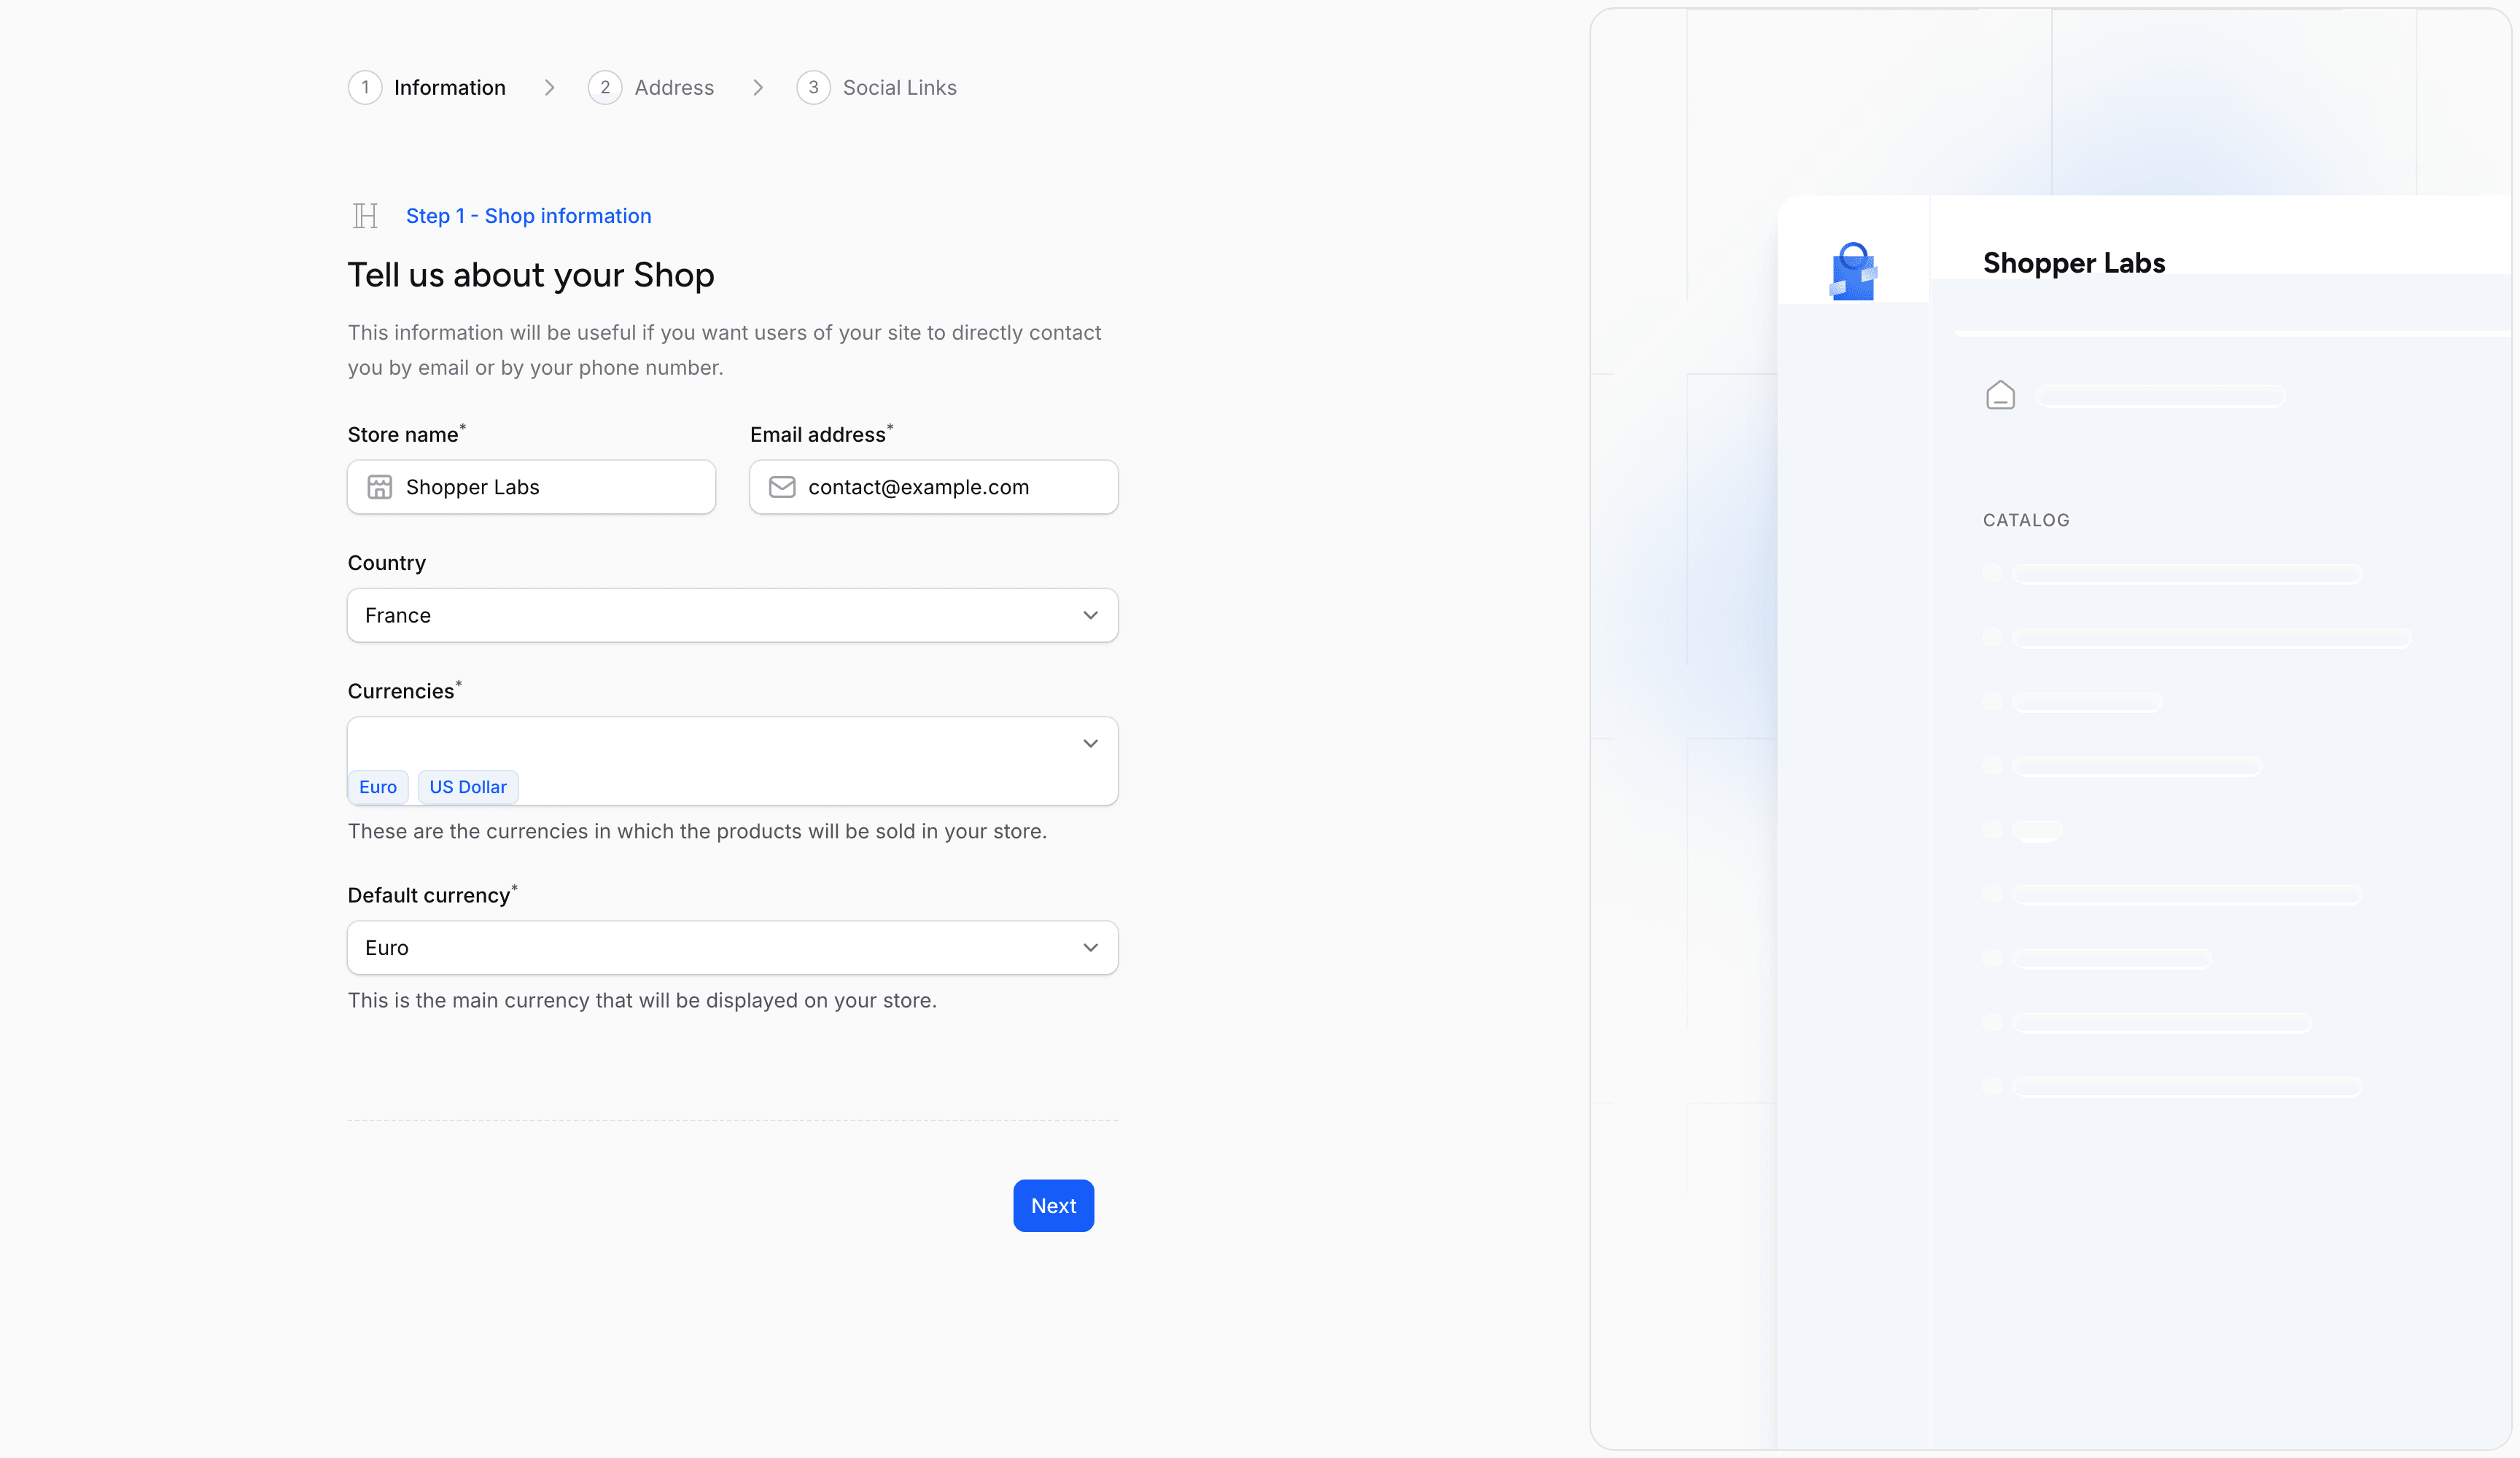
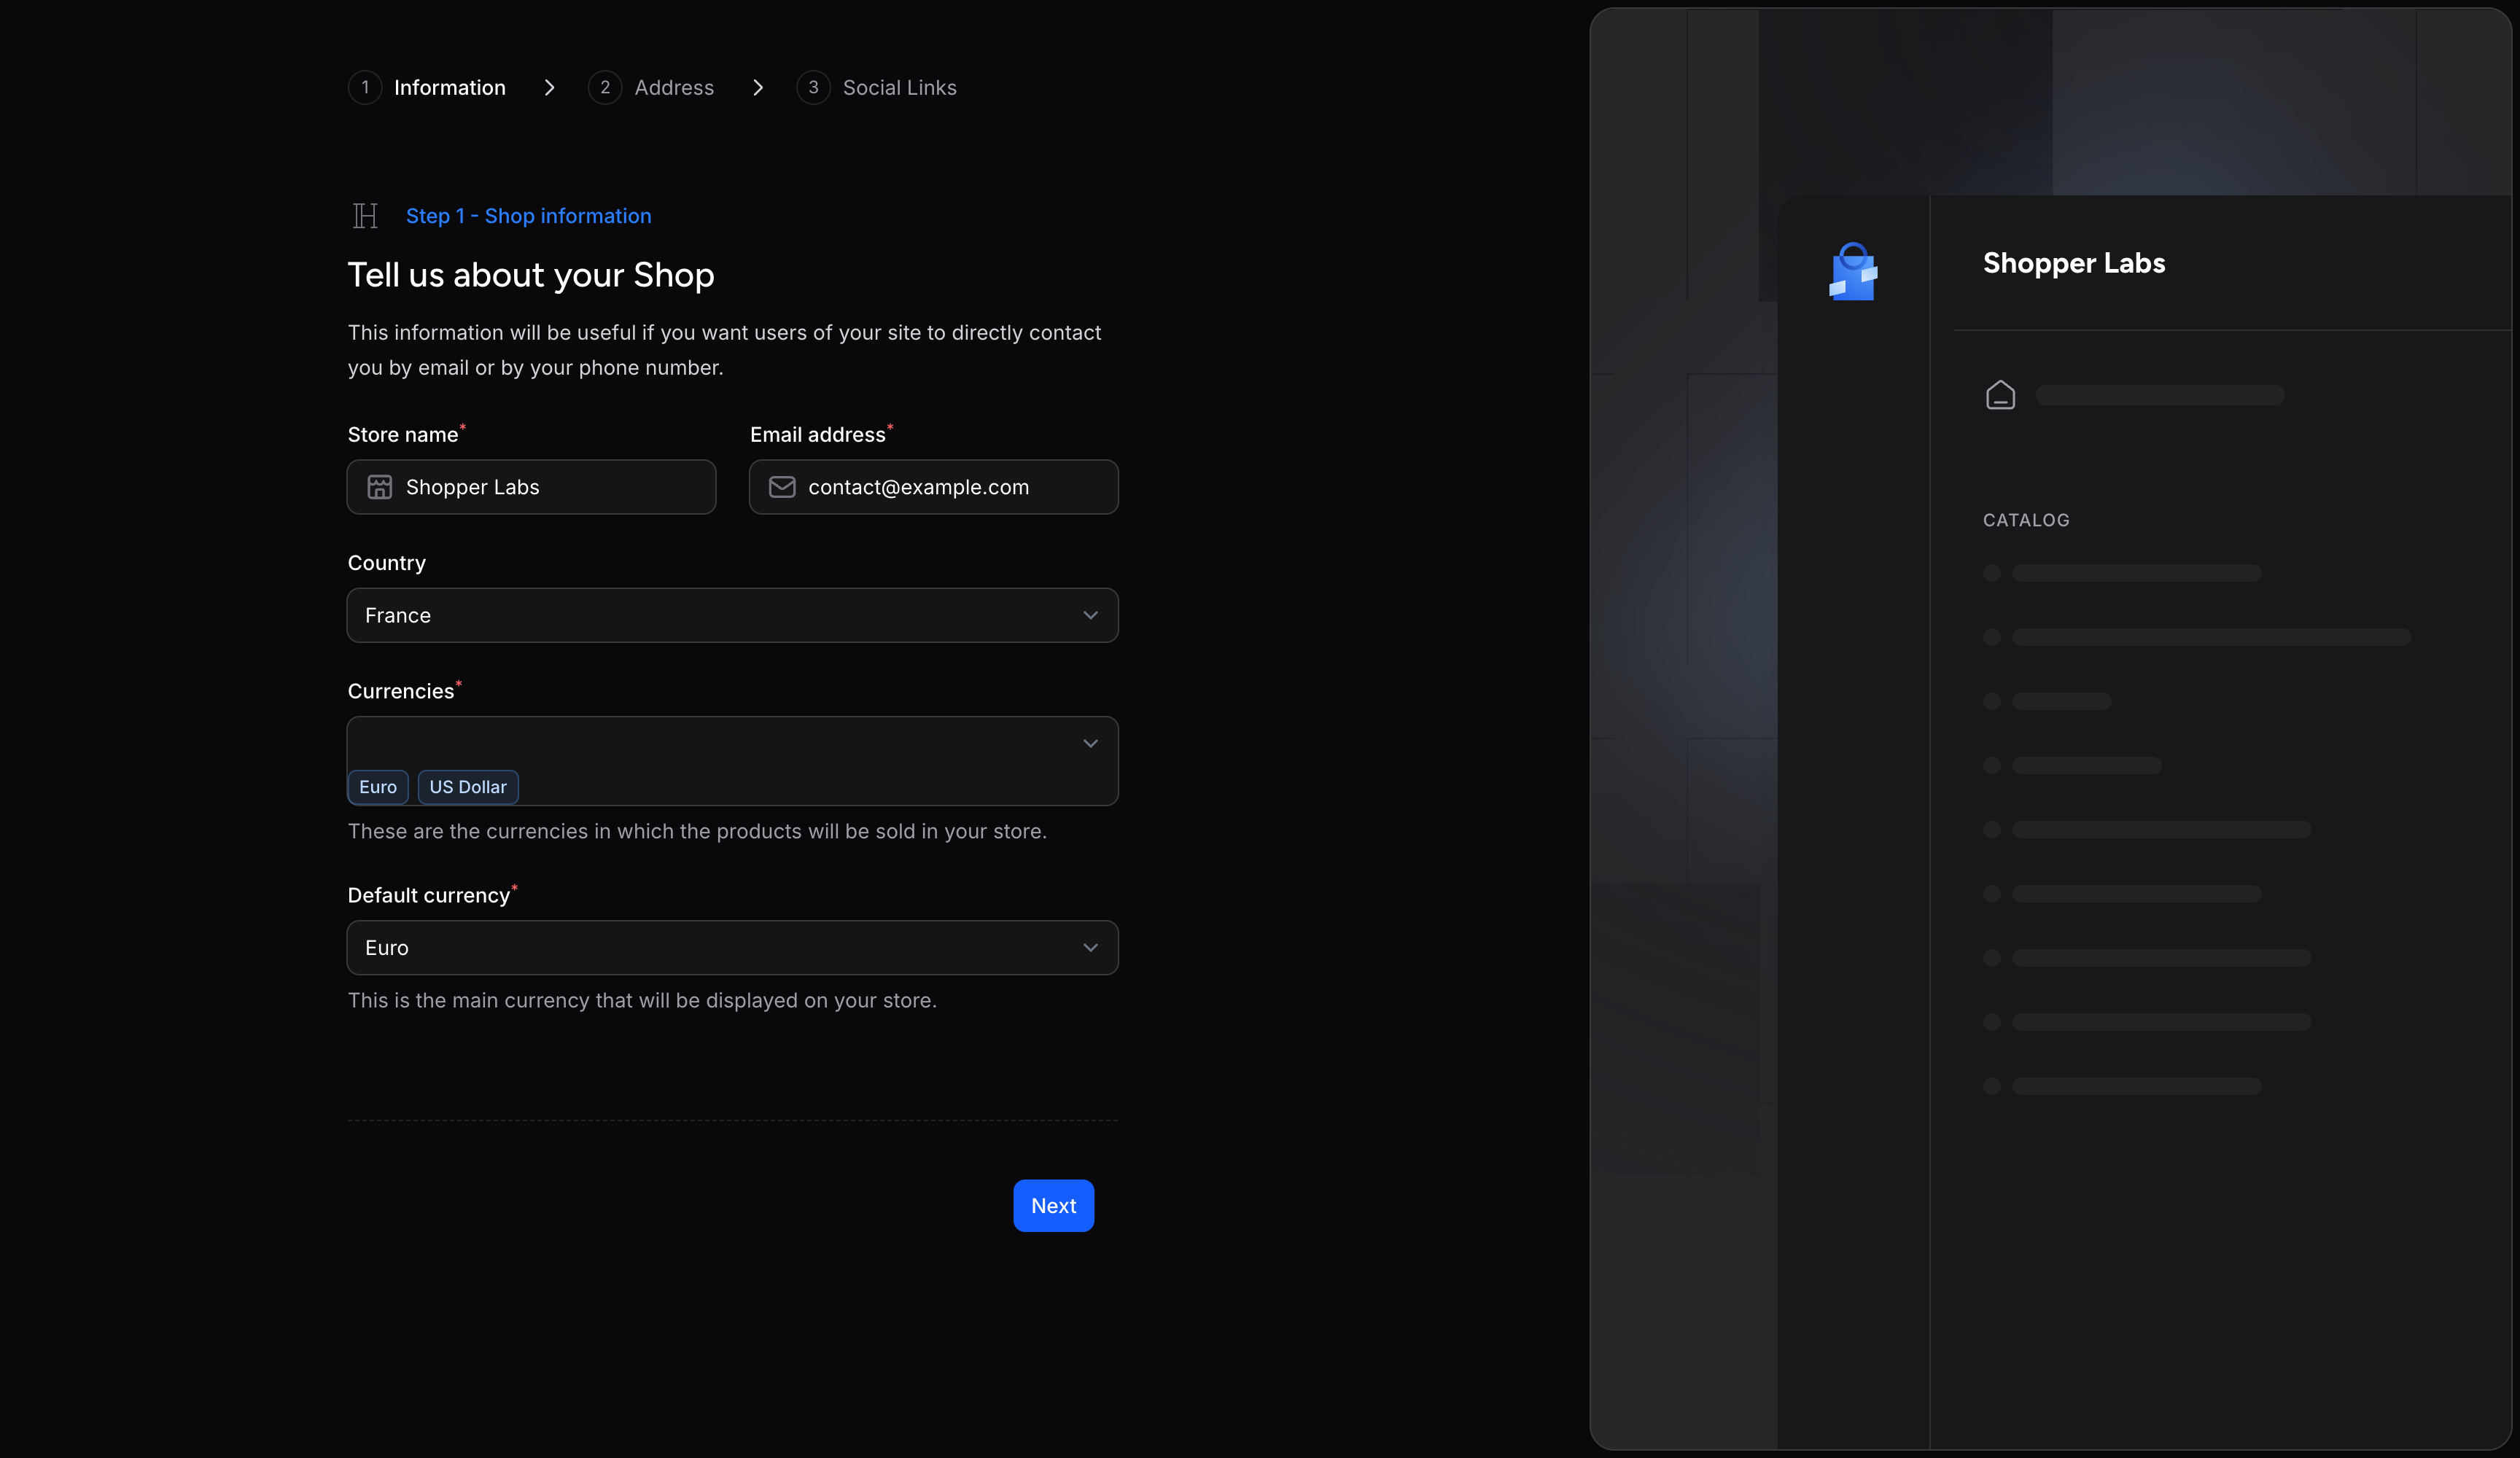
The information stored in this section is available using the following keys:
namethe store name (required, 100 characters at most)emailthe store email (required)country_idthe ID of the country where the store is based (optional)currenciesan array of the IDs of the currencies the store sells in (at least one). The price forms of the admin list these currencies, see How Setup Store Currenciesdefault_currency_idthe ID of the default currency, which must be one ofcurrencies.shopper_currency()returns its code, orUSDwhen it is not set
The store description (about) is not part of the wizard: you fill it in on the General settings page, described in Update setting.
Address
Most stores keep their products in different locations around the world. When setting up this configuration you need to define an address that will be set as the default location for your products.
When you submit the wizard, Shopper creates your default inventory location from this step: the location takes the store name (and its slug as the location code), the store email, the street address, postal code, city, phone number and country. When you create a product or a variant in the admin with an initial quantity, that stock is recorded at the default location. See Default Location.
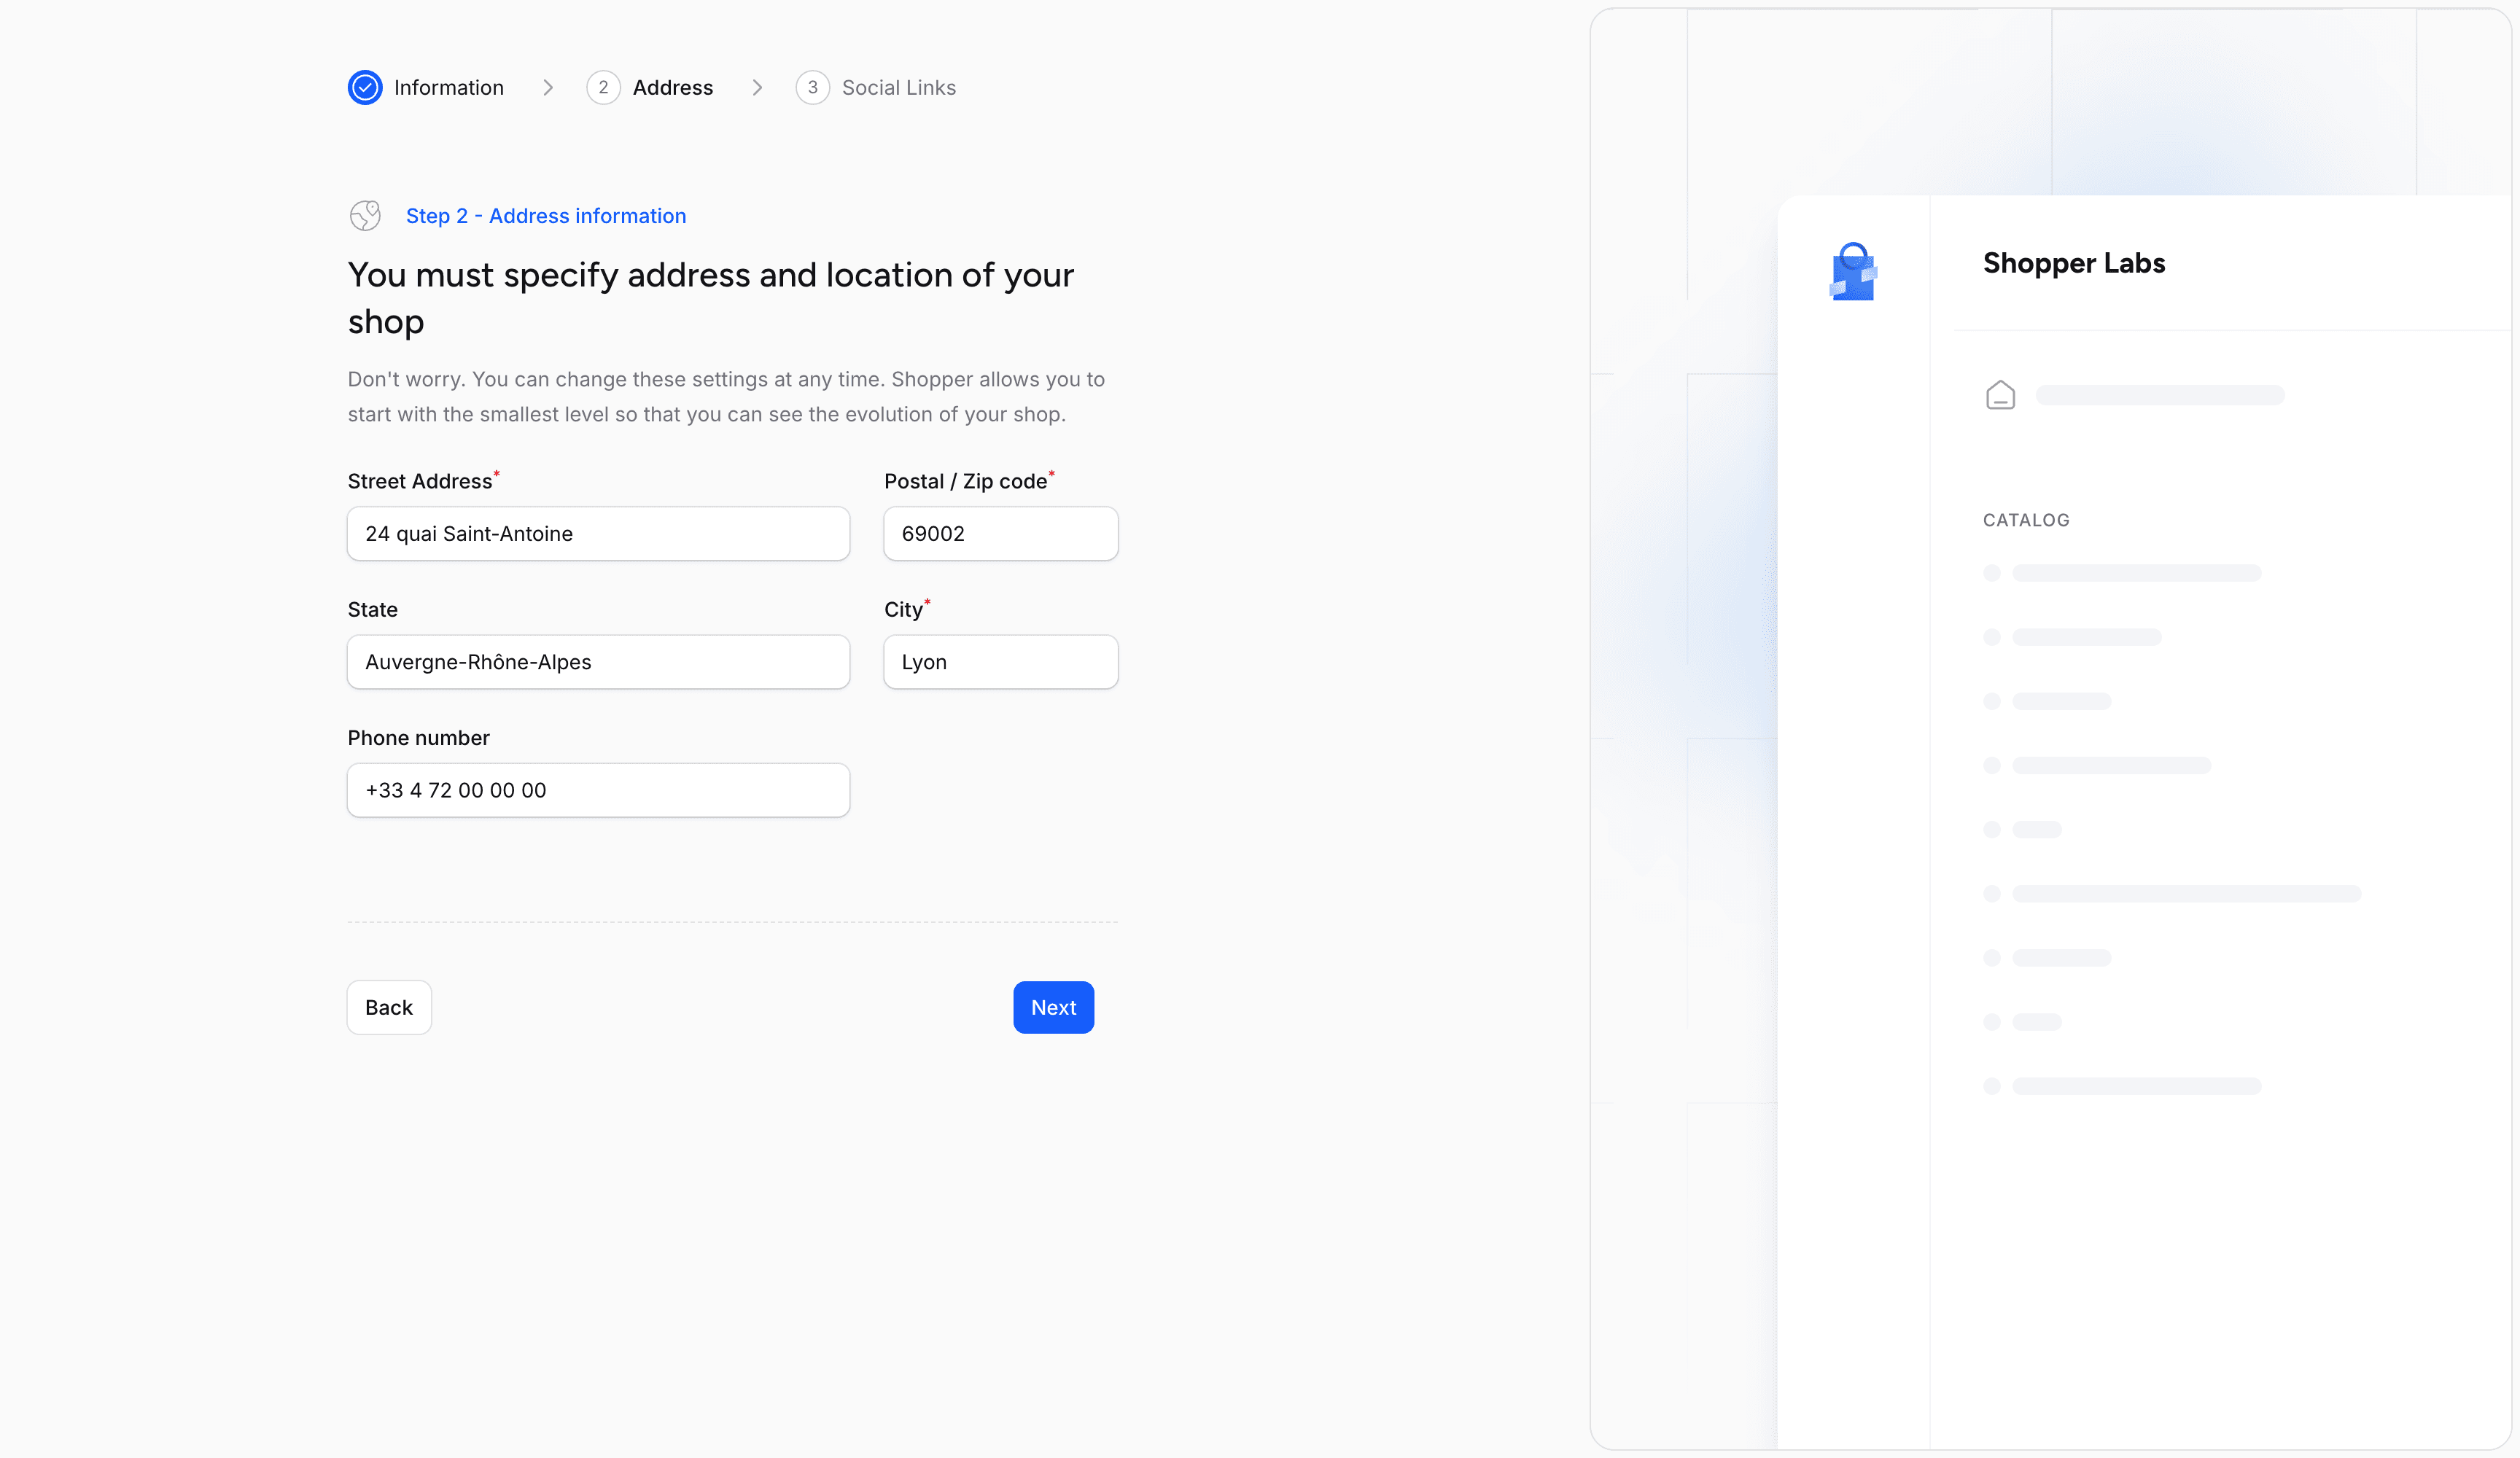
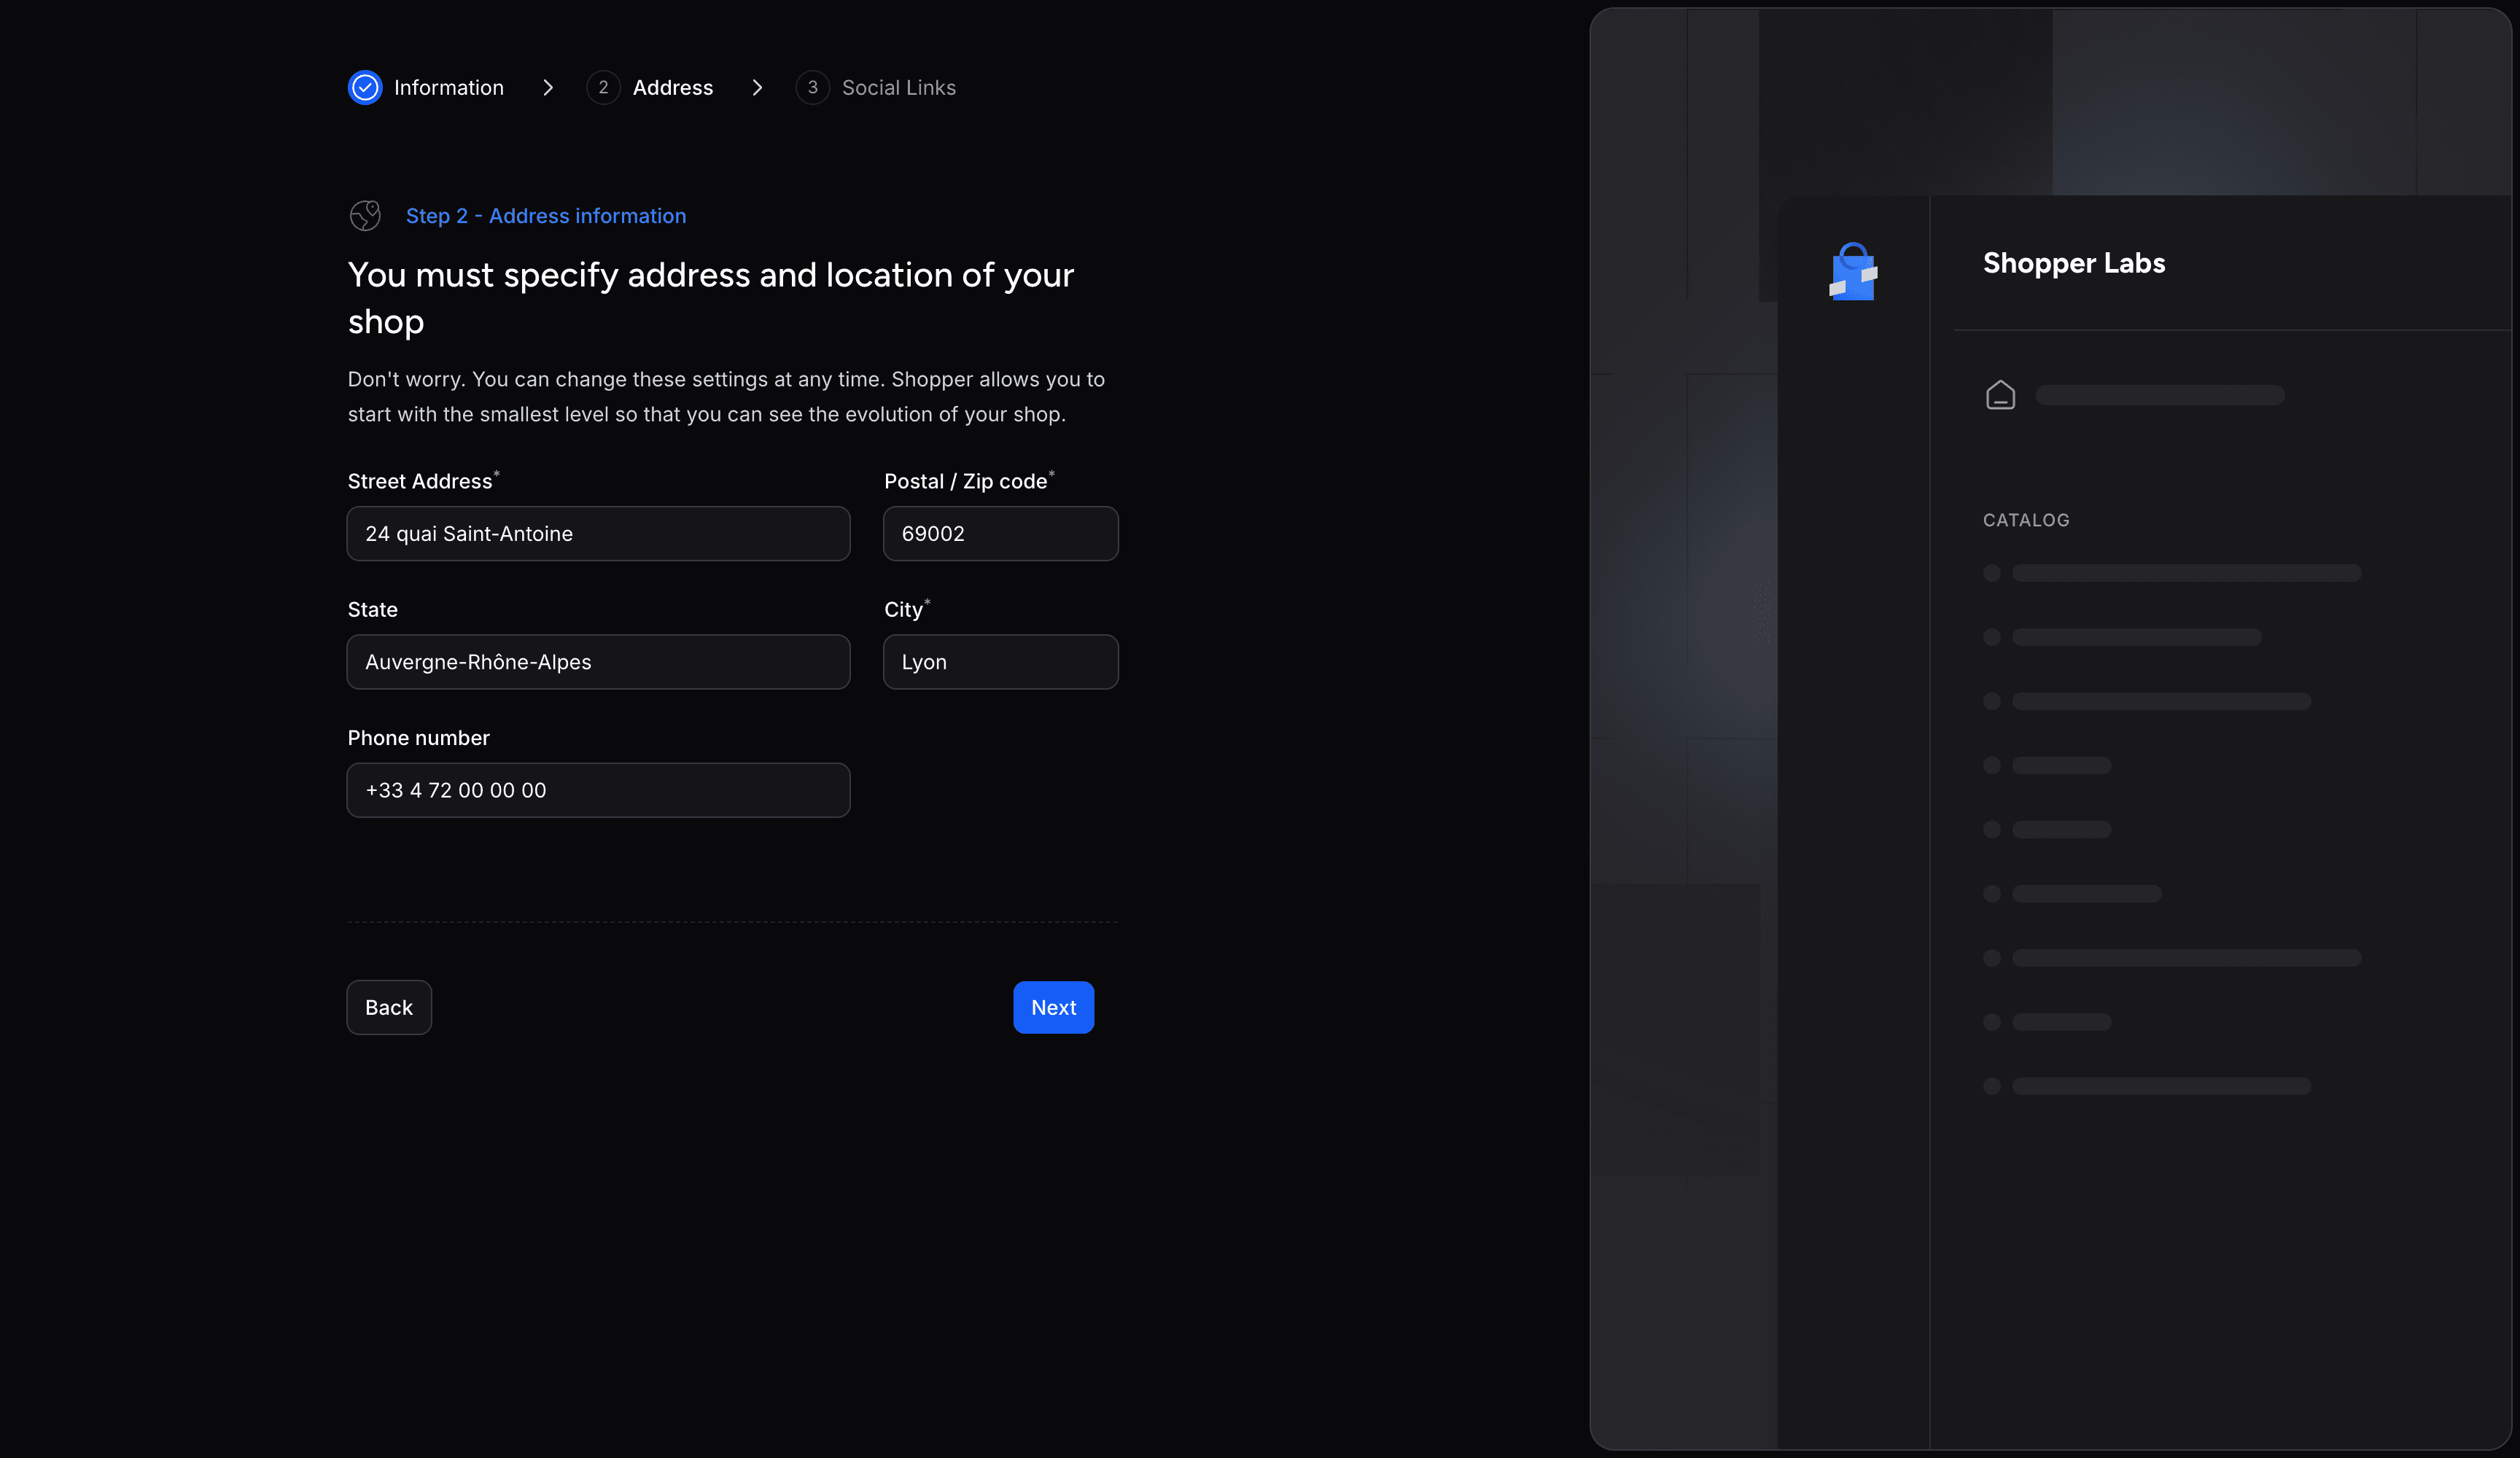
The keys registered in database during this section: street_address, postal_code and city (required), state and phone_number (optional).
Social Links
If you want your customers to find you easily on social networks, you can fill in all the links directly by putting the full url. The wizard checks that each link is a valid URL.
This step is completely optional
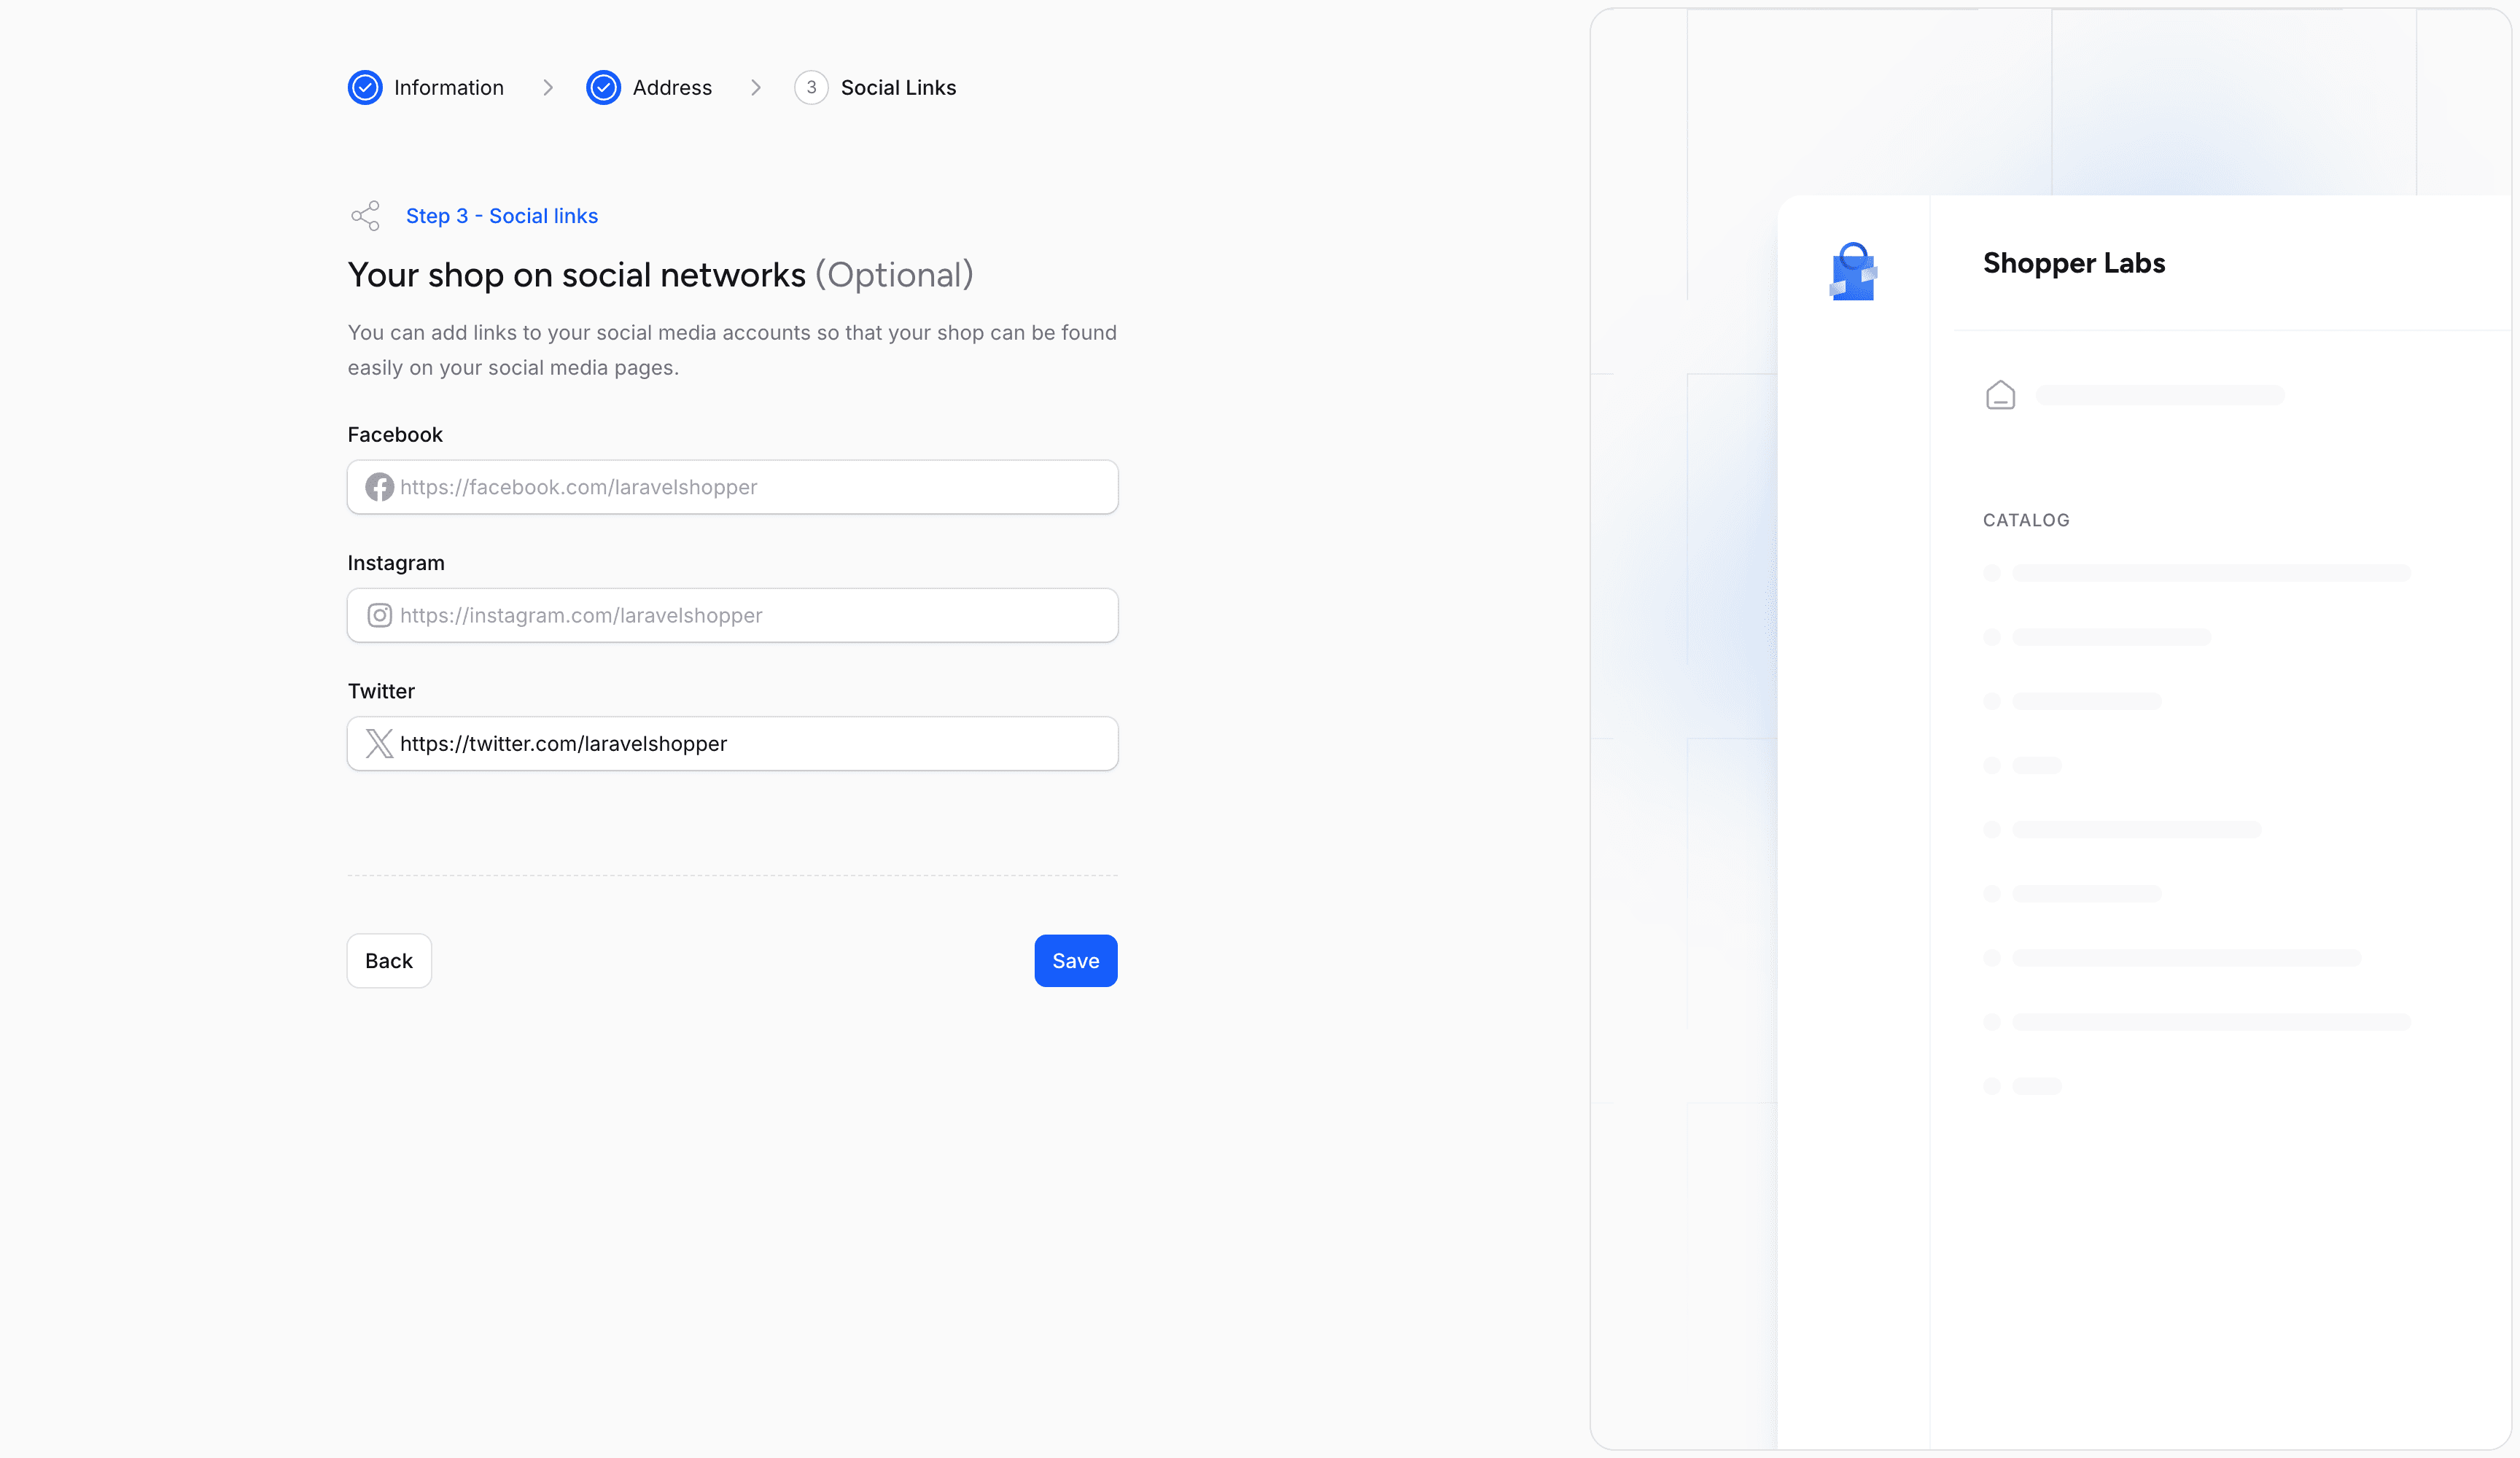
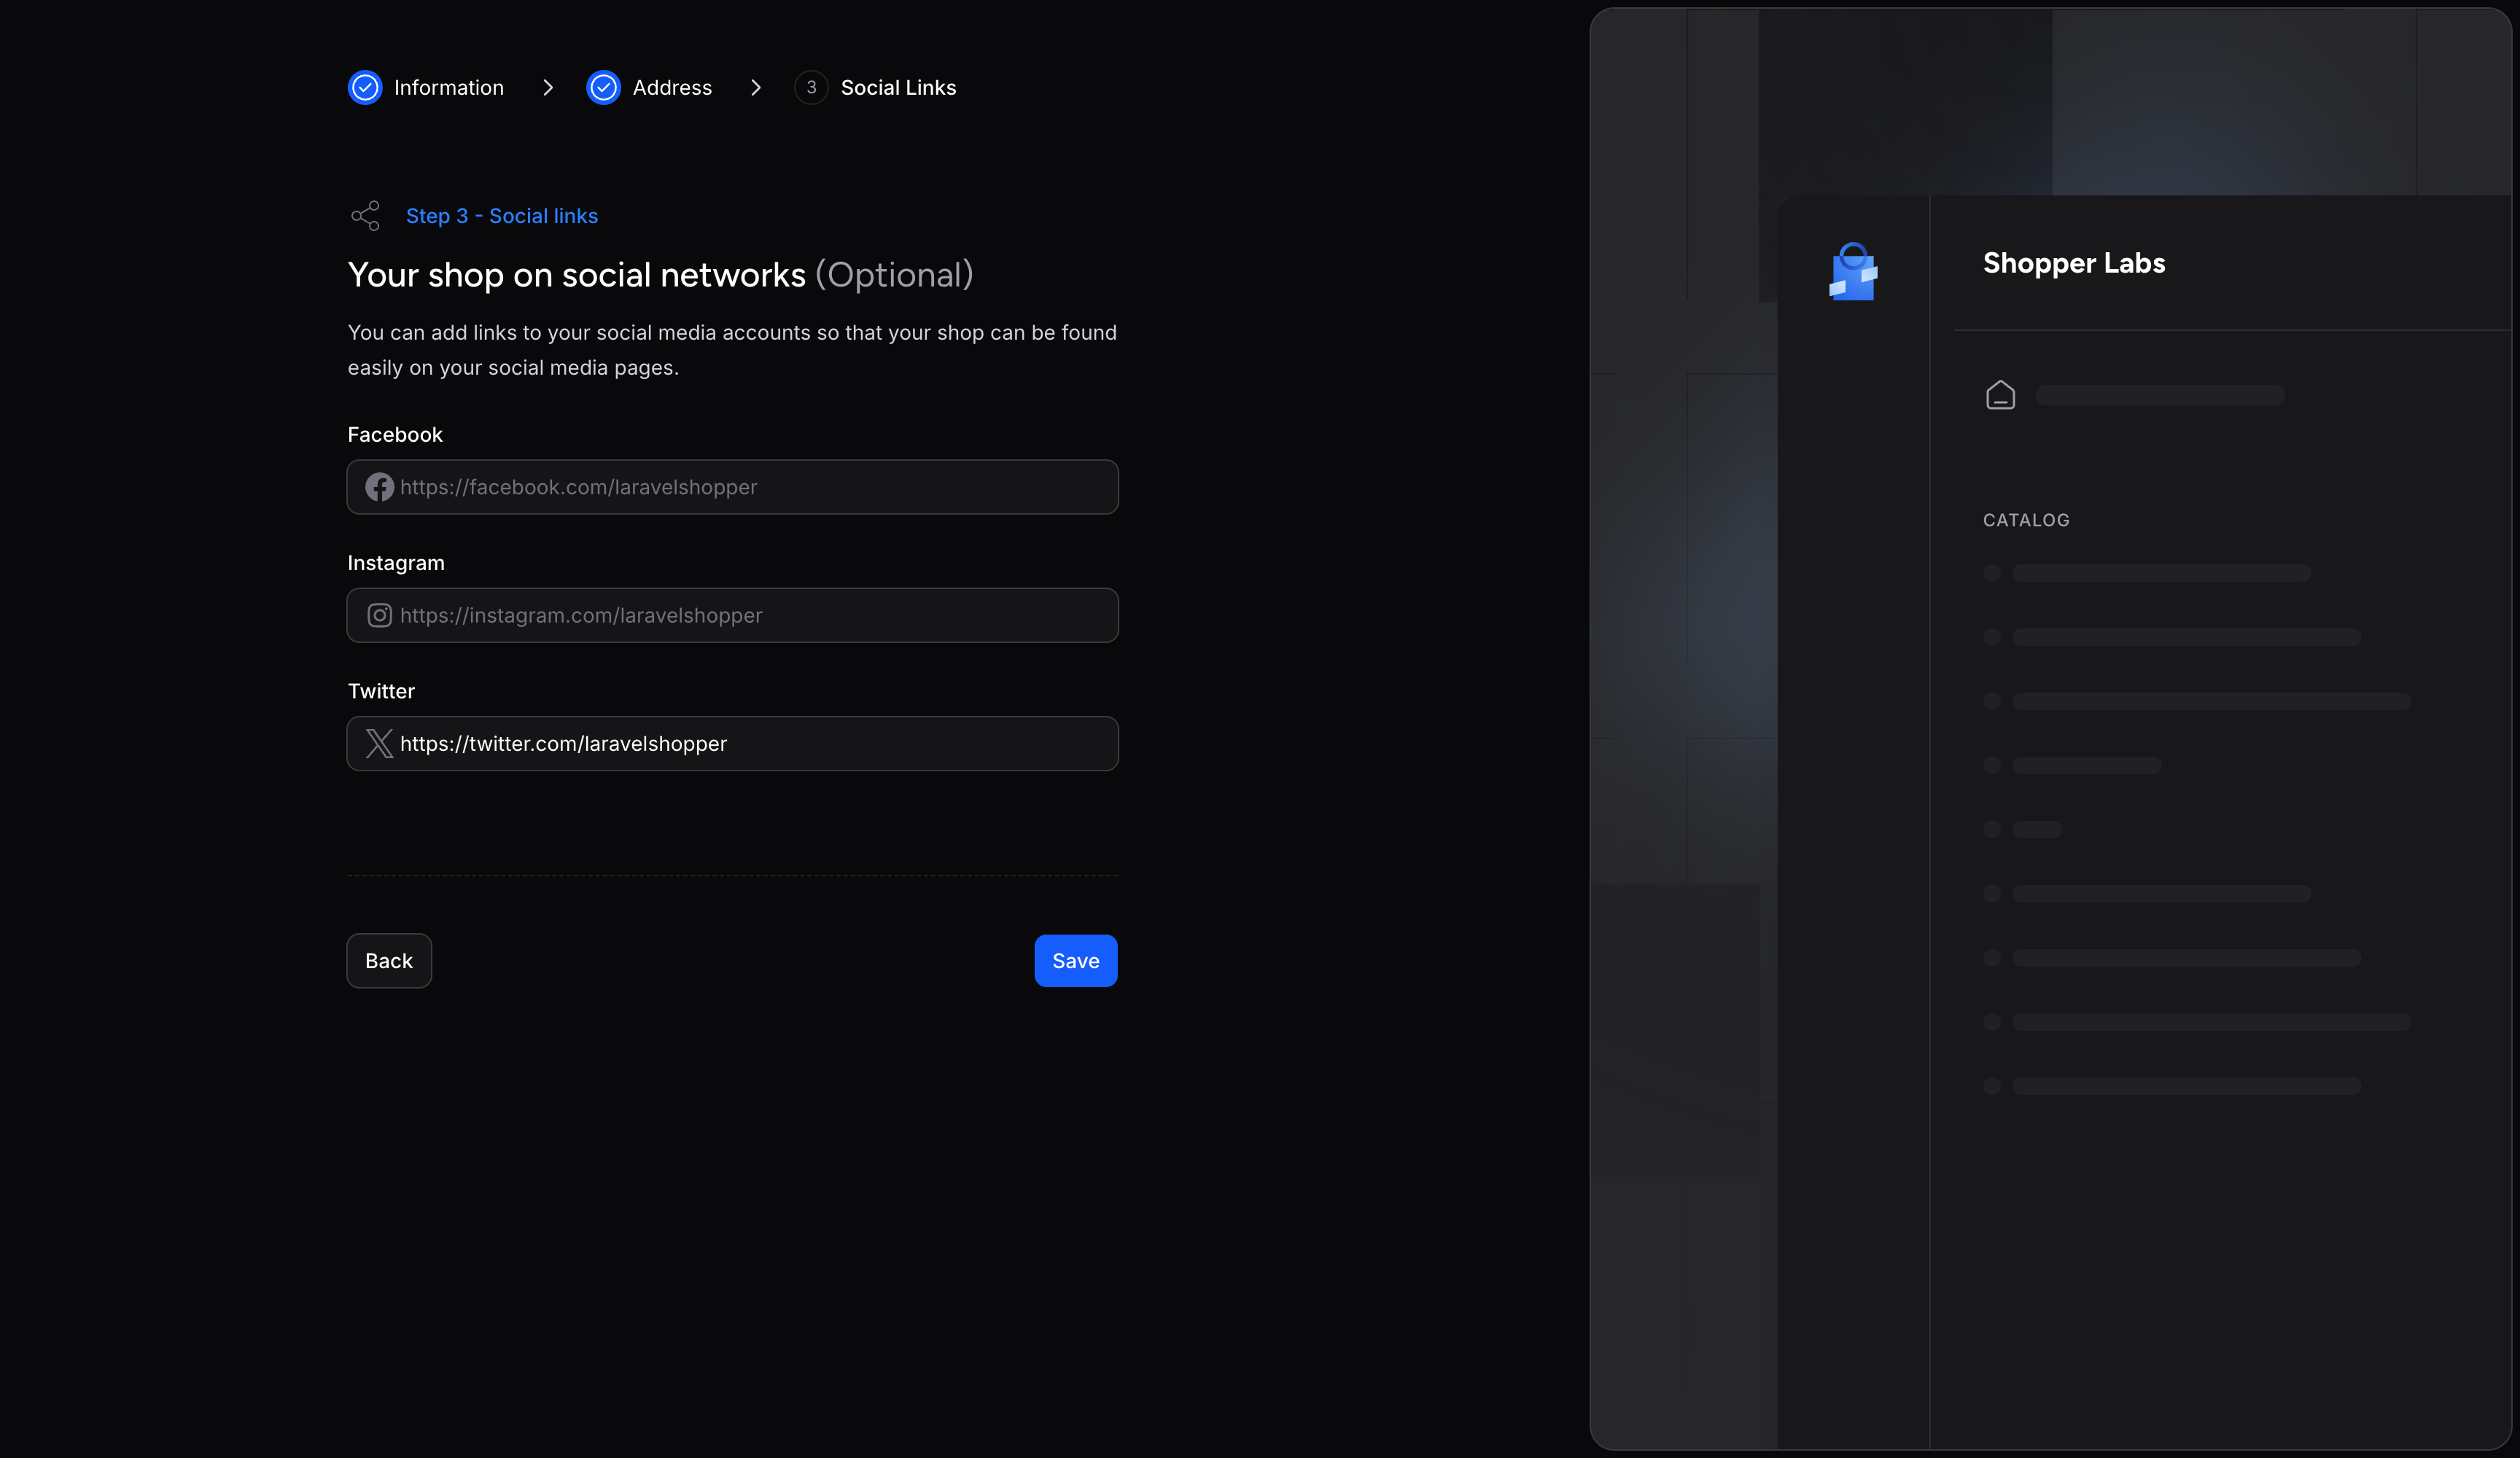
The keys registered in the database during this section: facebook_link, instagram_link and twitter_link.
The setup wizard (Shopper\Livewire\Pages\Initialization and its Shopper\Livewire\Components\Initialization\InitializationWizard form) is registered by Shopper itself and has no entry in the component configuration files, so you cannot replace it. It is a mandatory step before accessing the dashboard, see Access Requirements.
Channel
In today's E-commerce the shop site is no longer the only point of sale. Channels represent a single sales channel, which can be one of the following things:
- Website
- Mobile application
- Cashier in your physical store
- Facebook shop,
- Instagram shop,
- etc
or pretty much anything similar you can imagine. When you accept the database step of php artisan shopper:install, the ChannelSeeder creates a default sales channel. The setup wizard does not create or change it, and the channel does not take your store address. The seeder runs the equivalent of:
use Shopper\Core\Models\Channel;

Channel::query()->create([
    'name' => 'Web Store',
    'slug' => 'web-store',
    'url' => config('app.url'),
    'is_default' => true,
    'is_enabled' => true,
]);
The Add product form of the admin preselects this channel in its Sales channels field, and you can remove it there. A product you create in code has no channel until you attach one, see Assigning Products to Channels. The 2.x admin has no page to manage channels: create other channels in code, as shown in Creating Channels.
Update setting
You can update your store information when needed, edit your store images, update the complete address, the legal name of your shop, etc. To edit your shop information:
- In the admin, click Settings at the bottom of the sidebar, then General (
/cpanel/setting/general). Both require theaccess_settingpermission.
Besides the wizard keys, this page saves legal_name (required), about (the store description, from a rich text editor), and logo and cover (the paths of the uploaded images on the shopper.media.storage.disk_name disk).
The component used to update store setting of the store is found in the component configuration file config/shopper/components/setting.php if published (run php artisan shopper:component:publish setting).
It's the Shopper\Livewire\Pages\Settings\General component under the key pages.general.
use Shopper\Livewire\Components;
use Shopper\Livewire\Pages;

return [
    'pages' => [
        'setting-index' => Pages\Settings\Index::class,
        'general' => Pages\Settings\General::class,
        'location-index' => Pages\Settings\Locations\Index::class,
        // ...
    ],

    'components' => [
        // ...
    ],
];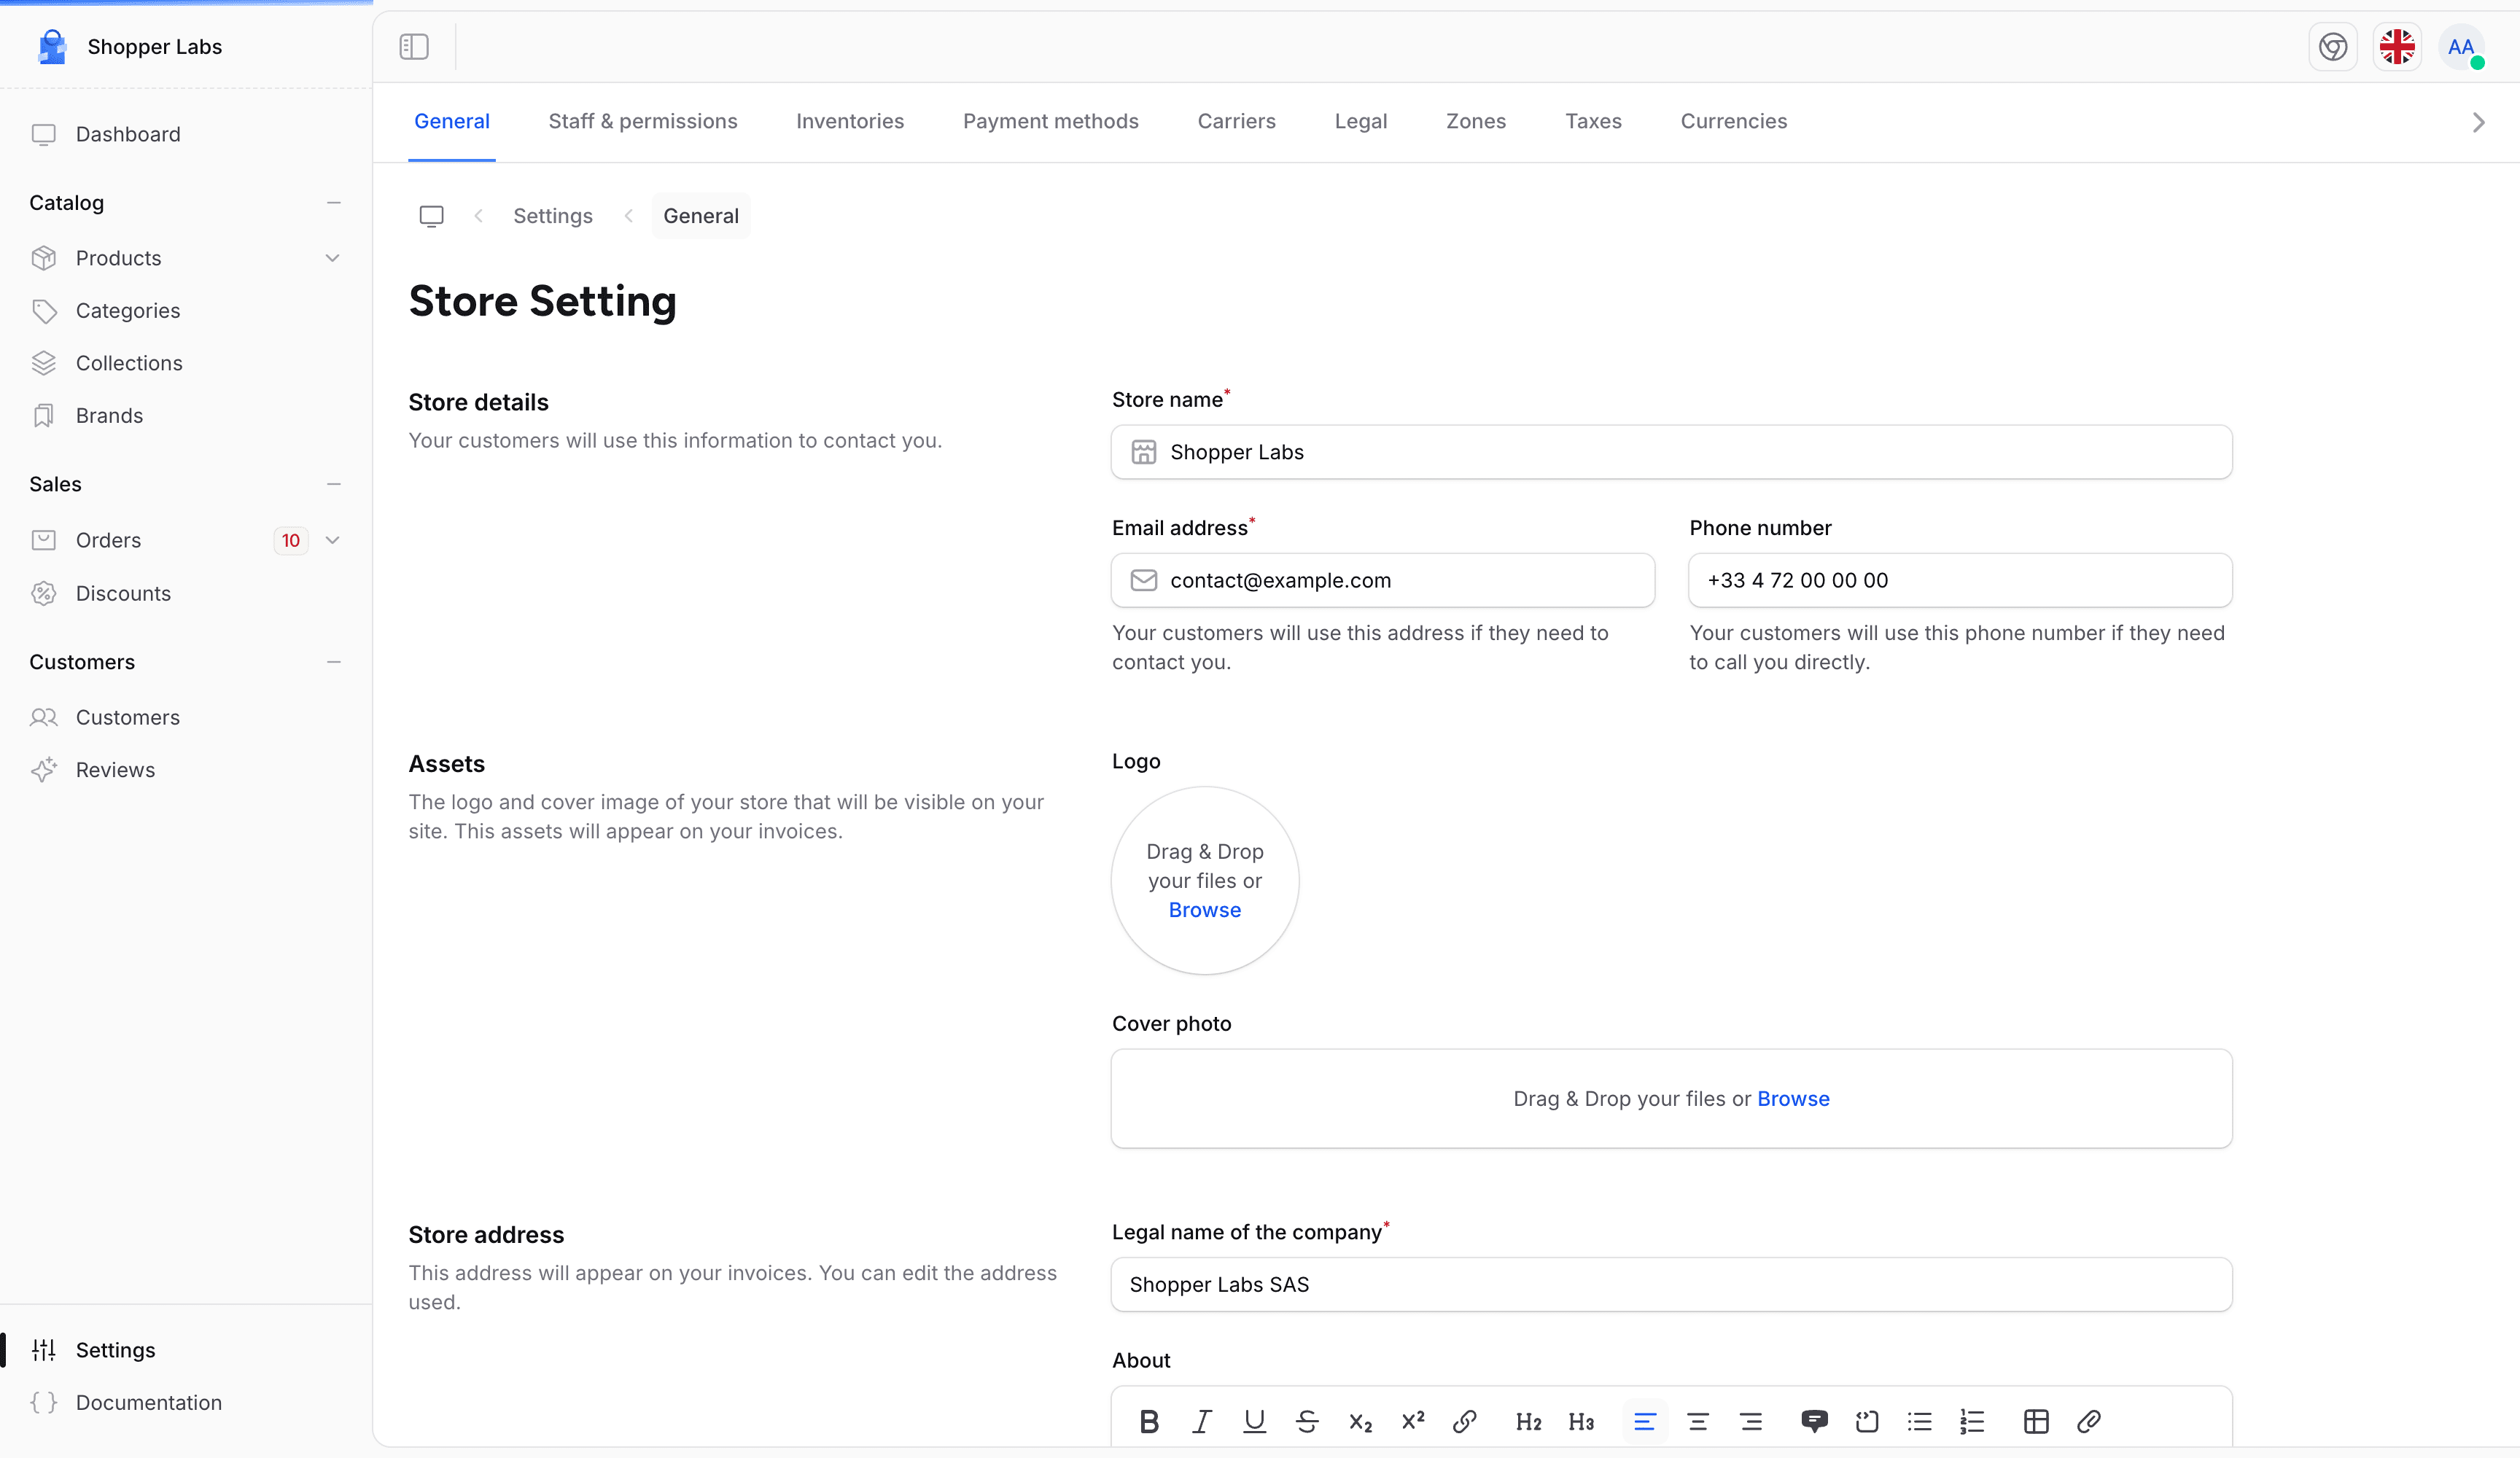
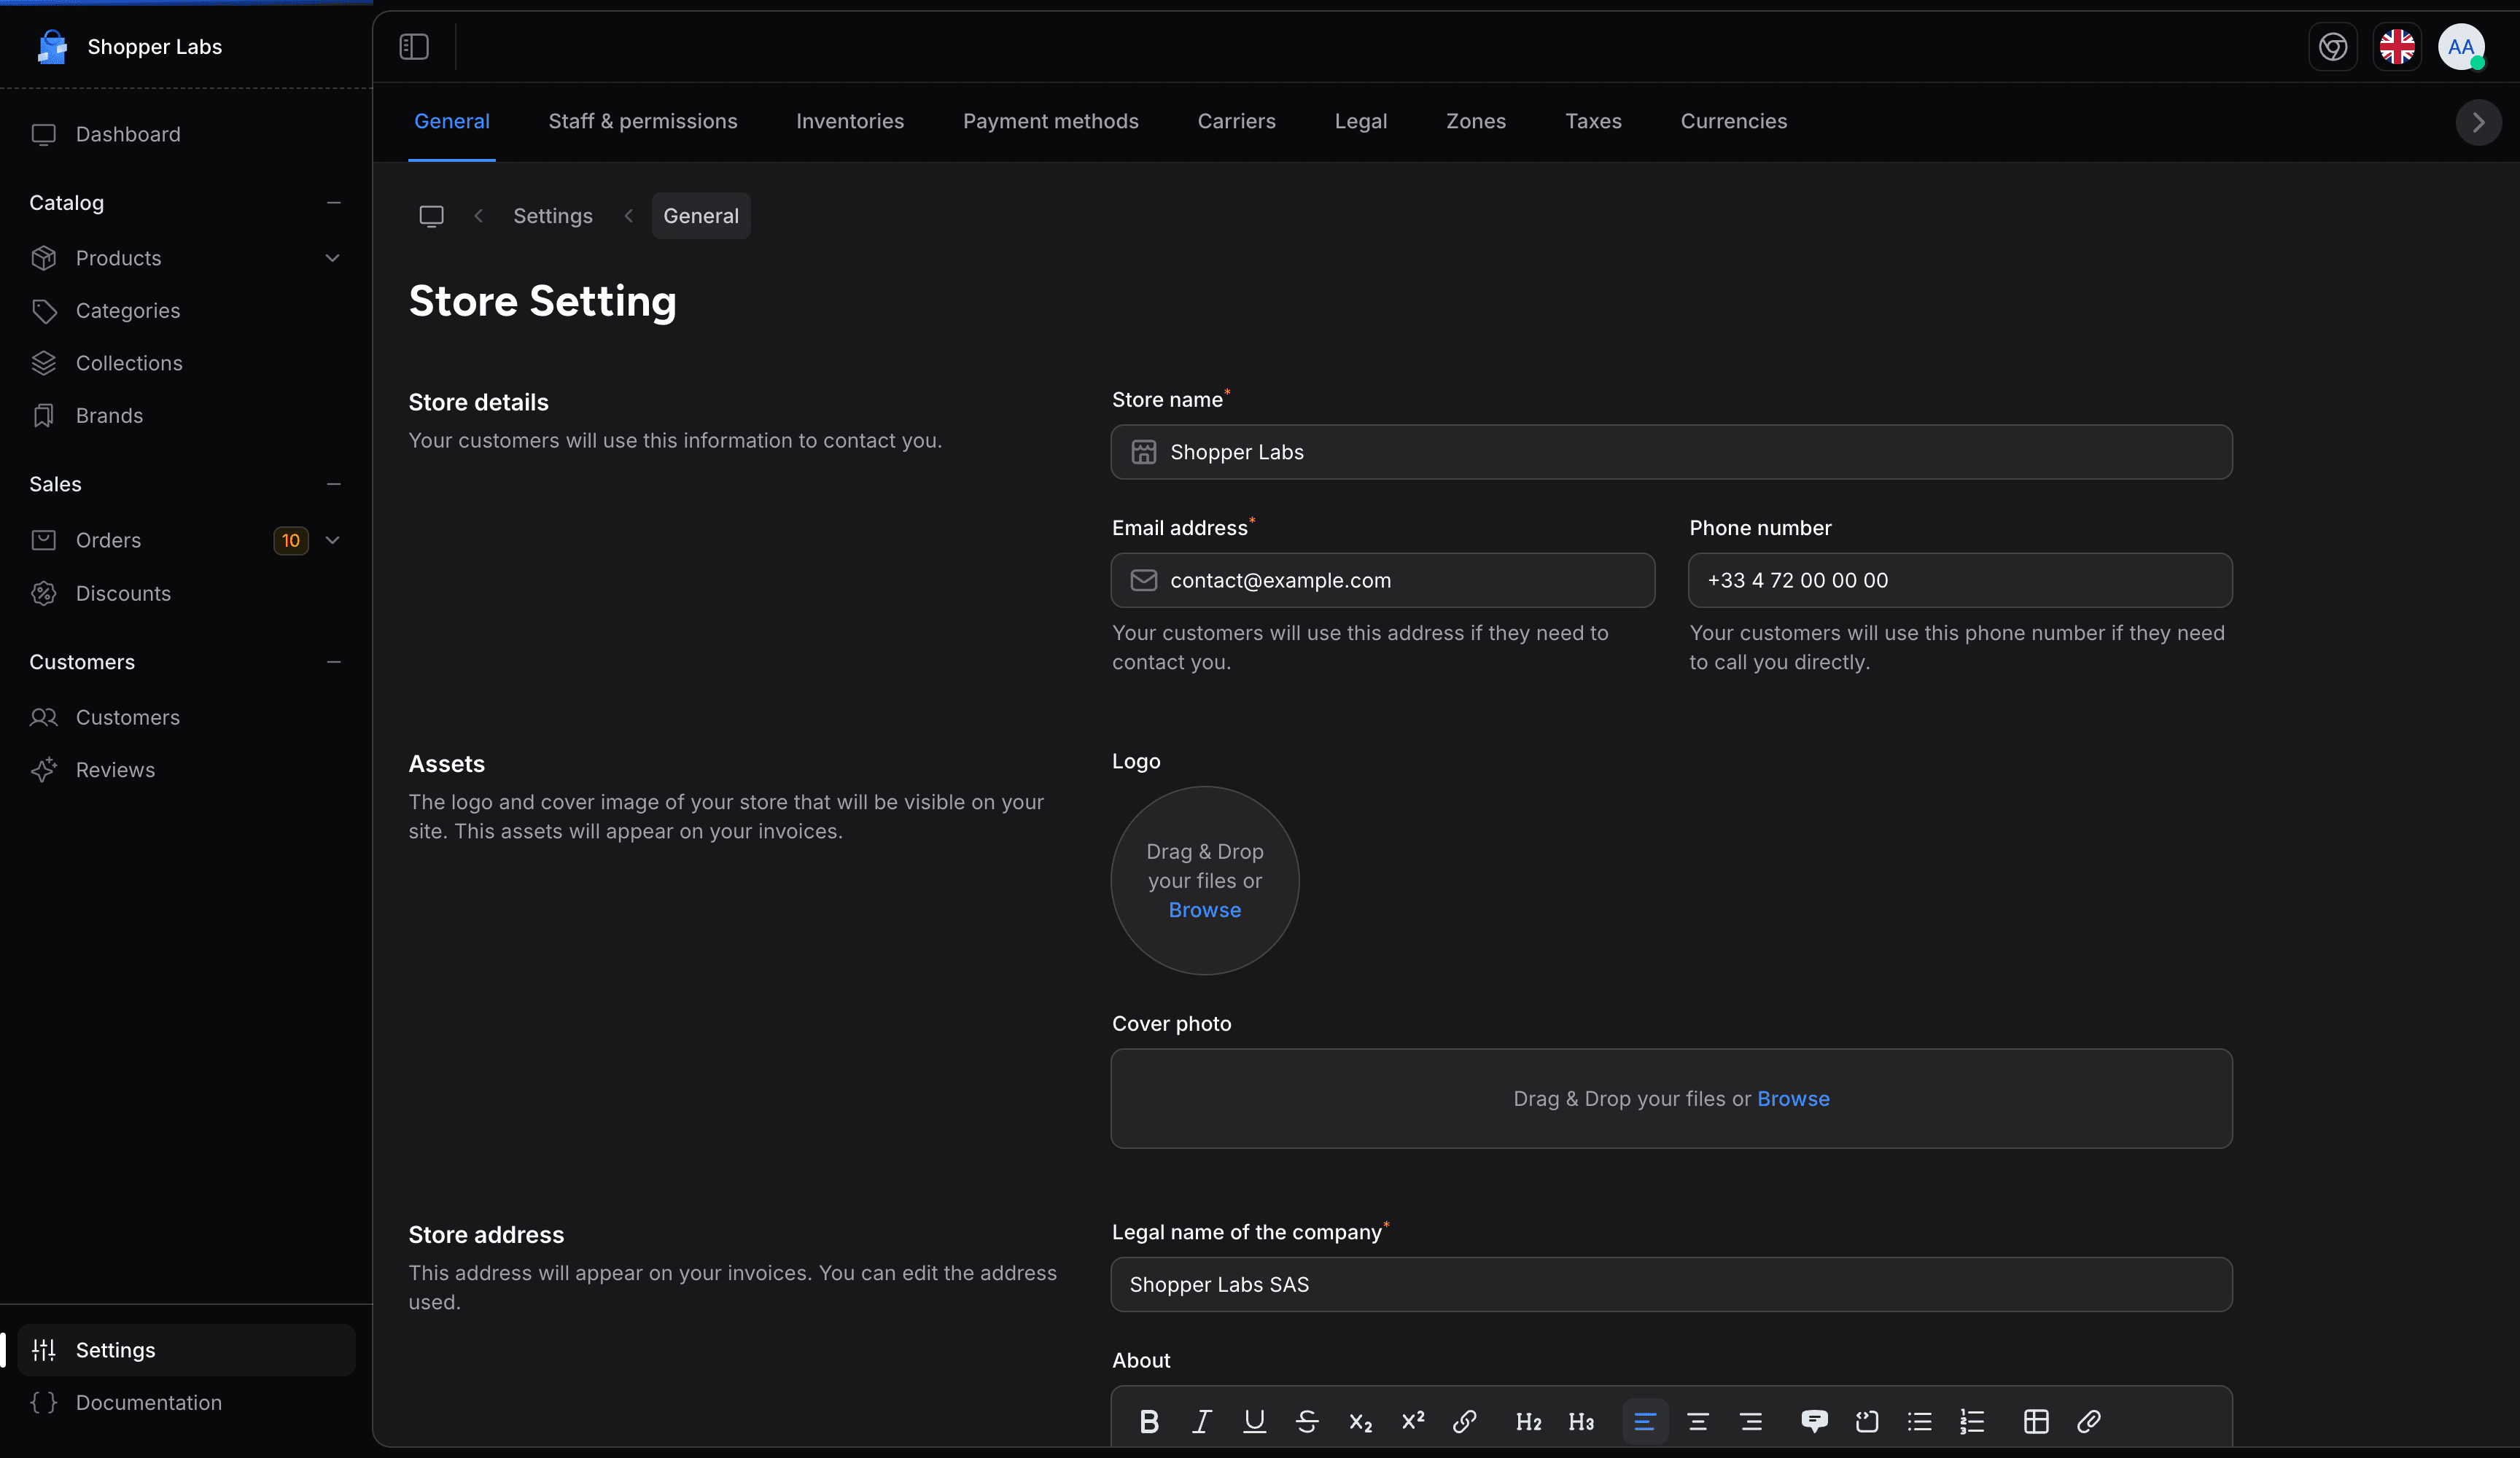
In this interface you will update your store. Don't forget that the model used is the model Shopper\Core\Models\Setting.
Point pages.general to your own Livewire component to change this view and the keys it stores in the database. To save settings the way Shopper does, use the Shopper\Traits\SaveSettings trait in your component: its saveSettings() method writes the keys and clears their cache.
Last updated on
Edit on GitHub