
Installation
Install Shopper 3 in a Laravel 12 or 13 application, create the first admin user, and run the scheduler and queue worker it relies on.
Shopper installs into an existing Laravel 12 or 13 application. If you do not have one yet, create a project first by following the Laravel installation guide. Check the requirements before you start: Composer refuses to install Shopper while a PHP extension is missing.
Install the Package
Install shopper/framework with Composer:
composer require shopper/framework:"^3.0"The package pulls in shopper/core, shopper/cart, shopper/payment, shopper/shipping and shopper/sidebar, along with Filament and Livewire.
If you have a cached config from a previous setup, run php artisan config:clear before installing.
Prepare Your User Model
The admin panel signs users in with your application's User model. Add the InteractsWithShopper trait, implement the ShopperUser interface and replace the fillable columns with the ones Shopper writes:
use Illuminate\Database\Eloquent\Attributes\Fillable;
use Illuminate\Database\Eloquent\Attributes\Hidden;
use Illuminate\Foundation\Auth\User as Authenticatable;
use Illuminate\Notifications\Notifiable;
use Shopper\Models\Contracts\ShopperUser;
use Shopper\Traits\InteractsWithShopper;

#[Fillable([
    'first_name',
    'last_name',
    'email',
    'password',
    'phone_number',
    'gender',
    'birth_date',
    'opt_in',
    'email_verified_at',
    'avatar_type',
    'avatar_location',
    'last_login_at',
    'last_login_ip',
    'store_two_factor_secret',
    'store_two_factor_recovery_codes',
])]
#[Hidden([
    'password',
    'remember_token',
    'store_two_factor_secret',
    'store_two_factor_recovery_codes',
])]
class User extends Authenticatable implements ShopperUser
{
    use InteractsWithShopper;
    use Notifiable;
}
The trait gives the model roles and permissions, orders, addresses, discounts, a profile photo and a public ID, and makes users searchable with Laravel Scout. Scout's default collection driver searches the database, so it needs no setup.
Shopper creates and updates users with mass assignment, so the fillable list replaces Laravel's default name, email and password: a Shopper migration renames the name column to last_name and adds first_name. The Customers page explains each column. Notifiable sends the welcome and password reset emails. The two extra hidden attributes hold the two-factor authentication secret and recovery codes, which must never appear in a JSON response. A model created before Laravel 13 lists these columns in the $fillable and $hidden properties instead.
Two-factor authentication and passkeys need more contracts and traits on the model, described on the Two-Factor Authentication page.
Run the Installer
The install command publishes the configuration files, links the storage and the panel assets, and offers to run the migrations and seeders:
php artisan shopper:installThe installer performs these steps:
- Publishes the Shopper config files to
config/shopper/ - Publishes the Spatie Media Library migrations
- Publishes the Filament assets
- Runs
php artisan shopper:link: linkspublic/storageto thepublicdisk, where product, category and brand images are stored, andpublic/vendor/shopperto the panel assets - Asks whether to run the migrations and seed the database with roles, permissions and default data
If config/shopper/admin.php already exists, the installer stops and prints the commands to publish the configuration, run the migrations and create the links by hand. It leaves the seeders out so that they never run twice on the same database. If the database has never been seeded, run them after the migrations. The first one creates the countries, currencies, legal pages, sales channel, carriers and payment methods, the second the roles and permissions:
php artisan db:seed --class="Shopper\Core\Database\Seeders\ShopperSeeder"
php artisan db:seed --class="Shopper\Database\Seeders\AuthTableSeeder"
The migrations change your users table: the name column is renamed to last_name (or created when the table has none), password becomes nullable, and columns such as first_name, gender, phone_number, birth_date, timezone and last_login_at are added. Update any code, factory or form of your application that reads or writes name before you migrate.
All Shopper tables are prefixed with sh_ by default so that they never collide with your own tables. To use another prefix, answer no when the installer asks to run the migrations, then follow the steps on the Configuration page.
Create an Admin User
Create your first admin user to sign in to the admin panel:
php artisan shopper:userThe command asks for an email, a first name, a last name and a password (at least 6 characters). The user gets the administrator role, which exists only once the seeders have run. If you skipped them in the installer, the command stops before asking anything and prints the seeder to run: run the seeders, then the command again.
Access the Admin Panel
If you use Laravel Herd or Laravel Valet, open the login page of your application:
http://your-project.test/cpanel/loginWith php artisan serve, the admin panel is at http://localhost:8000/cpanel/login. The /cpanel prefix can be changed, see the Configuration page.
On the first login, a setup wizard asks for the store details in three steps:
- Information: the store name and email, its country, the currencies it sells in and the default currency.
- Address: the street address, postal code, state, city and phone number of the store.
- Social Links: the store's social media pages. This step is optional.
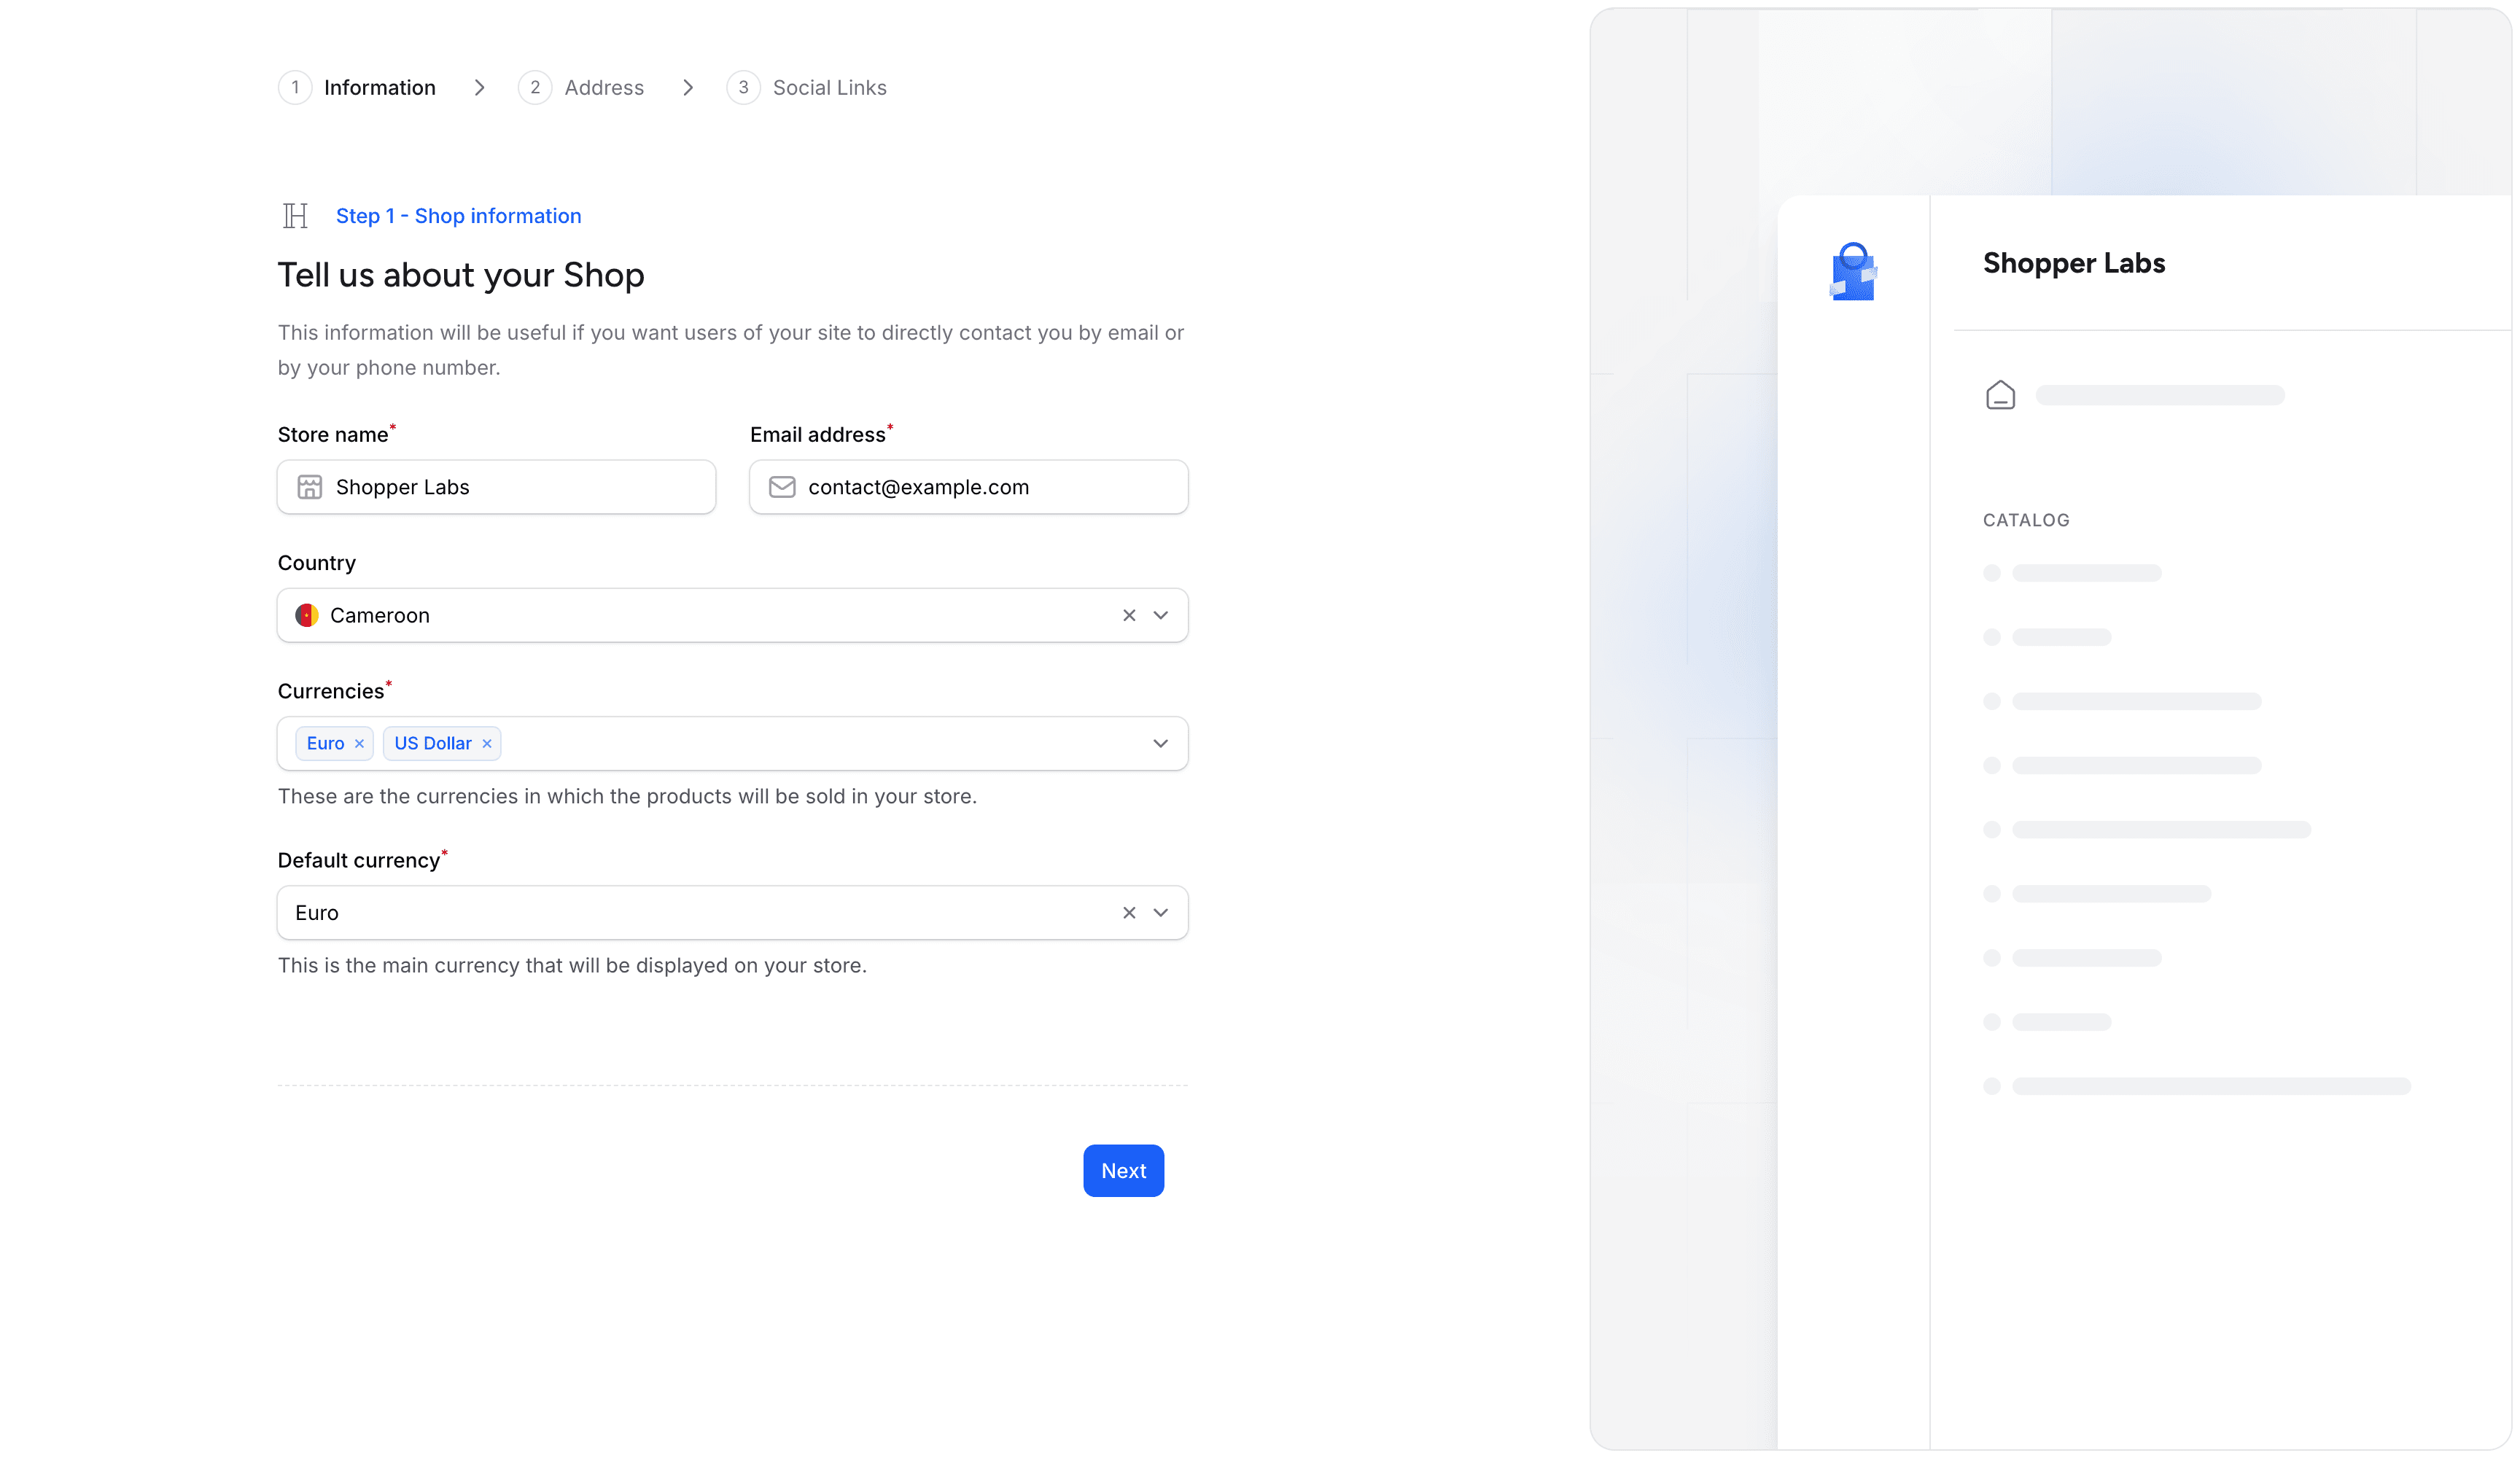
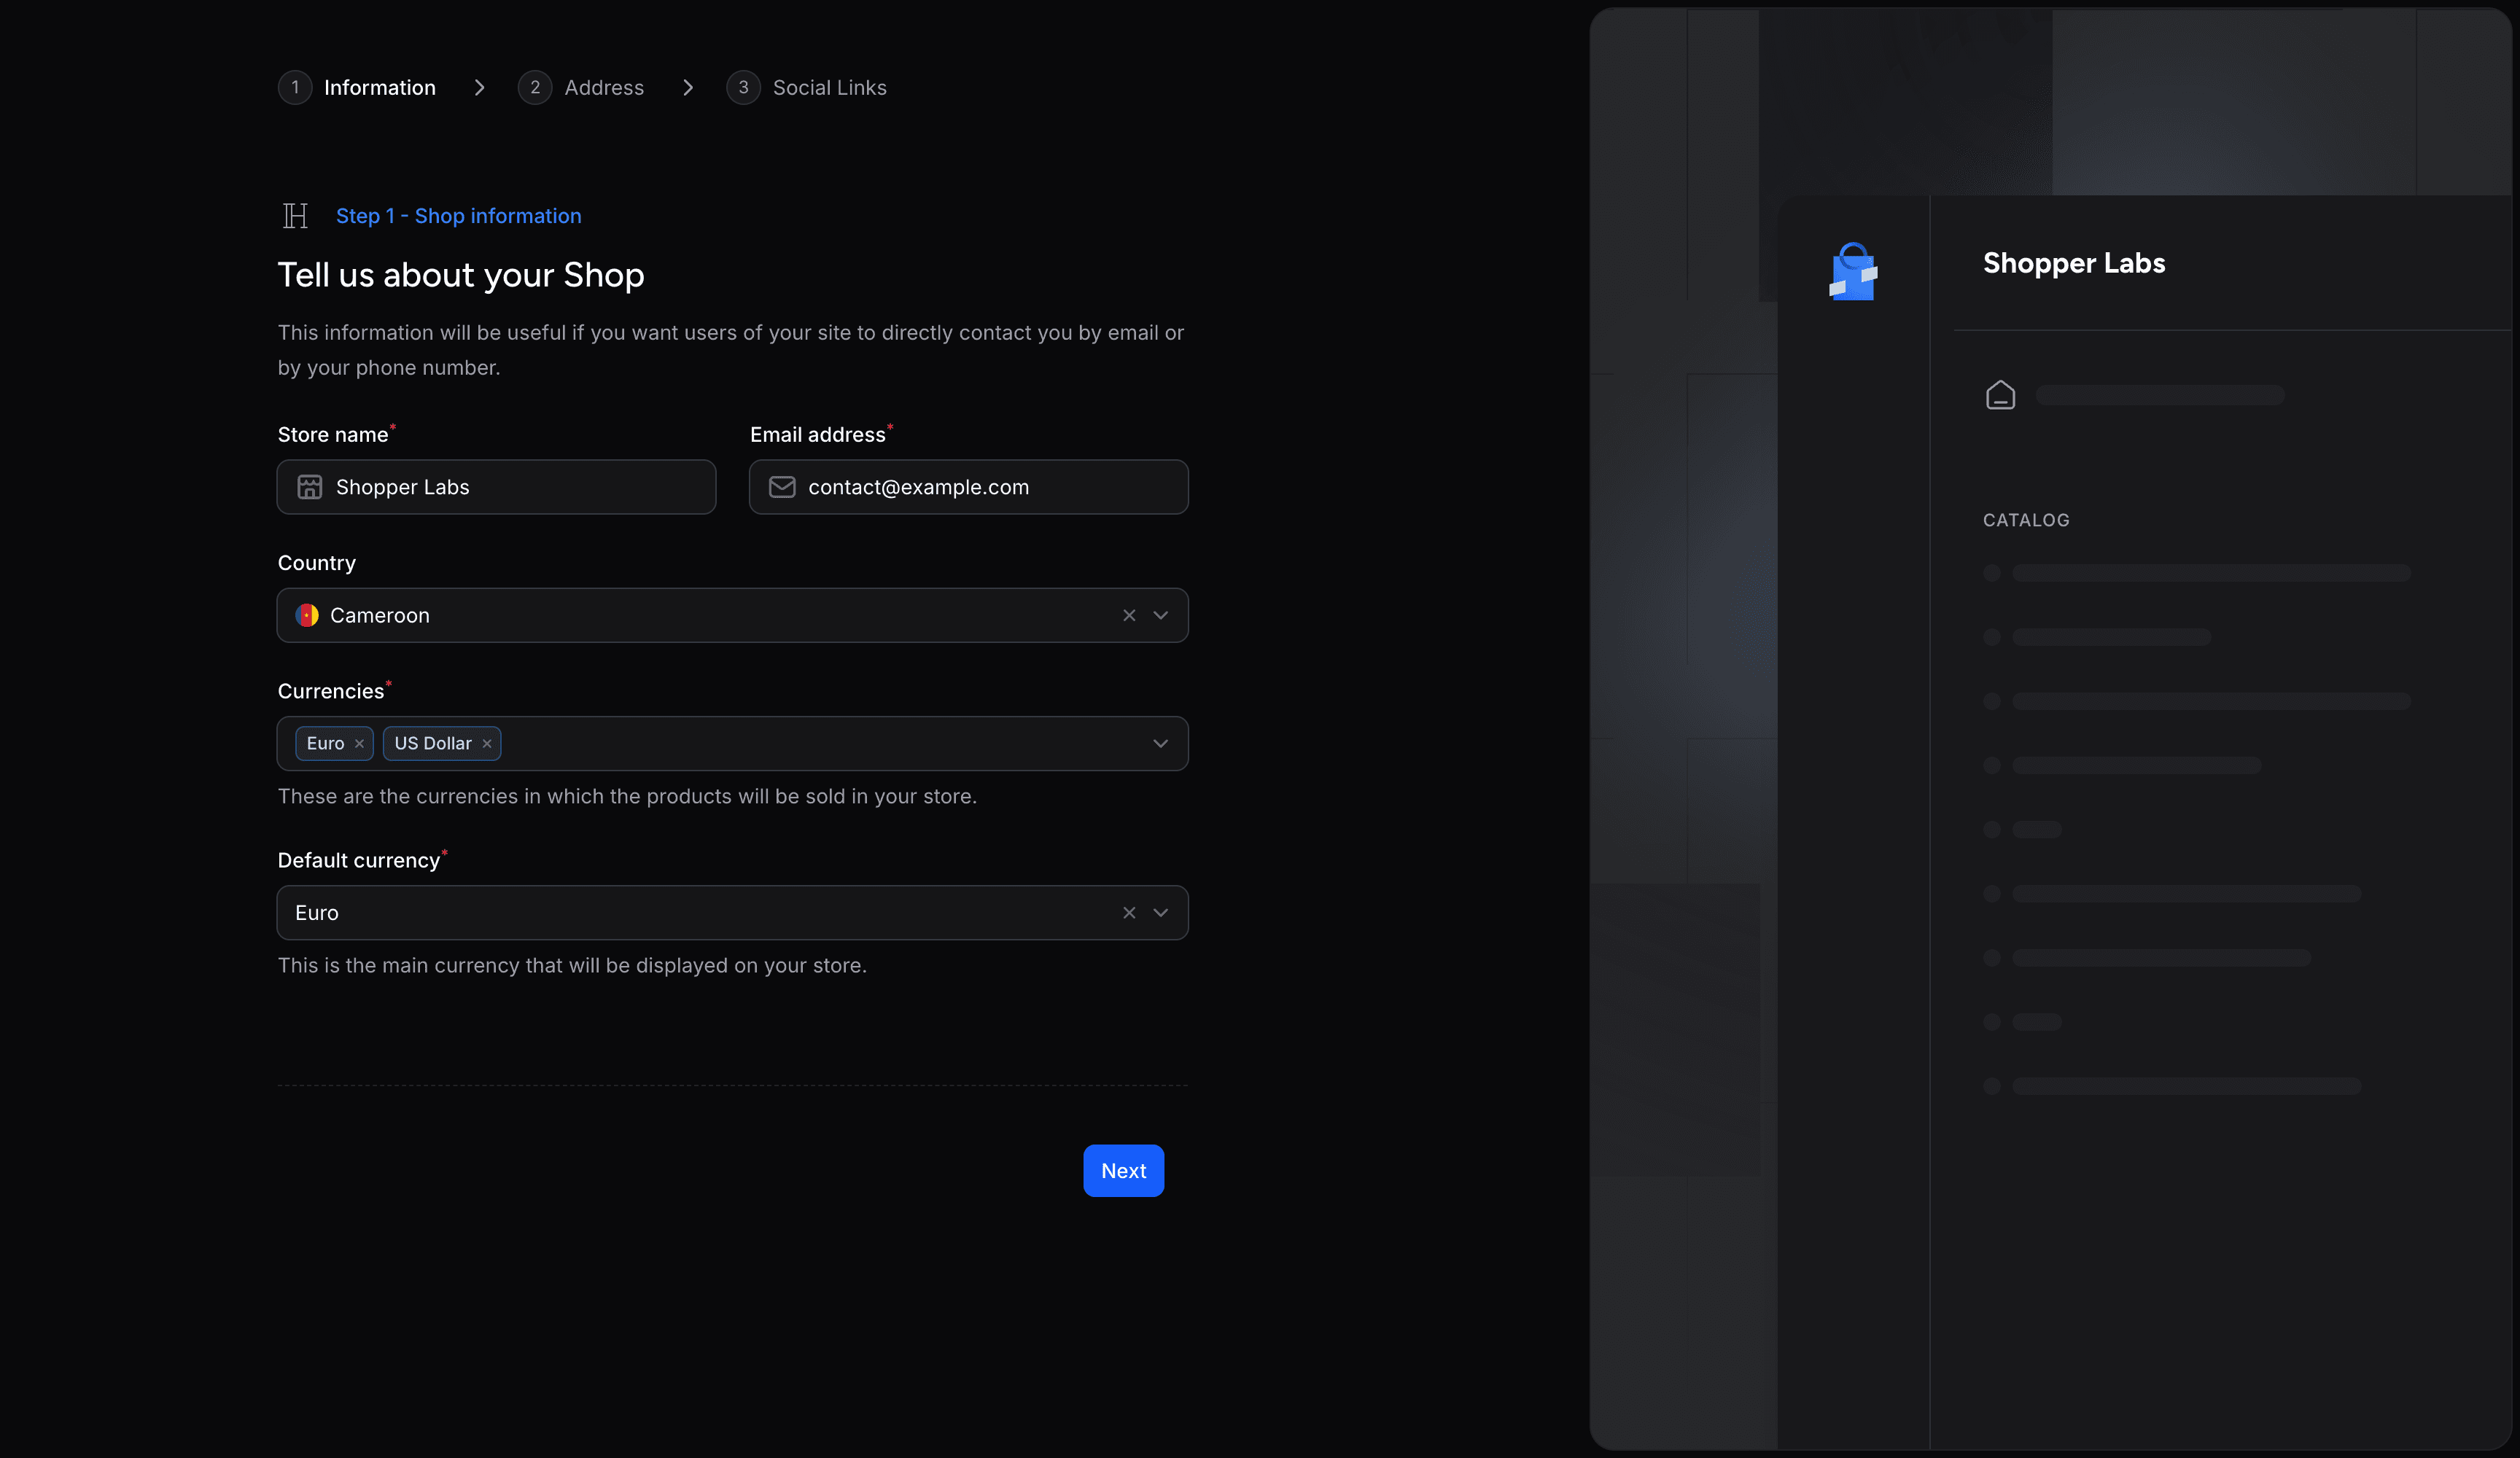
The admin panel opens once the wizard is saved. Until the store has an email and a street address, every admin page sends you back to the wizard, as described in Access Requirements.
Run the Scheduler and a Queue Worker
Shopper registers its own scheduled tasks and sends part of its work to the queue. Without the scheduler, unpaid orders keep their reserved stock and abandoned carts are never deleted. Without a queue worker, order notifications and webhooks are never sent.
Scheduler
Your application only has to run Laravel's scheduler. In production, add the cron entry given in the Laravel documentation:
* * * * * cd /path-to-your-project && php artisan schedule:run >> /dev/null 2>&1In development, run php artisan schedule:work in a terminal instead. The scheduler then runs these tasks:
| Task | Frequency | What it does |
|---|---|---|
shopper:orders:reclaim | Hourly | Cancels the pending orders still unpaid after 24 hours and releases their reserved stock. Orders with an offline payment method are never cancelled. Change the delay with reclaim_pending_after_hours in config/shopper/orders.php, or set it to null to turn the task off |
shopper:webhooks:redispatch | Every 15 minutes | Requeues the webhook deliveries that never reached the queue or were lost by a worker that stopped |
model:prune | Daily | Deletes successful webhook deliveries after 7 days and the other deliveries after 90 days, then the webhook events older than 90 days that have no delivery left |
shopper:prune-carts | Daily | Deletes the carts abandoned for more than 30 days, set by prune_after_days in config/shopper/cart.php |
shopper:payments:reconcile --pull | Every 15 minutes | Applies the payment provider events that arrived before their order existed, queues a check of pending payments with the provider, and settles the refunds still pending with the drivers that can look them up. Set PAYMENT_RECONCILE_SCHEDULE=false to turn it off |
model:prune | Daily | Deletes the payment provider events older than 90 days, except the authorizations and captures never applied to an order nor marked orphaned |
shopper:shipments:sync-tracking | Every 30 minutes | Queues a tracking refresh for every shipment with a tracking number that is neither delivered nor returned, when its carrier supports tracking and sends no tracking webhooks. Set SHIPPING_TRACKING_SYNC=false to turn it off |
Queue Worker
Shopper queues the work that should not slow down a request: order notifications, product imports, product image downloads, collection syncs, discount assignments, stock restores and webhook deliveries. Webhooks go to their own webhooks queue and the admin notifications to a notifications queue, so the worker listens to both as well as the default queue:
php artisan queue:work --queue=default,webhooks,notificationsChange the name of the webhook queue with SHOPPER_WEBHOOKS_QUEUE. In production, keep the worker running with Supervisor or Laravel Horizon, as the Laravel queue documentation explains.
Install the Store API
A storefront rendered by your Laravel application reads the Shopper models directly and does not need this step. For a storefront that runs elsewhere, such as Next.js, Nuxt or a mobile app, install the Store API:
composer require shopper/api:"^3.0"
php artisan shopper:api:install
The command publishes the Laravel Sanctum migrations and the Shopper configuration, offers to add Sanctum's HasApiTokens trait to your User model, and asks whether to run the migrations. When it finishes, it prints the next steps, from the X-Shopper-Zone header your storefront sends to the installation of the JavaScript SDK. The API is served under /store.
The package also adds a daily sanctum:prune-expired --hours=24 task to the scheduler, which deletes the customer tokens expired for more than 24 hours. The Store API guides cover the API in detail.
Next Steps
Last updated on
Edit on GitHub