
Dashboard
The widgets on the admin dashboard, the setup guide for new stores, who can see what, and how to change the page.
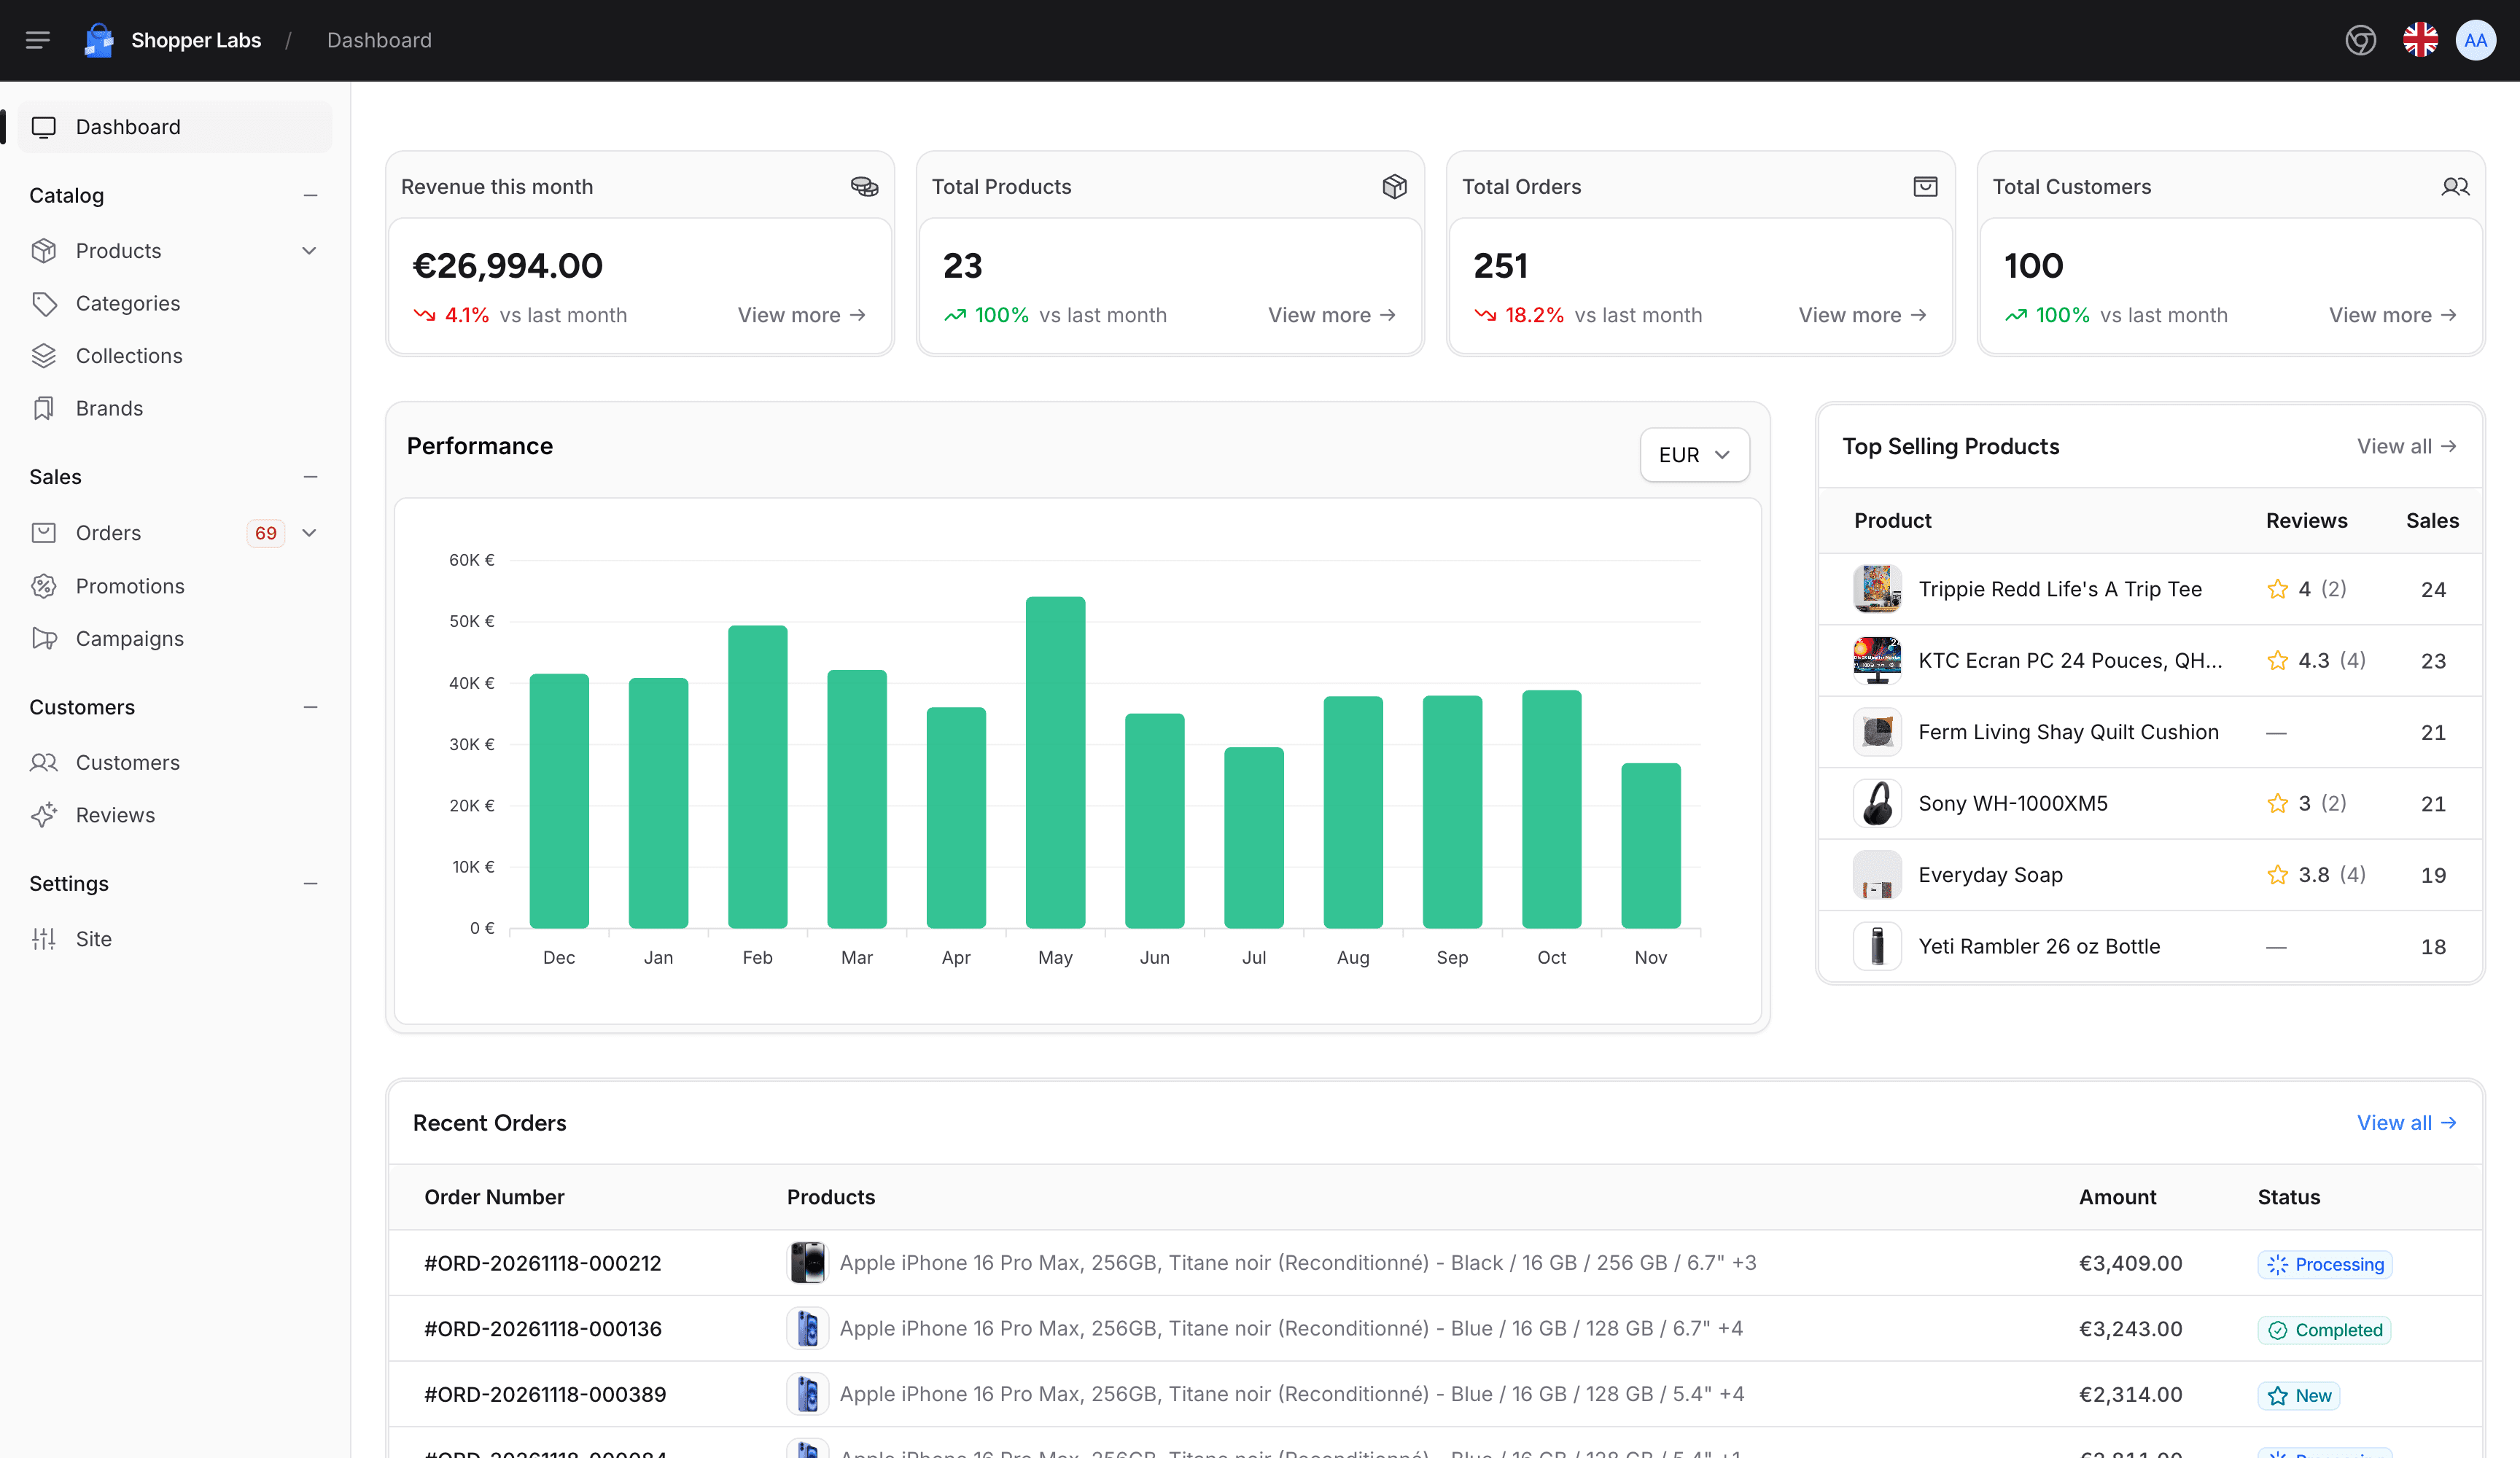
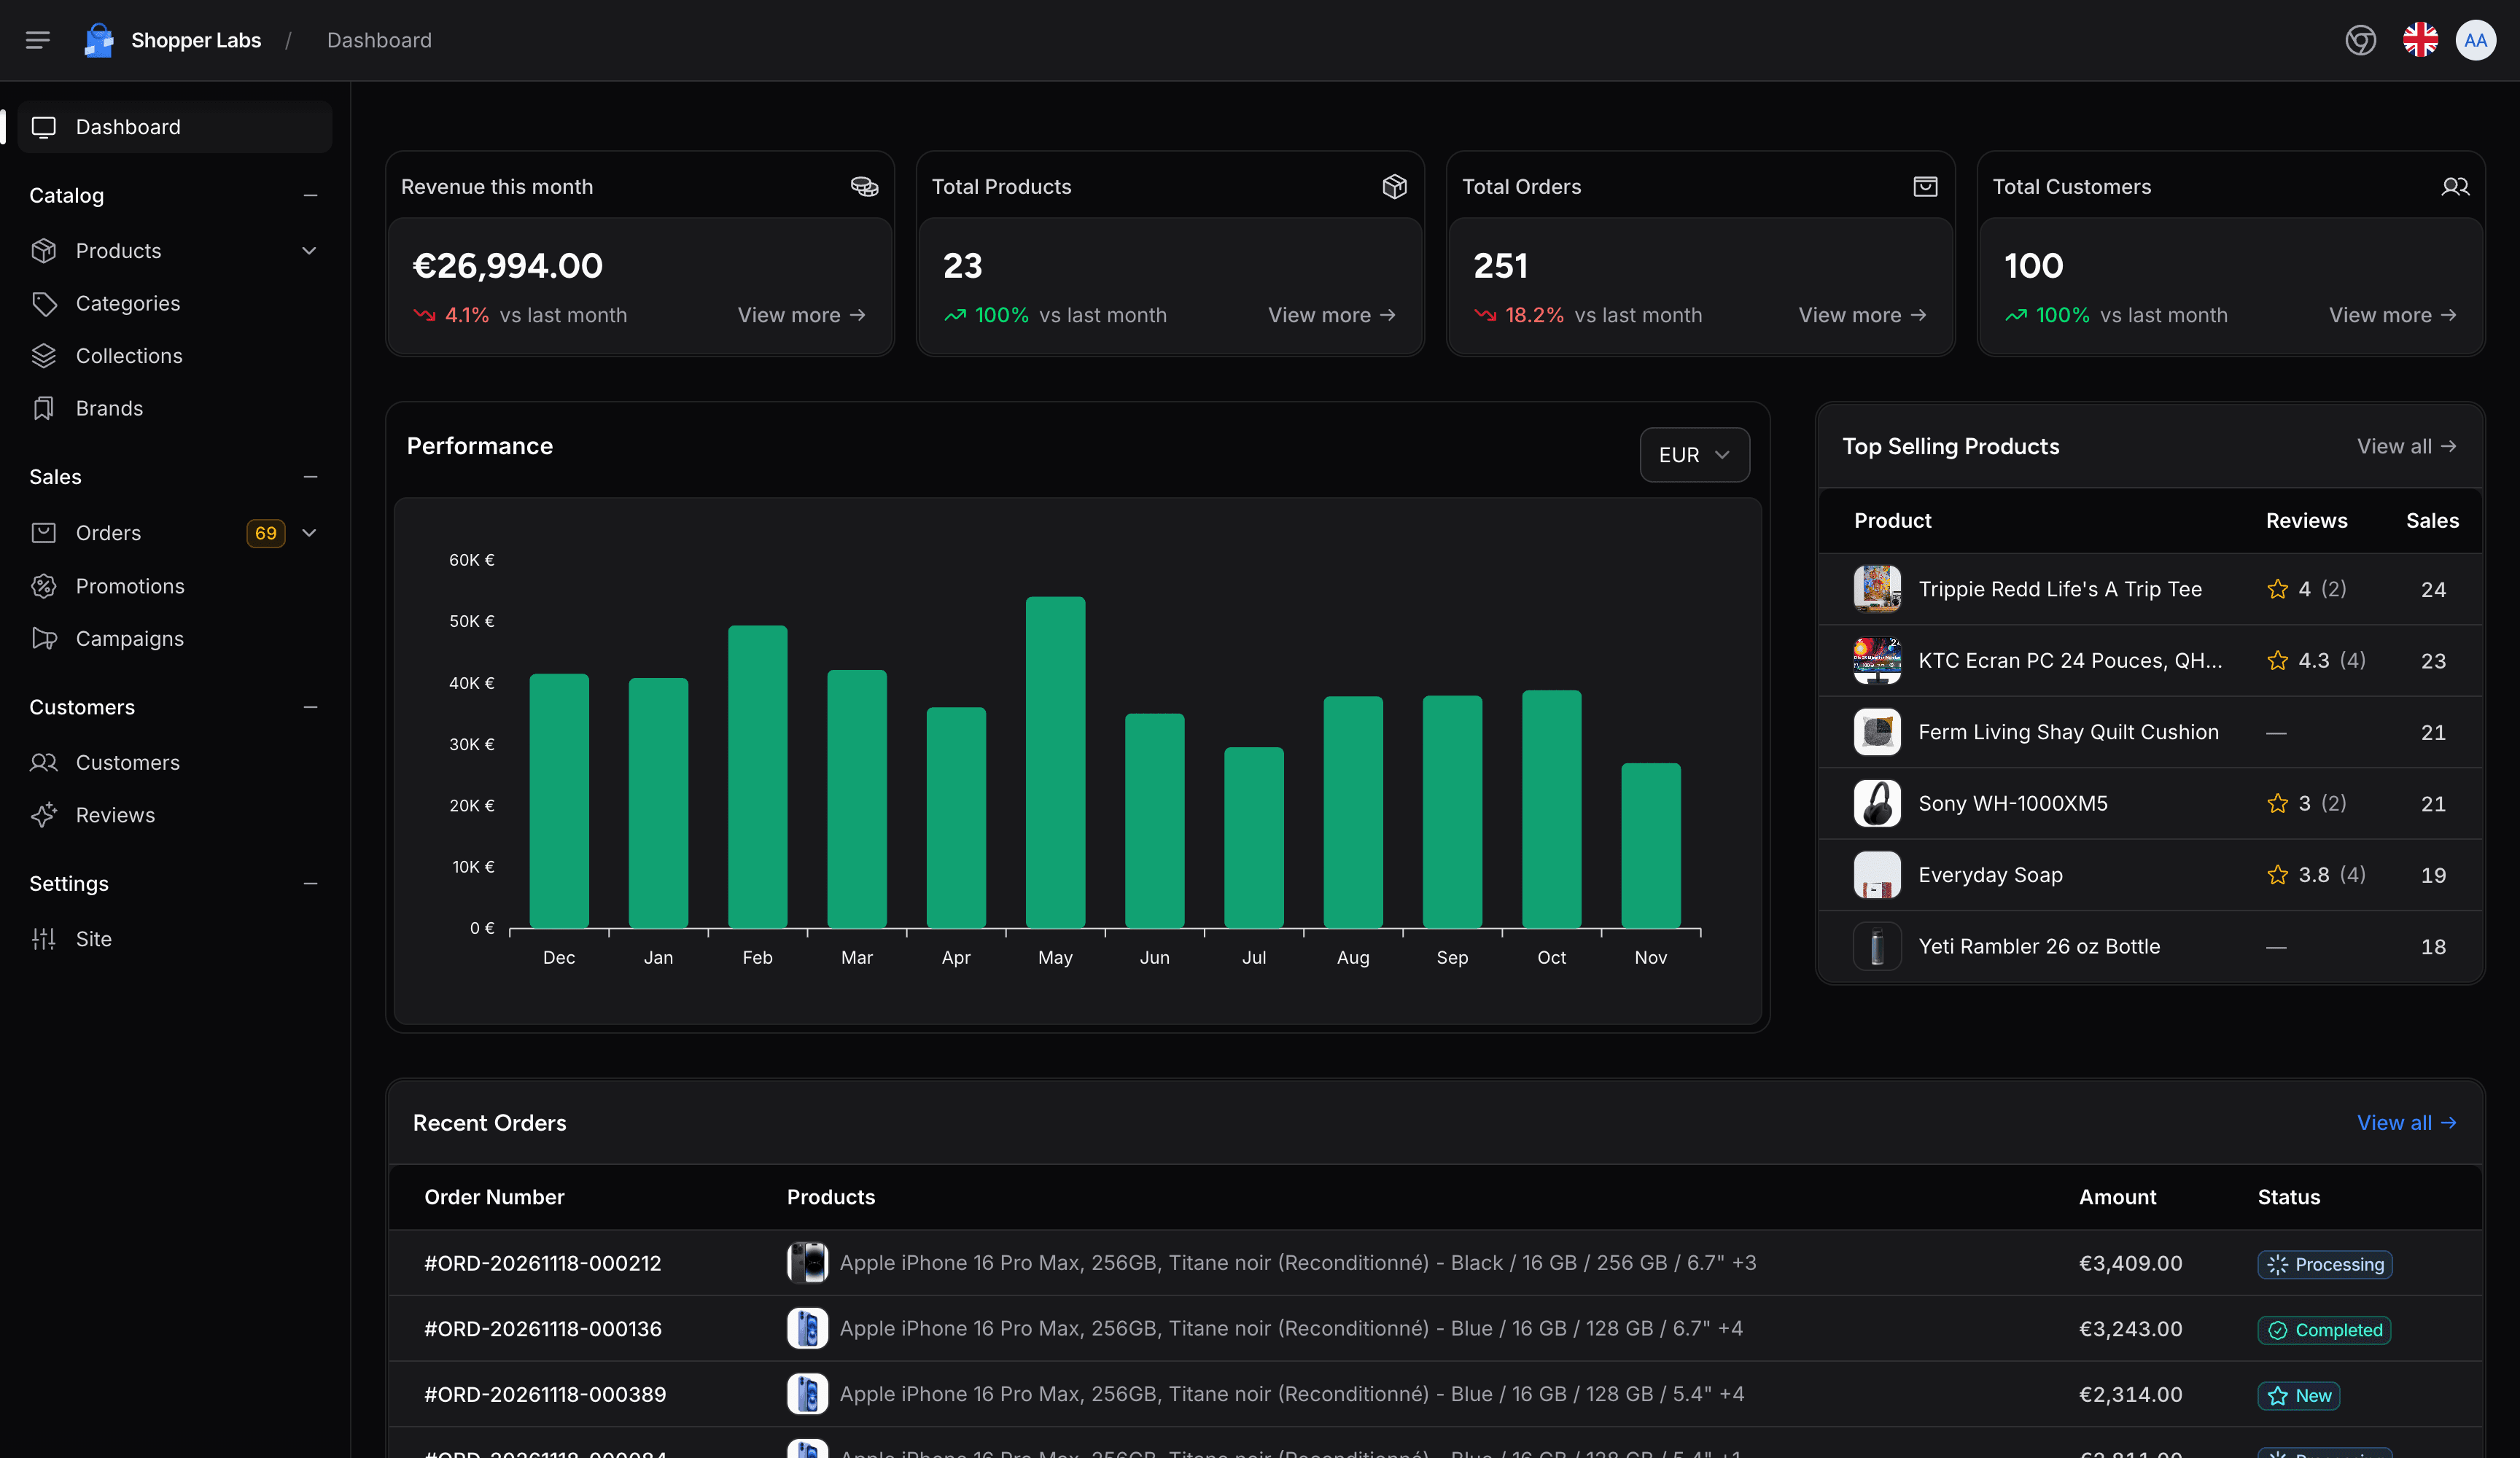
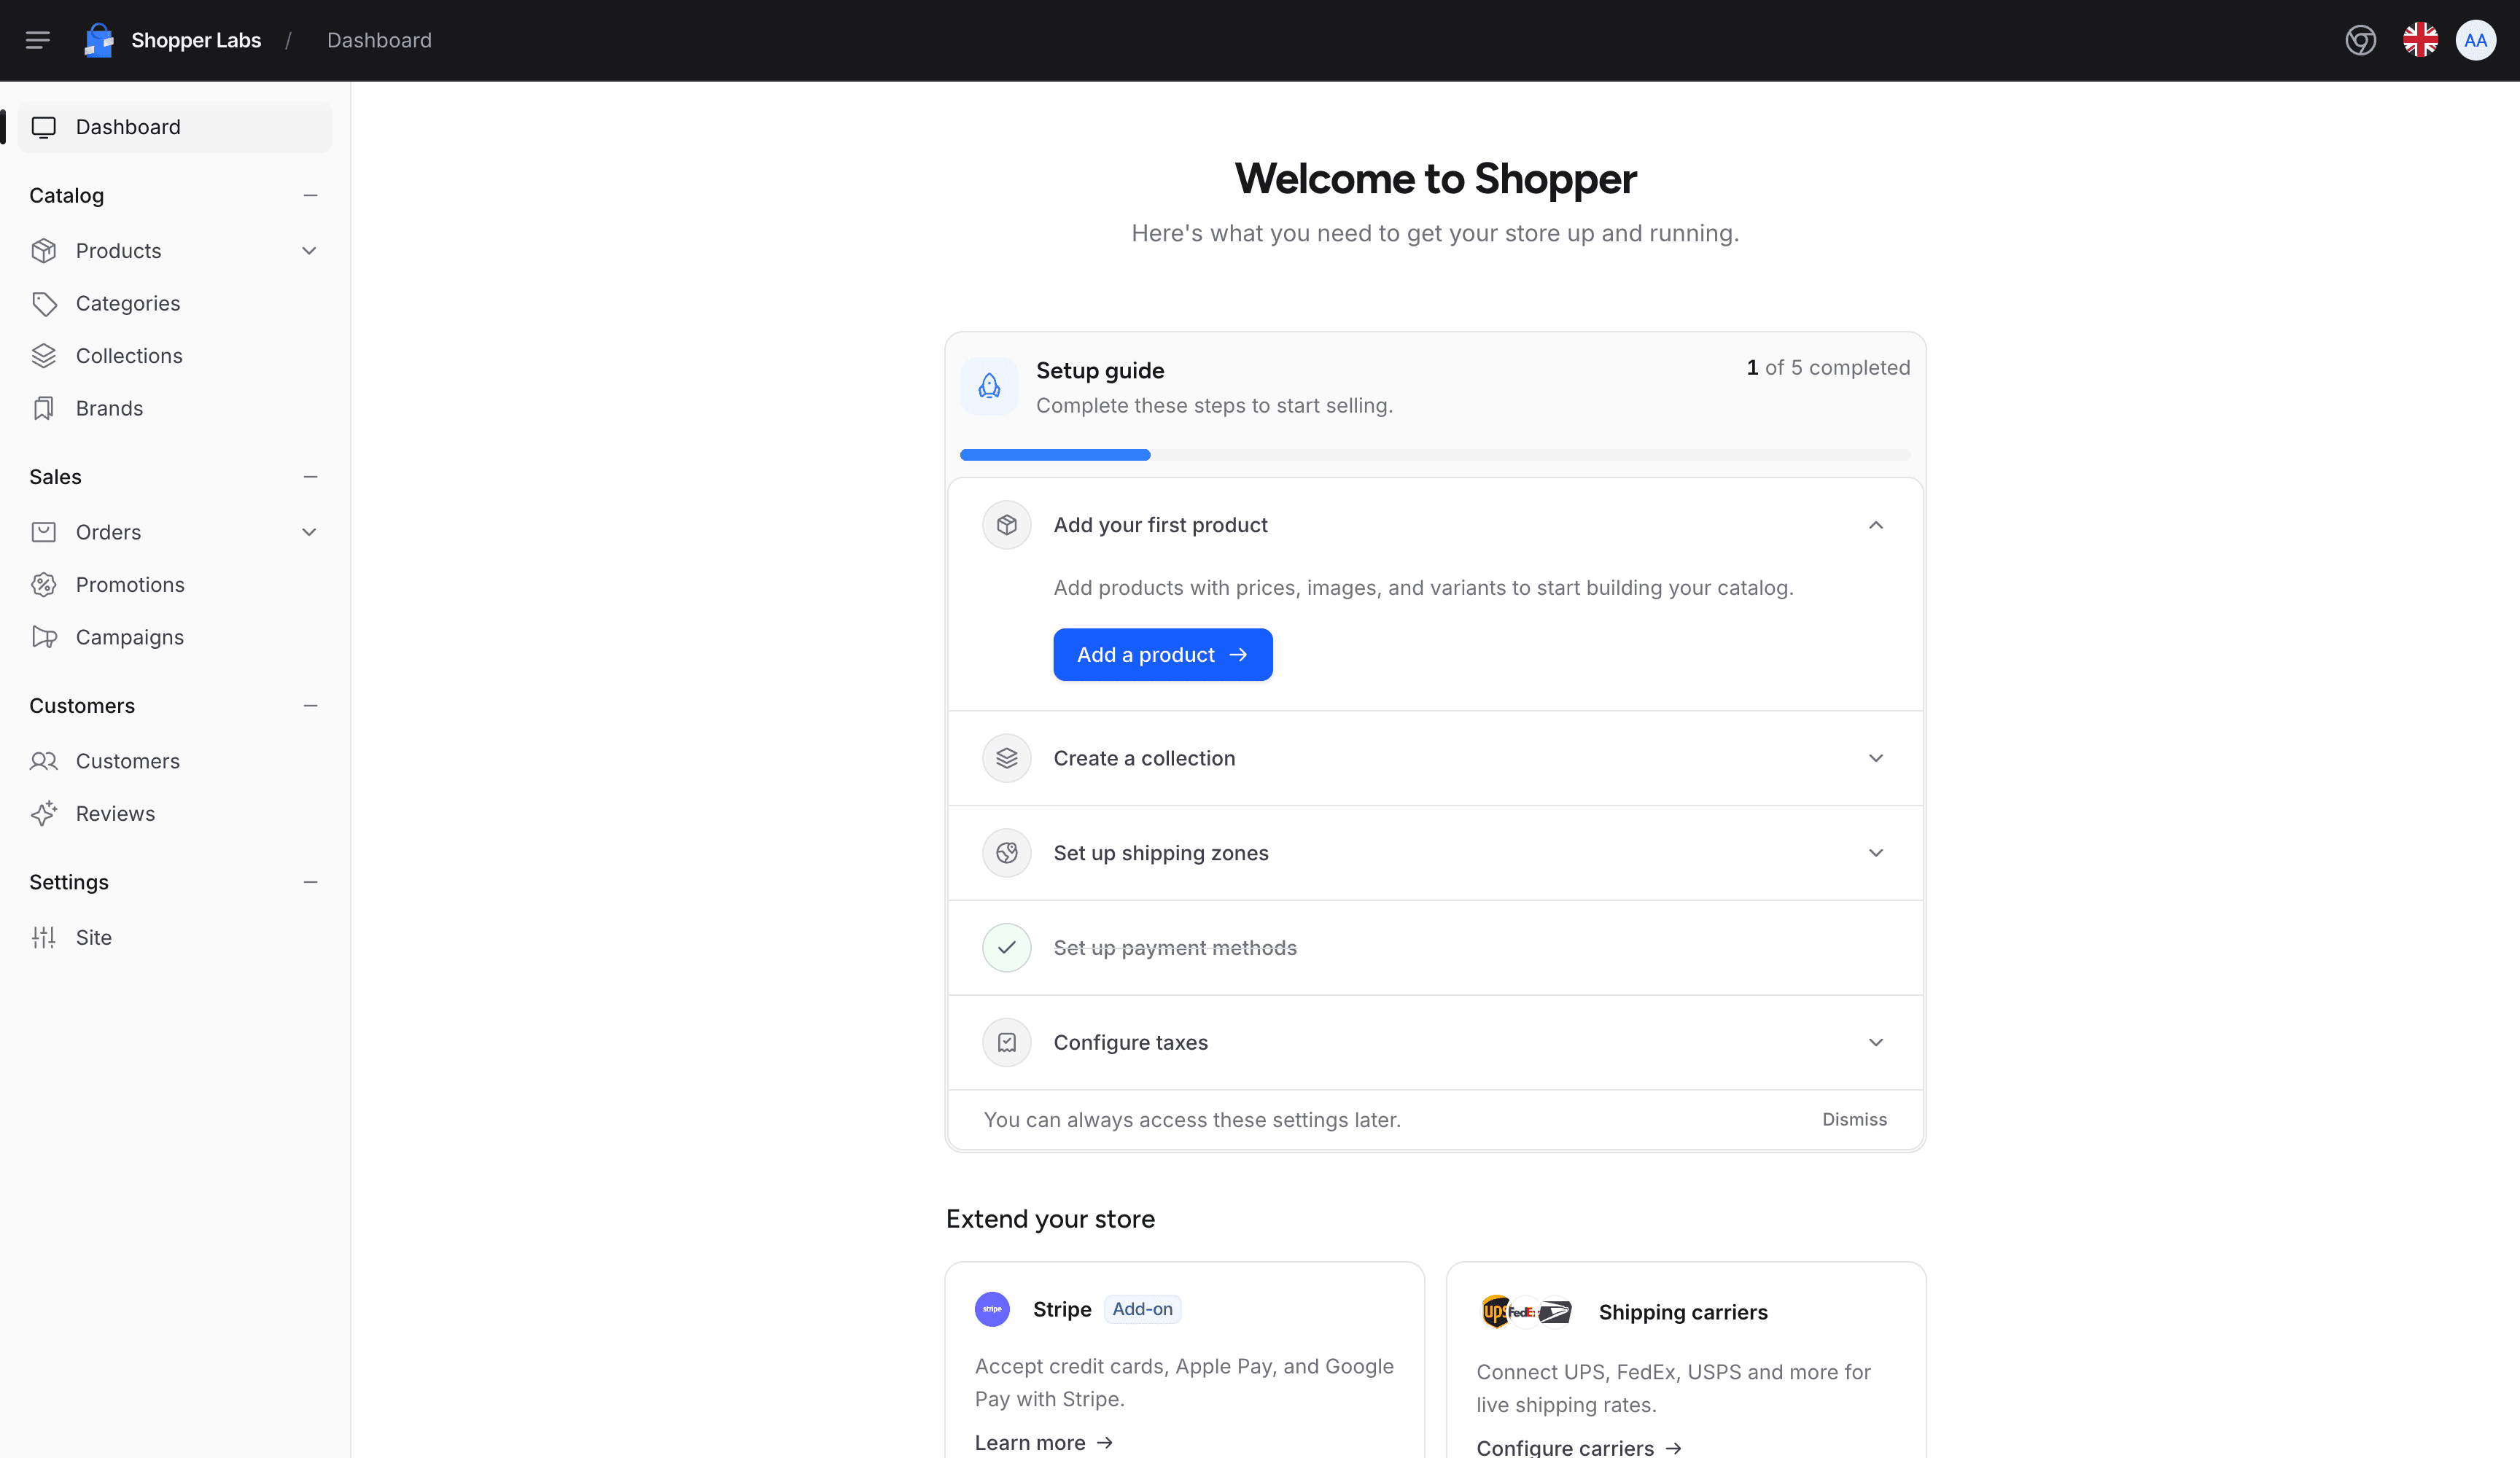
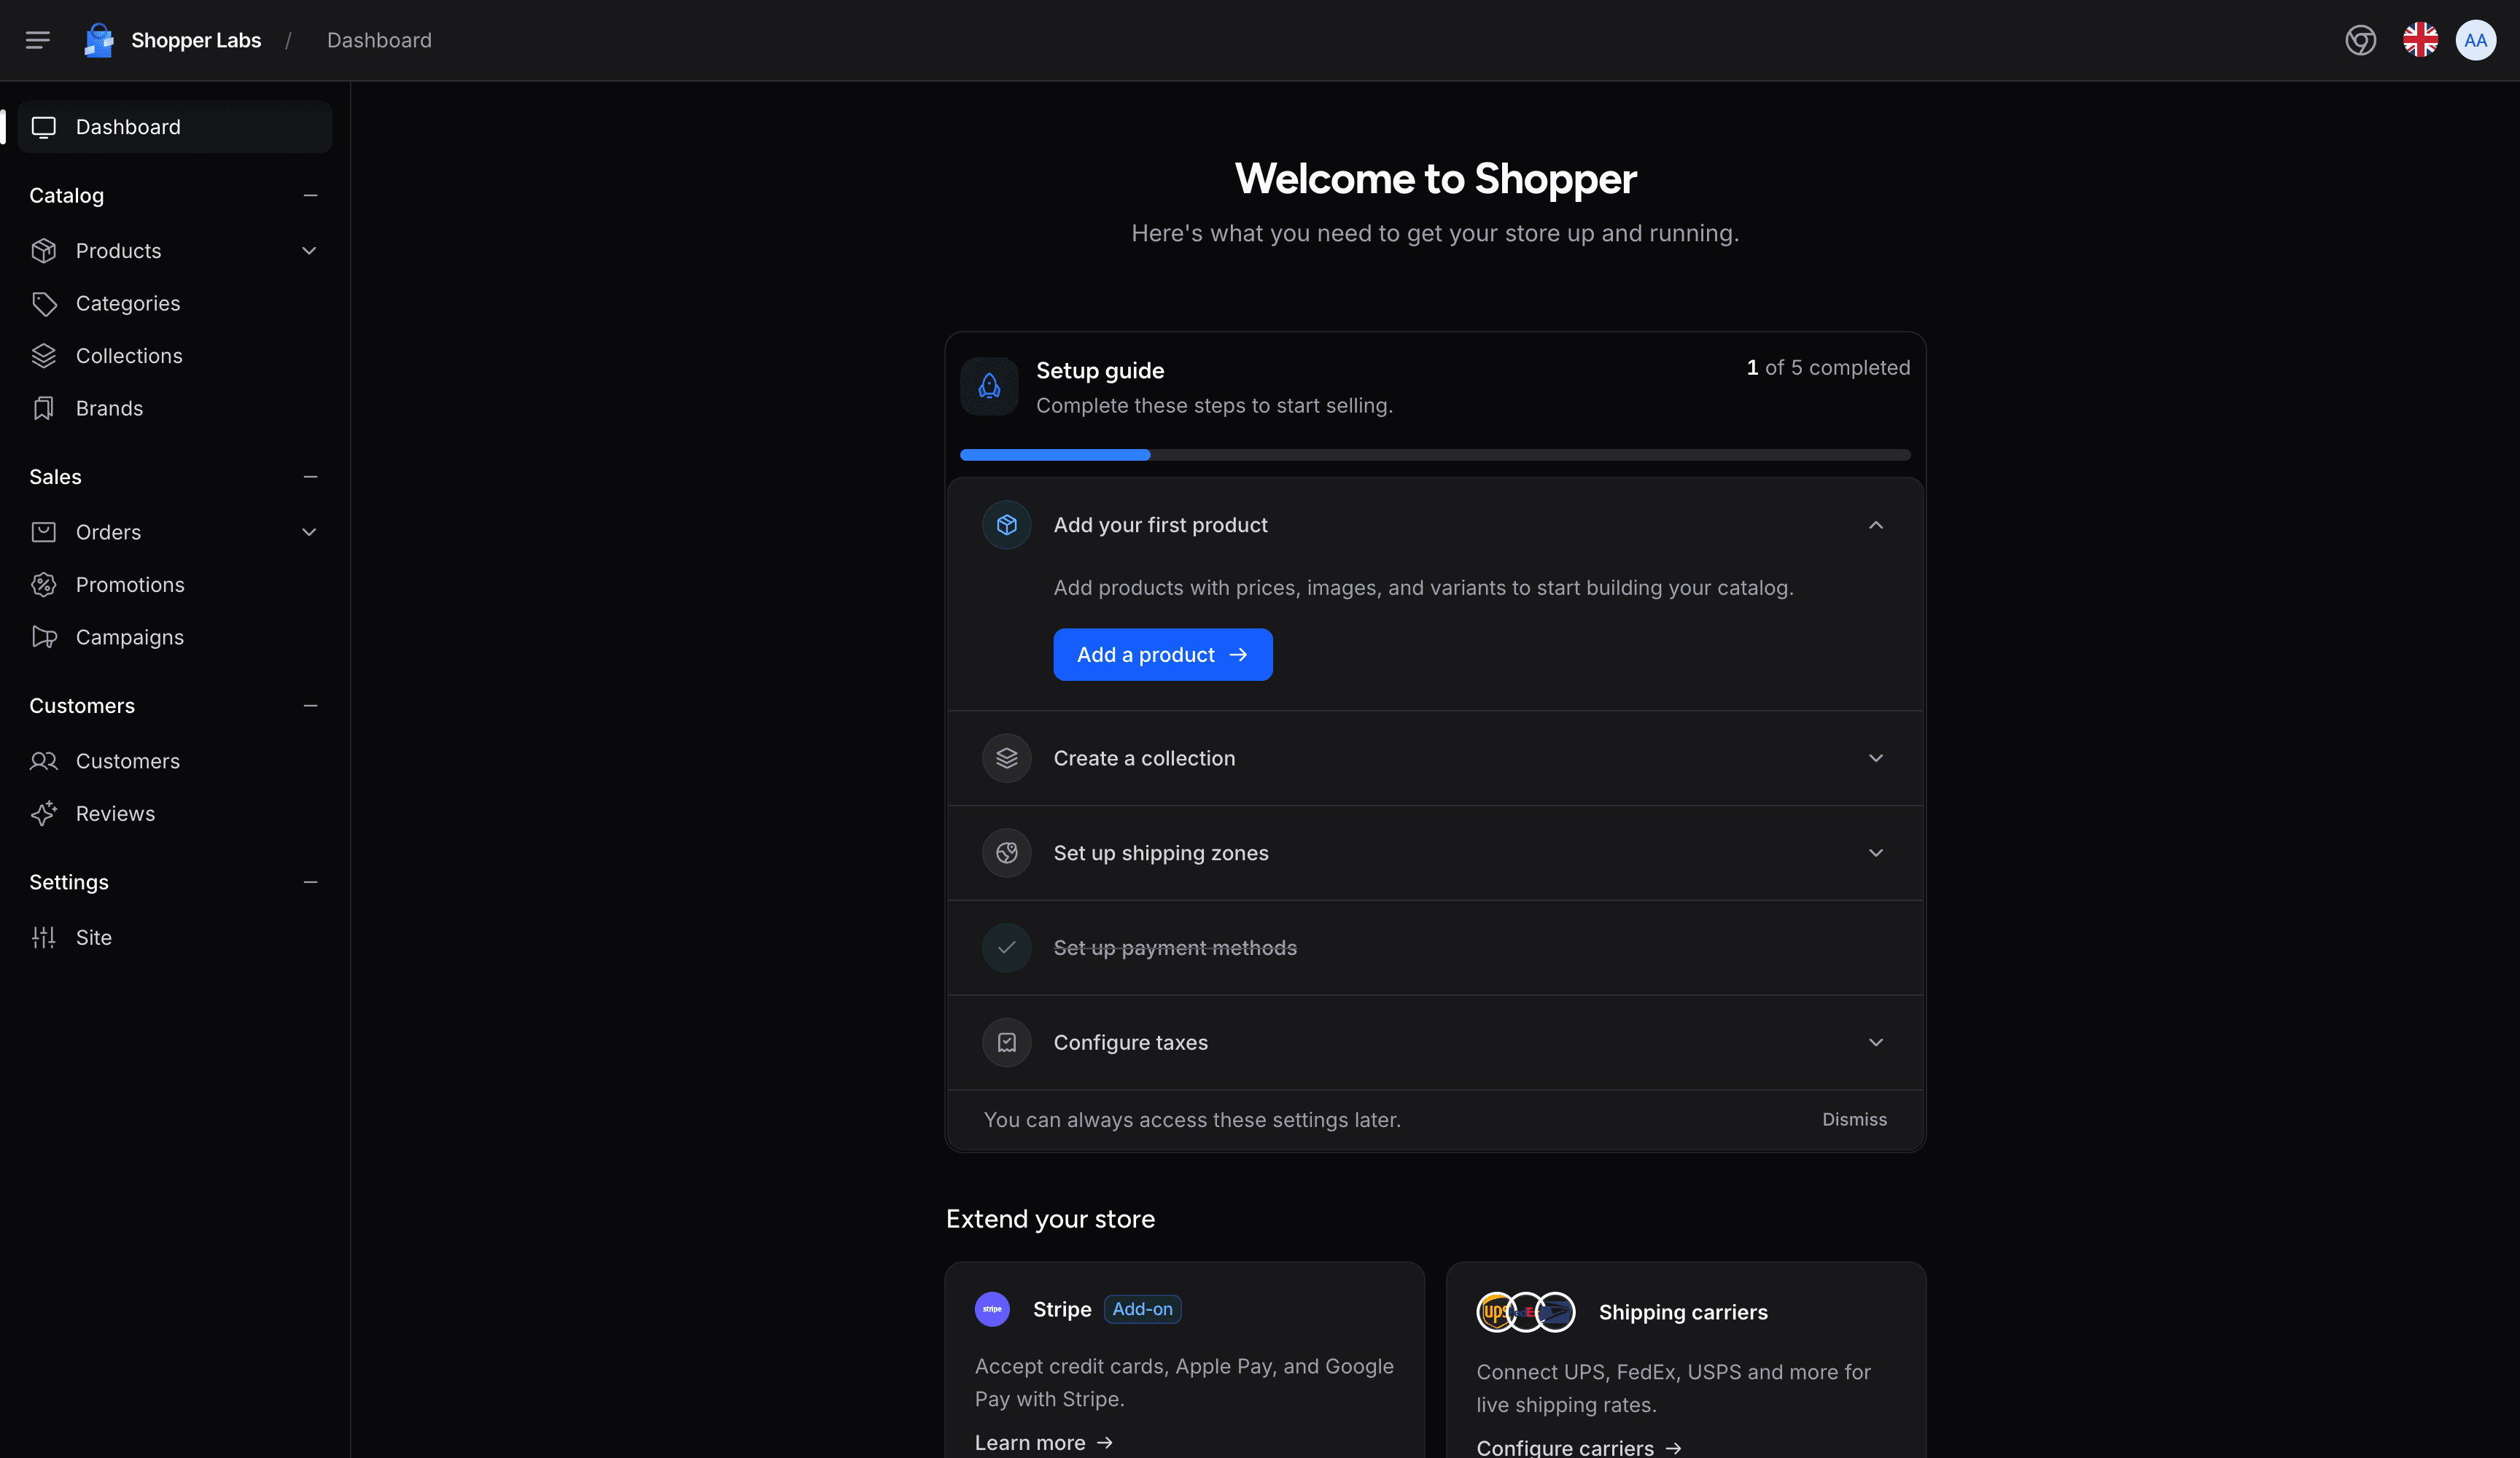
The dashboard is the first screen after login. A new store sees a setup guide that walks through the first products, shipping, payments and taxes. Once the guide is done, the dashboard shows the month's revenue, orders and customers, a 12-month revenue chart, the best-selling products and the latest orders.
Widgets
The dashboard page renders four Livewire components. The stat cards, the top products and the recent orders load lazily: the page shows a placeholder for each and fills it once the first paint is done, so a slow query never holds the whole page.
Revenue is counted the same way in the stat card and the chart: the order totals with a payment status of Paid, Partially refunded or Refunded, minus the settled OrderRefund records of the period. Shopper's payment service does not create these records, so a refund only lowers the revenue once your application records it, as described in Order Refunds.
Stat Cards
Four cards compare the current month, from the 1st to today, with the same span of the previous month:
| Card | Value | Permission |
|---|---|---|
| Revenue this month | Net revenue of the month in the store's default currency | orders.browse |
| Total Products | Total number of products | products.browse |
| Total Orders | Total number of orders, excluding Cancelled and Archived orders | orders.browse |
| Total Customers | Total number of customers (users matched by the customers scope) | customers.browse |
Each card shows the change against the previous month with a green or red trend indicator, and links to its admin section. A user only sees the cards their permissions allow.
Revenue Chart
A bar chart of the net revenue for each of the last 12 months, the current one included. When the store has several currencies, a dropdown switches the chart from one currency to another; the default currency is selected first.
Top Selling Products
The 6 products sold in the largest quantities over the last 90 days, counting only orders that bear revenue. Sales of variants are added to their parent product. Each row shows the product thumbnail, its name, the units sold and the average rating of its reviews.
Recent Orders
The 7 latest orders, excluding Cancelled and Archived orders. Each row shows the order number, the first product with its thumbnail, the total and the order status, and opens the order on click.
The revenue chart, the top products and the recent orders are shown only to users with the orders.browse permission.
Setup Guide
A new store sees a checklist in place of the widgets. Each step is ticked automatically when the matching data exists in the database, and links to the screen where the merchant creates it:
| Step | Completed when | Permission |
|---|---|---|
| Add a product | At least one product exists | products.create |
| Create a collection | At least one collection exists | collections.create |
| Set up shipping zones | At least one enabled zone exists | system.settings |
| Set up payment methods | At least one enabled payment method exists | system.settings |
| Configure taxes | At least one tax zone exists | system.settings |
The seeders create an enabled cash on delivery payment method, so a fresh install starts at 1 of 5.
When the dashboard loads with every step complete, and the user is an administrator or has the system.settings permission, the guide saves the setup_guide_done setting and the widgets replace it. The guide does not come back after that. The same users can also dismiss it before the end.
Caching
Each widget caches its data with Laravel's Cache::flexible(). While the value is fresh, it is served from the cache. Between the fresh and the stale limits, the cached value is still served and Laravel recomputes it after the response is sent. Past the stale limit, the next request recomputes it.
| Widget | Cache key | Fresh | Stale |
|---|---|---|---|
| Stat cards | dashboard:stat-cards:{locale}:{currency} | 5 min | 30 min |
| Revenue chart | dashboard:revenue:{currency} | 5 min | 30 min |
| Top selling products | dashboard:top-products | 5 min | 30 min |
| Recent orders | dashboard.orders:recent-ids | 1 min | 5 min |
After a bulk import or a data fix, forget the keys to see the new figures at once:
use Illuminate\Support\Facades\Cache;

Cache::forget('dashboard:stat-cards:en:USD');
Cache::forget('dashboard:revenue:USD');
Cache::forget('dashboard:top-products');
Cache::forget('dashboard.orders:recent-ids');
Access Requirements
Every page of the admin panel behind the login, the dashboard included, goes through the same middleware. It checks two things:
- The user is an administrator, a manager, or has the
system.dashboardpermission. Otherwise Shopper redirects to its forbidden page. - The store has an email and a street address in its settings. Otherwise Shopper redirects to the store setup wizard, which asks for them on the first login.
The roles and permissions are described on the Permissions page.
Customizing the Dashboard
You can replace the whole page, replace one widget, or add content above and below the widgets.
Replacing the Page
The dashboard page is registered in a component configuration file. Publish it:
php artisan shopper:component:publish dashboardThe command creates config/shopper/components/dashboard.php:
use Shopper\Livewire\Components;
use Shopper\Livewire\Pages;

return [
    'pages' => [
        'dashboard' => Pages\Dashboard::class,
    ],
    'components' => [
        'locale-switcher' => Components\LocaleSwitcher::class,
    ],
];
Point the dashboard entry to your own Livewire component:
'pages' => [
    'dashboard' => App\Livewire\Shopper\Dashboard::class,
],
Extend Shopper\Livewire\Pages\AbstractPageComponent so that your component renders inside the admin panel layout, like every Shopper page. A minimal version:
namespace App\Livewire\Shopper;

use Illuminate\Contracts\View\View;
use Shopper\Livewire\Pages\AbstractPageComponent;

final class Dashboard extends AbstractPageComponent
{
    public function render(): View
    {
        return view('livewire.shopper.dashboard')
            ->title(__('Dashboard'));
    }
}
Replacing a Widget
To swap one widget, for example the revenue chart for a report of your own, override the dashboard view. Shopper has no publish tag for its views: copy vendor/shopper/framework/resources/views/livewire/pages/dashboard.blade.php to resources/views/vendor/shopper/livewire/pages/dashboard.blade.php, and Laravel loads your copy instead of the package view.
The view shows the setup guide until it is done, then the widgets:
@if ($this->showSetupGuide)
    <livewire:shopper-setup-guide />
@else
    <livewire:shopper-dashboard.stat-cards lazy />

    @can('orders.browse')
        <livewire:shopper-dashboard.revenue-chart />
        <livewire:shopper-dashboard.top-selling-products lazy />
        <livewire:shopper-dashboard.recent-orders lazy />
    @endcan
@endif
Replace any tag with your own Livewire component or Blade content. Your copy no longer follows changes to the package view, so compare it with the original after each Shopper upgrade.
Adding Content with Render Hooks
To add content without replacing anything, register a view on the DASHBOARD_START or DASHBOARD_END render hook in the boot method of a service provider:
use Shopper\Facades\Shopper;
use Shopper\View\LayoutRenderHook;

public function boot(): void
{
    Shopper::renderHook(
        LayoutRenderHook::DASHBOARD_START,
        fn (): string => view('shopper.dashboard.stock-alerts')->render(),
    );

    Shopper::renderHook(
        LayoutRenderHook::DASHBOARD_END,
        fn (): string => view('shopper.dashboard.monthly-report')->render(),
    );
}
Both hooks render on the setup guide too, so a banner registered there is seen from the first login.
Last updated on
Edit on GitHub