
Dashboard
Overview of the admin dashboard components, caching, access requirements, and customization options.
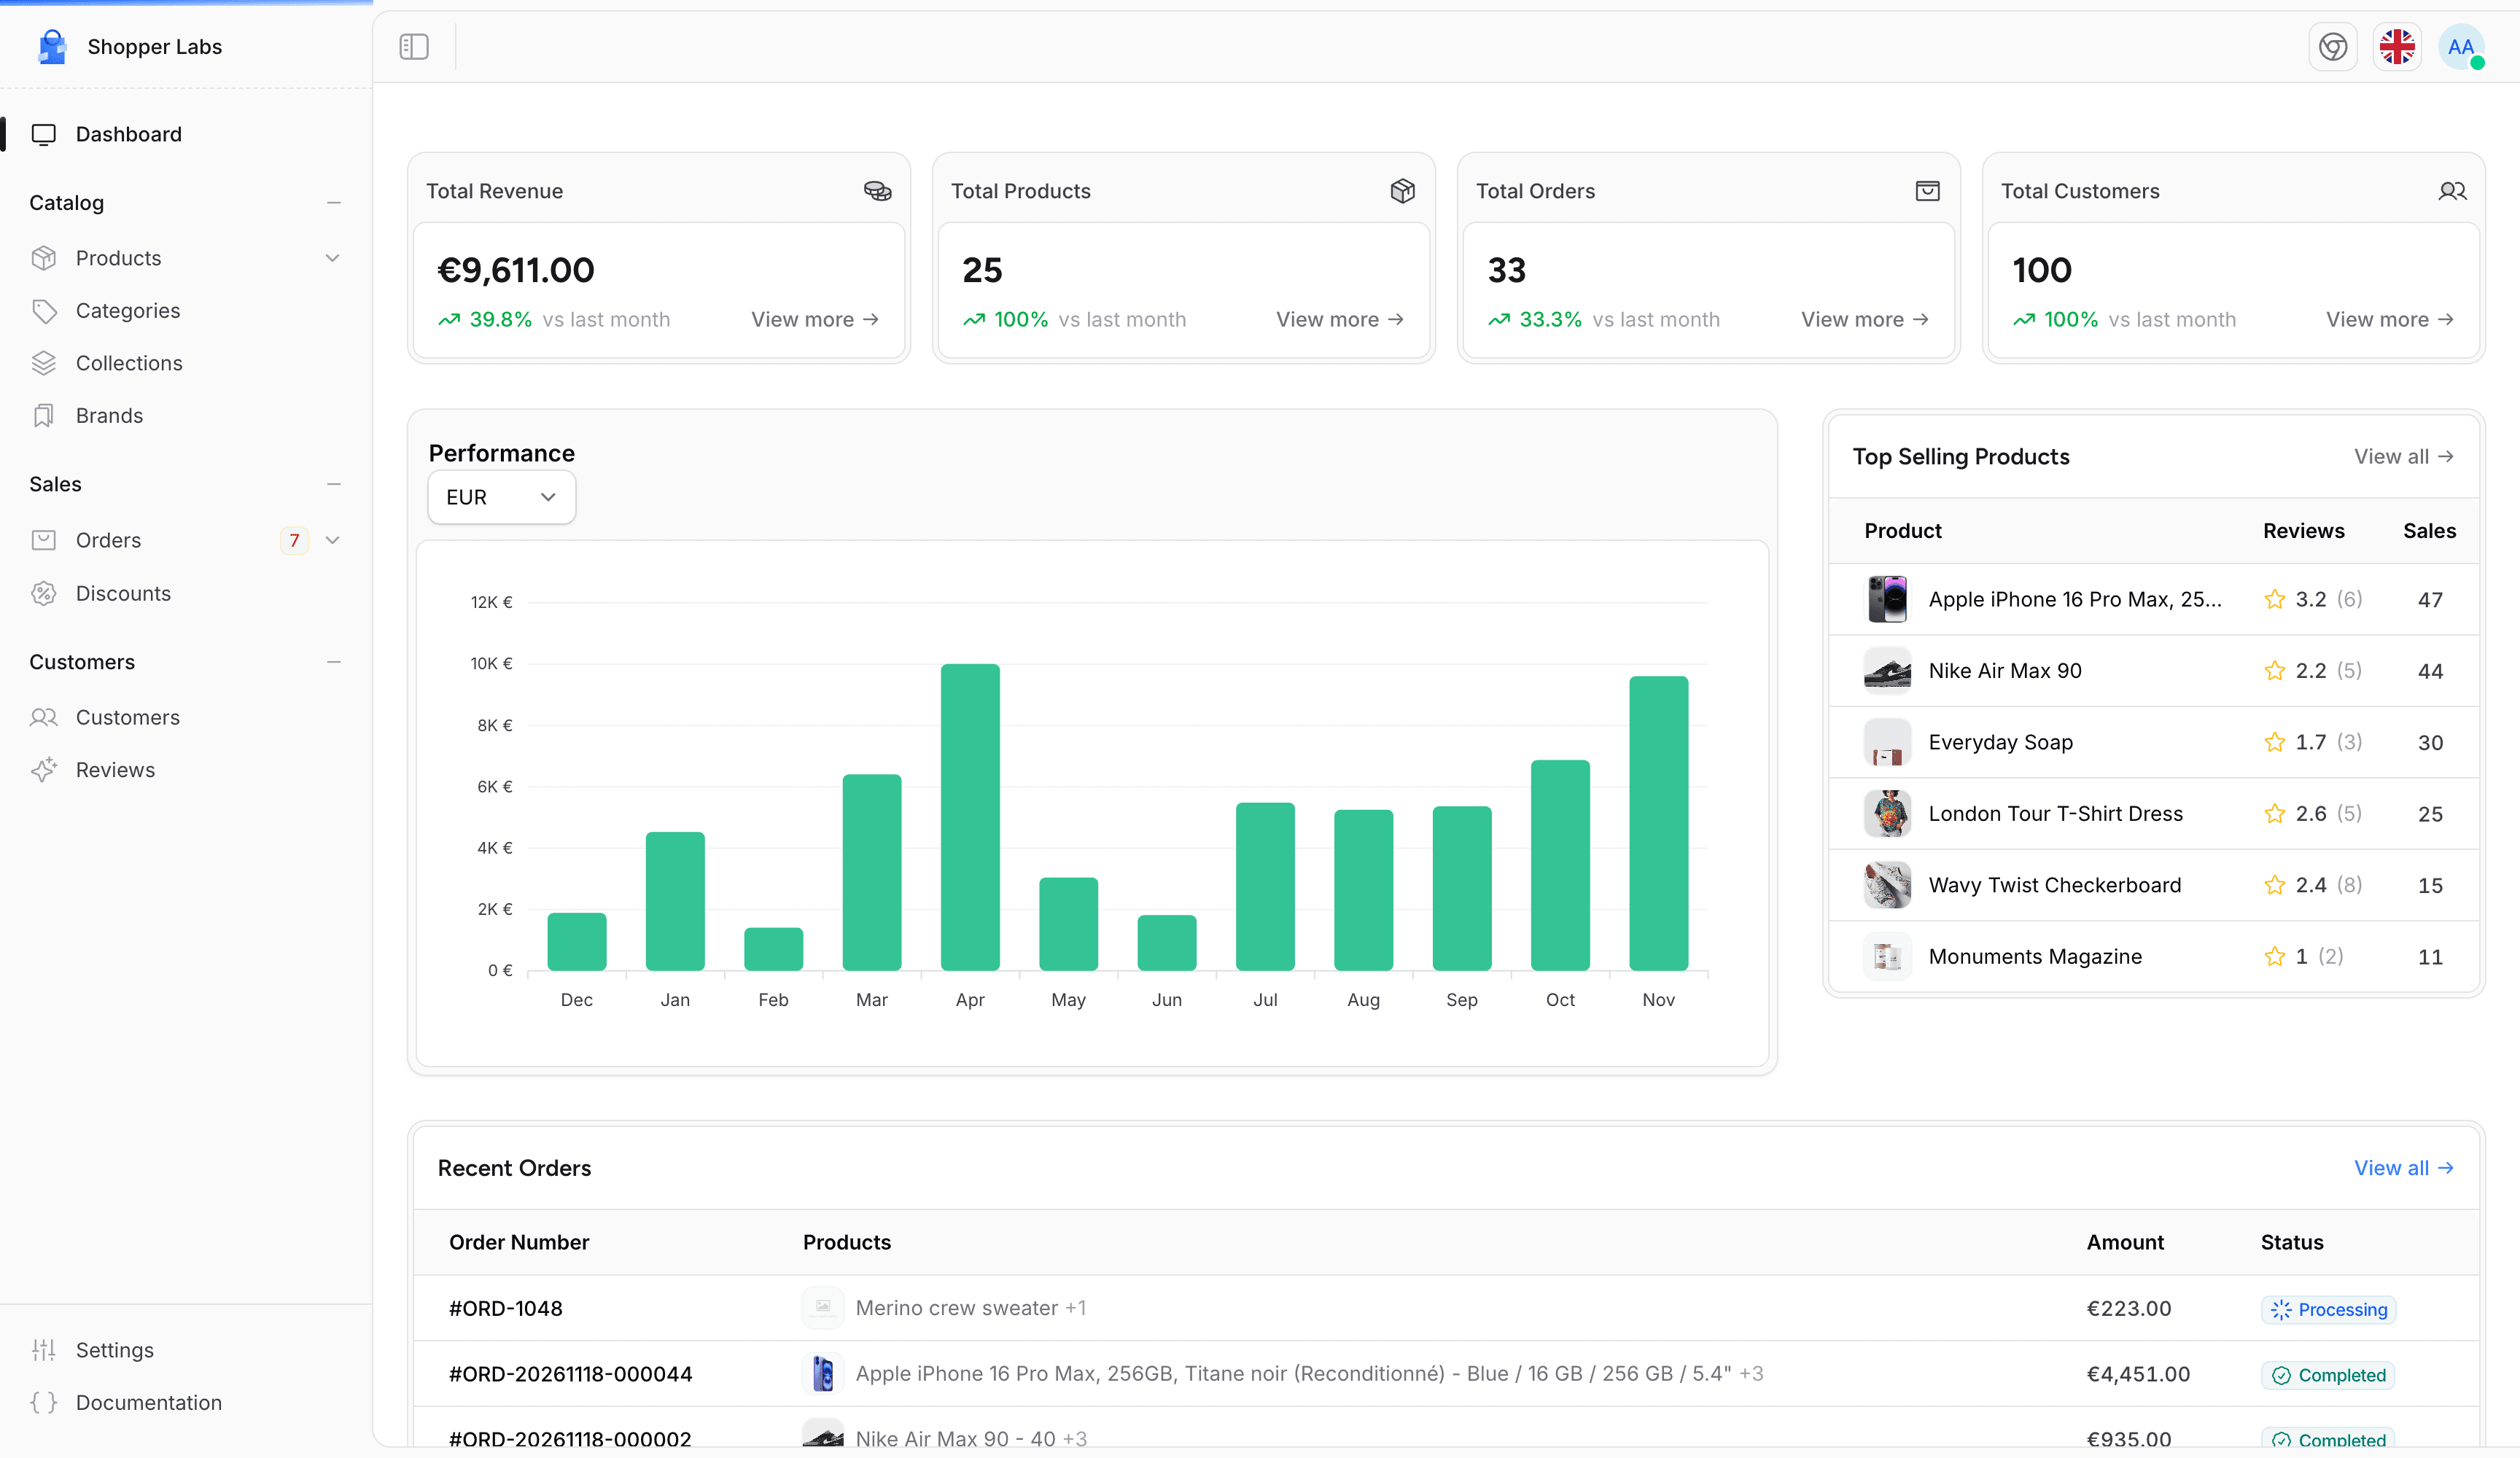
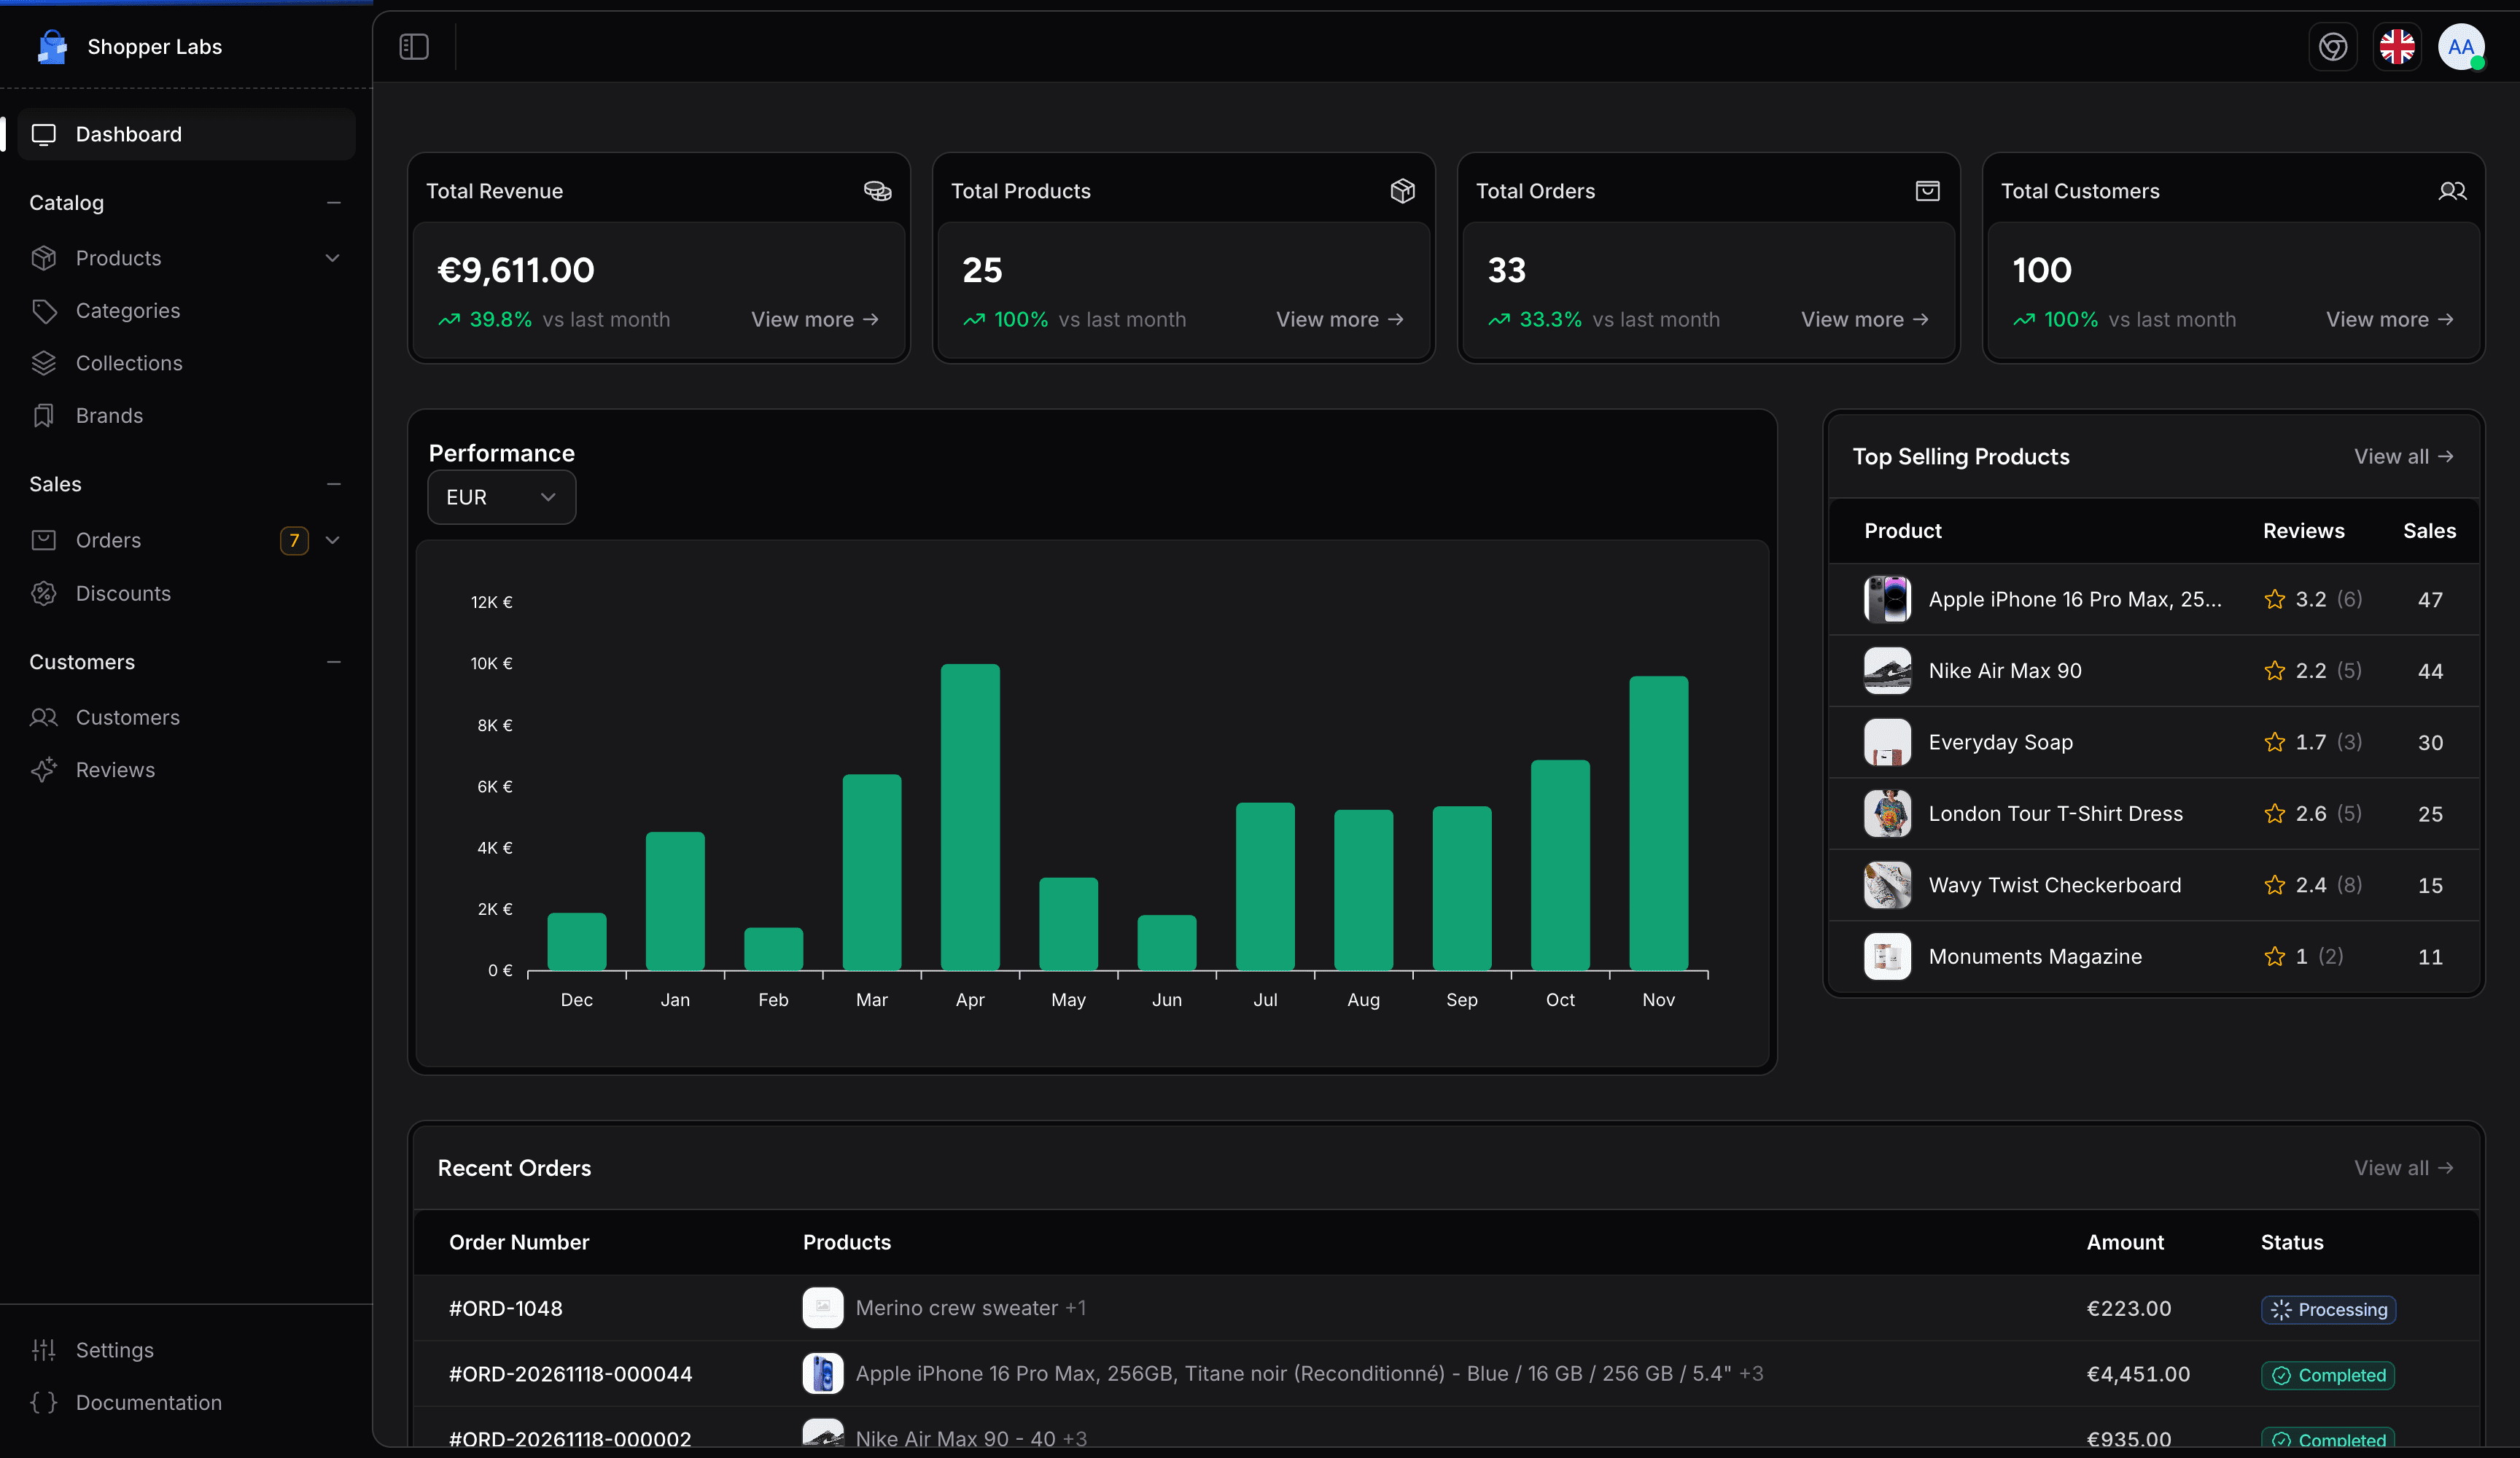
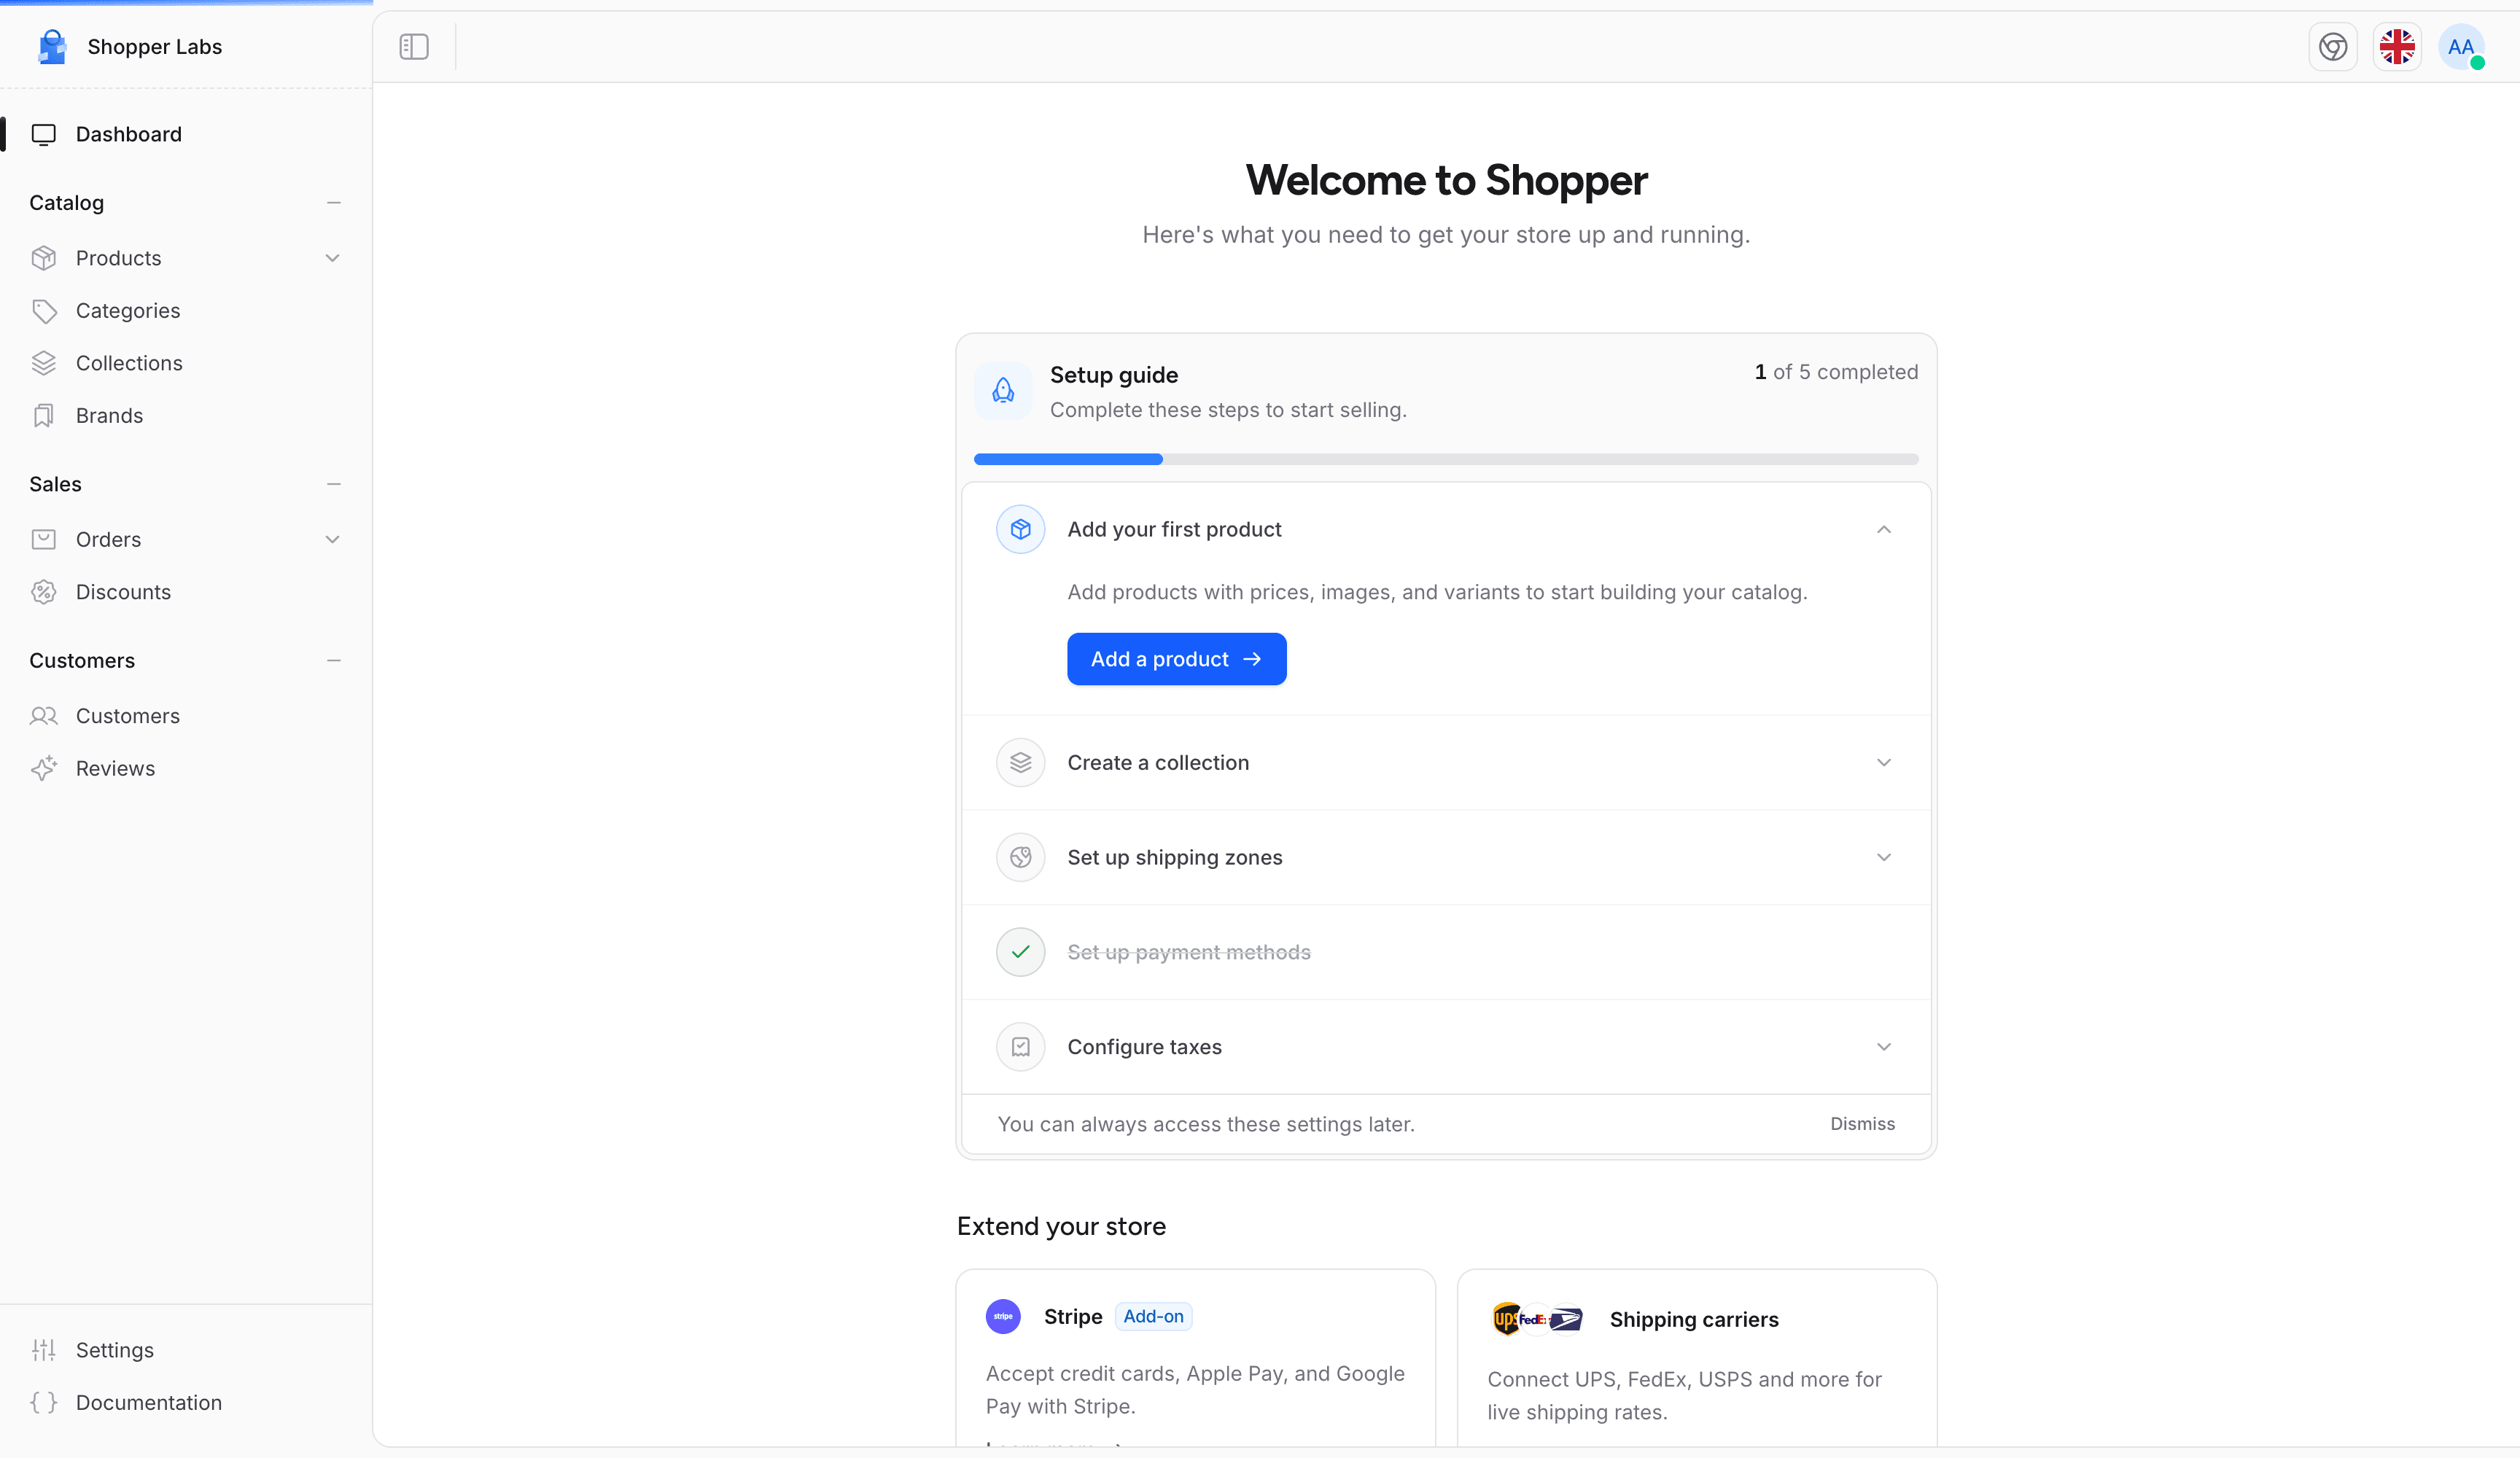
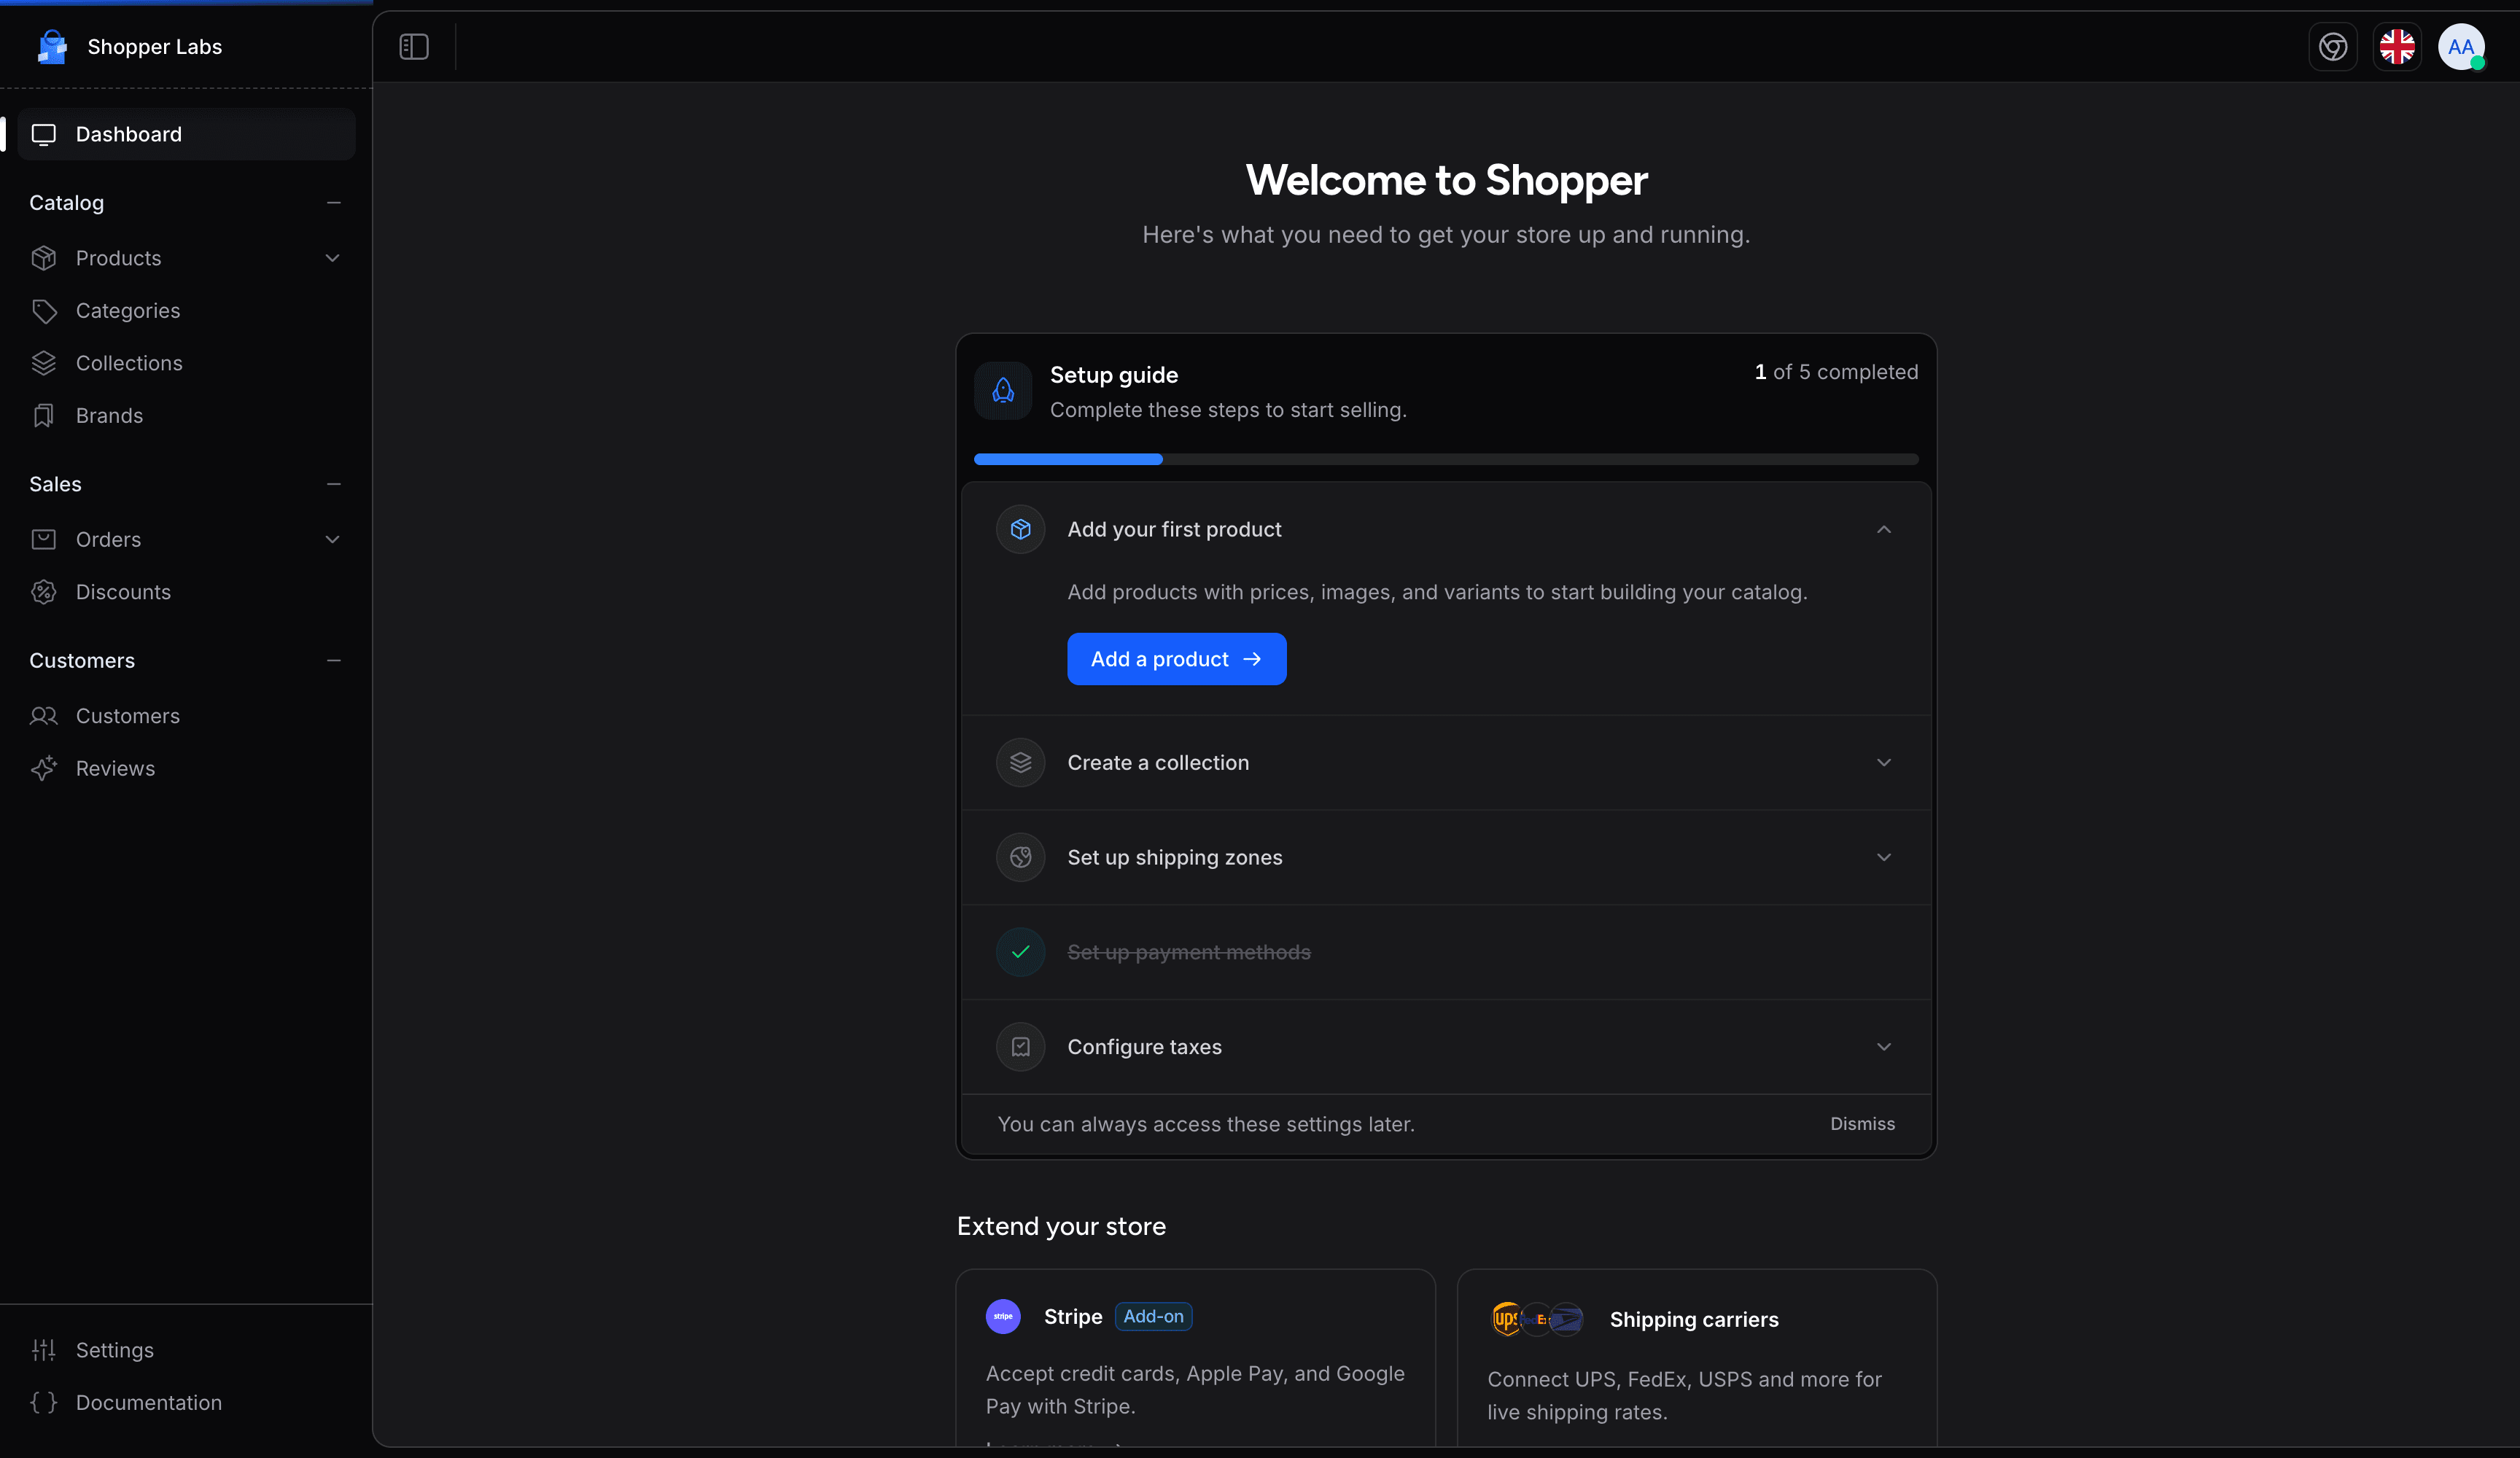
The dashboard is the first screen after login. It shows store health at a glance: revenue trends, key metrics, recent orders and top products. Until the store is configured, an onboarding guide takes the place of these widgets.
Components
The dashboard is composed of five Livewire components, each with a focused responsibility. The four data widgets cache their data independently (see Caching).
The revenue chart, the top selling products and the recent orders require the browse_orders permission: the dashboard does not render them for a user without it.
RevenueChart
Displays monthly revenue as a bar chart for the last 12 months, the current month included. Each bar is the sum of price_amount on paid orders in the selected currency, converted from cents for display (zero-decimal currencies such as XAF or JPY are shown as stored). Data is grouped by month in a single aggregated query and cached with flexible TTL (fresh for 5 minutes, stale up to 30 minutes). The component extends ApexChartWidget from the leandrocfe/filament-apex-charts package.
The chart supports a currency filter. It starts on the store default currency, and a dropdown lists the currencies enabled in your store settings to switch between them. The Y-axis and tooltip are formatted using Intl.NumberFormat with the application locale, followed by the currency symbol.
The revenue query supports MySQL, PostgreSQL, and SQLite with database-specific date expressions.
StatCards
Shows four summary cards comparing the current month to the previous month:
| Card | Metric | Scope |
|---|---|---|
| Revenue | Sum of price_amount on paid orders created this month | Store default currency |
| Products | Total product count, monthly new products for trend | All types |
| Orders | Total count of paid orders, monthly count for trend | All currencies |
| Customers | Total count of users with the customer role (the customers scope, role name from config('shopper.admin.roles.user'), user by default), monthly new customers for trend | All |
Each card shows the percentage change versus the previous month, with a green or red trend indicator (gray at 0% when nothing changed, 100% when the previous month had nothing). Cards link to their respective admin sections.
A card is shown only to users who can browse its section: browse_orders for Revenue and Orders, browse_products for Products, browse_customers for Customers.
RecentOrders
A table of the 7 most recent orders, whatever their payment status, excluding orders with Cancelled or Archived status. Each row shows the order number, first product with thumbnail (plus the count of other items), total amount, order status badge, and links to the order detail page.
TopSellingProducts
Ranks the top 6 products by total quantity sold across all paid orders, with no date range. Variant sales are aggregated back to the parent product. Each row shows the product thumbnail, name, total units sold, and the average rating and count of its approved reviews.
SetupGuide
An interactive checklist that guides new stores through the essential configuration steps. It takes the place of the dashboard widgets until it is completed or dismissed, and detects each step's completion by querying the database. A step is listed only for users who have its permission:
| Step | Completed when | Permission |
|---|---|---|
| Add your first product | At least one product exists | add_products |
| Create a collection | At least one collection exists | add_collections |
| Set up shipping zones | At least one enabled shipping zone exists | access_setting |
| Set up payment methods | At least one enabled payment method exists | access_setting |
| Configure taxes | At least one tax zone exists | access_setting |
When all steps are complete, the guide saves a setup_guide_done setting and dispatches a setup-guide-completed event to hide itself. This check runs when the dashboard loads, for a user with the access_setting permission. The guide does not reappear on subsequent visits. A user with access_setting can also dismiss it early with the dismiss button.
Caching
The four data widgets cache their data independently with Laravel's Cache::flexible(). During the fresh TTL the cached value is served as is. Between the fresh and the stale TTL, the cached value is still served and Laravel recomputes it after the response is sent. Past the stale TTL, the next request recomputes it. The setup guide is not cached. The cache keys and TTLs are:
| Component | Cache key | Fresh TTL | Stale TTL |
|---|---|---|---|
| RevenueChart | dashboard:revenue:{currency} | 5 min | 30 min |
| StatCards | dashboard:stat-cards:{locale} | 5 min | 30 min |
| RecentOrders | dashboard.orders:recent-ids | 1 min | 5 min |
| TopSellingProducts | dashboard.products:top-selling | 5 min | 30 min |
RecentOrders caches only the order IDs: the orders themselves are loaded fresh on each render.
To clear the dashboard cache manually (for example after a data import), flush the keys:
use Illuminate\Support\Facades\Cache;

Cache::forget('dashboard:revenue:'.shopper_currency());
Cache::forget('dashboard:stat-cards:'.app()->getLocale());
Cache::forget('dashboard.orders:recent-ids');
Cache::forget('dashboard.products:top-selling');
The revenue chart keeps one entry per currency shown in its filter, and the stat cards one entry per admin locale: forget the key of each currency and locale your team uses.
Access Requirements
The dashboard middleware (Shopper\Http\Middleware\Dashboard) checks two conditions before rendering the page. The user must have the administrator or manager role (role names from config('shopper.admin.roles.admin') and config('shopper.admin.roles.manager')), or the access_dashboard permission. The store must have the email and street_address settings configured (these are set during the initial store setup).
The middleware runs on every authenticated page of the admin panel, not only the dashboard: your custom routes (config('shopper.routes.custom_file')) and add-on routes included. Only the initialization and forbidden pages skip it. If the user lacks permission, Shopper redirects to its forbidden page. If the settings are missing, it redirects to the store initialization page.
Customizing the Dashboard
Replacing the Entire Page
The dashboard page is registered in the components configuration. Publish the dashboard component config to swap it with your own implementation:
php artisan shopper:component:publish dashboardThis creates config/shopper/components/dashboard.php:
use Shopper\Livewire\Components;
use Shopper\Livewire\Pages;

return [
    'pages' => [
        'dashboard' => Pages\Dashboard::class,
    ],
    'components' => [
        'locale-switcher' => Components\LocaleSwitcher::class,
    ],
];
Replace the page class with your own component:
'pages' => [
    'dashboard' => App\Livewire\Pages\Dashboard::class,
],
Your component only needs to render a view with the app layout. The simplest override:
namespace App\Livewire\Pages;

use Illuminate\Contracts\View\View;
use Livewire\Component;

final class Dashboard extends Component
{
    public function render(): View
    {
        return view('dashboard.index')
            ->layout('shopper::components.layouts.app', [
                'title' => 'Dashboard',
            ]);
    }
}
You can also extend Shopper\Livewire\Pages\AbstractPageComponent, which already sets this layout, and only pass the title with ->title().
Overriding Individual Components
To replace a single widget (for example, swap the revenue chart for a custom report), map its Livewire alias to your own component in the components key of config/shopper/components/dashboard.php. Shopper registers the entries of this file after its built-in widgets, so your class wins:
'components' => [
    'locale-switcher' => Components\LocaleSwitcher::class,
    'dashboard.revenue-chart' => App\Livewire\Dashboard\SalesReport::class,
],
The widget aliases are setup-guide, dashboard.stat-cards, dashboard.revenue-chart, dashboard.top-selling-products and dashboard.recent-orders.
To change the layout or remove a widget, override the dashboard Blade view.
Shopper has no publish tag for its views. Copy vendor/shopper/framework/resources/views/livewire/pages/dashboard.blade.php to resources/views/vendor/shopper/livewire/pages/dashboard.blade.php: Laravel loads your copy instead of the package view. The view shows the setup guide until it is completed or dismissed, then renders each widget with a Livewire tag that you can replace (simplified below: the file also holds the grid markup and the two dashboard render hooks):
@if ($this->showSetupGuide)
    <livewire:shopper-setup-guide />
@else
    <livewire:shopper-dashboard.stat-cards />
    @can('browse_orders')
        <livewire:shopper-dashboard.revenue-chart />
        <livewire:shopper-dashboard.top-selling-products />
        <livewire:shopper-dashboard.recent-orders />
    @endcan
@endif
Replace any tag with your own Livewire component or plain Blade content. The copy no longer follows updates of the package view, so compare it with the original after each Shopper upgrade.
Adding Content via Render Hooks
If you only want to inject content above or below the dashboard without replacing the page or publishing views, use the layout render hooks:
use Shopper\Facades\Shopper;
use Shopper\View\LayoutRenderHook;

Shopper::renderHook(
    LayoutRenderHook::DASHBOARD_START,
    fn (): string => view('dashboard.store-alert-banner')->render(),
);

Shopper::renderHook(
    LayoutRenderHook::DASHBOARD_END,
    fn (): string => view('dashboard.custom-reports')->render(),
);
Register these hooks in a service provider's boot method. See the Render Hooks documentation for the full list of available injection points.
Last updated on
Edit on GitHub